
#70 - Nail Edit - How to Manicure

So you saw all the things that I think you need for a good enough at home manicure here, and you got stuff and ready to do it. Well here is a step by step of what I do normally for a basic mani. You may do things differently and/or skip some steps - that’s of course up to you.
1. Start Fresh
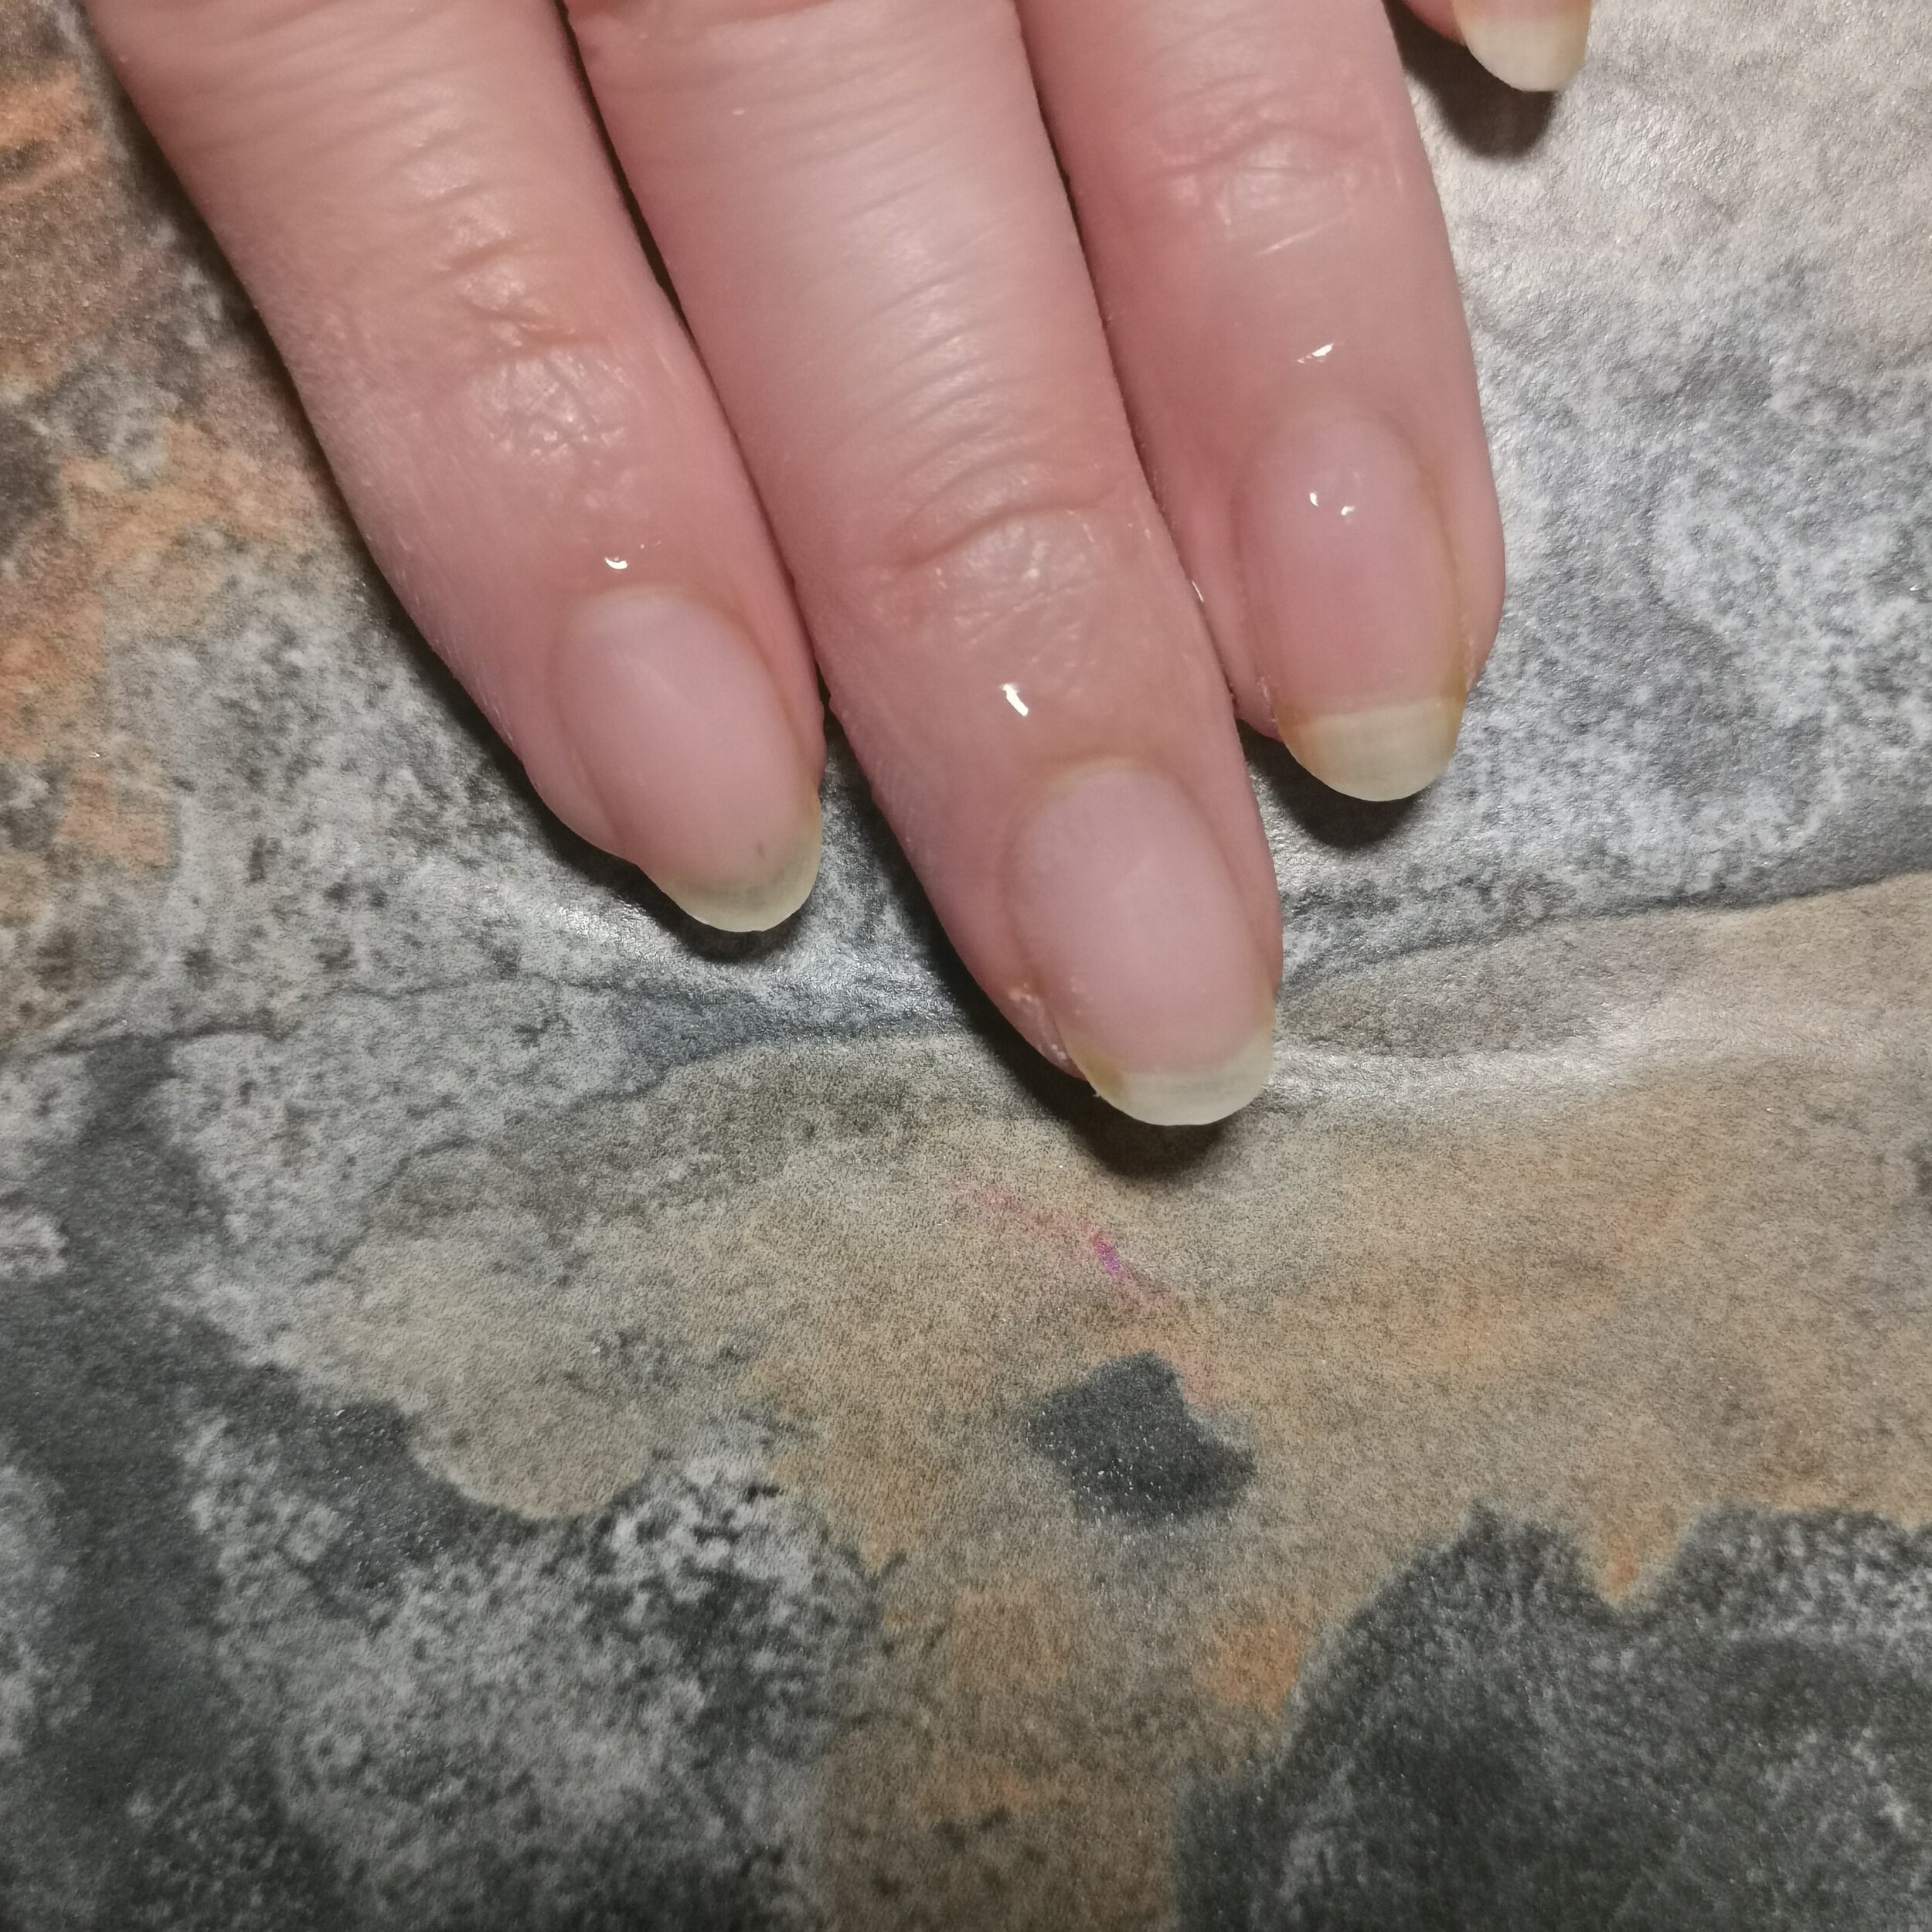
I already have an existing mani in place so I need to take off everything and make sure the surface is well prepped before starting. Naturally taking off old polish is mandatory before painting new ones, but cuticle care is up to you.
Dead skin around nails can make polish last not as long if the polish clings on to dead skin - the polish can come off with the dead skin.
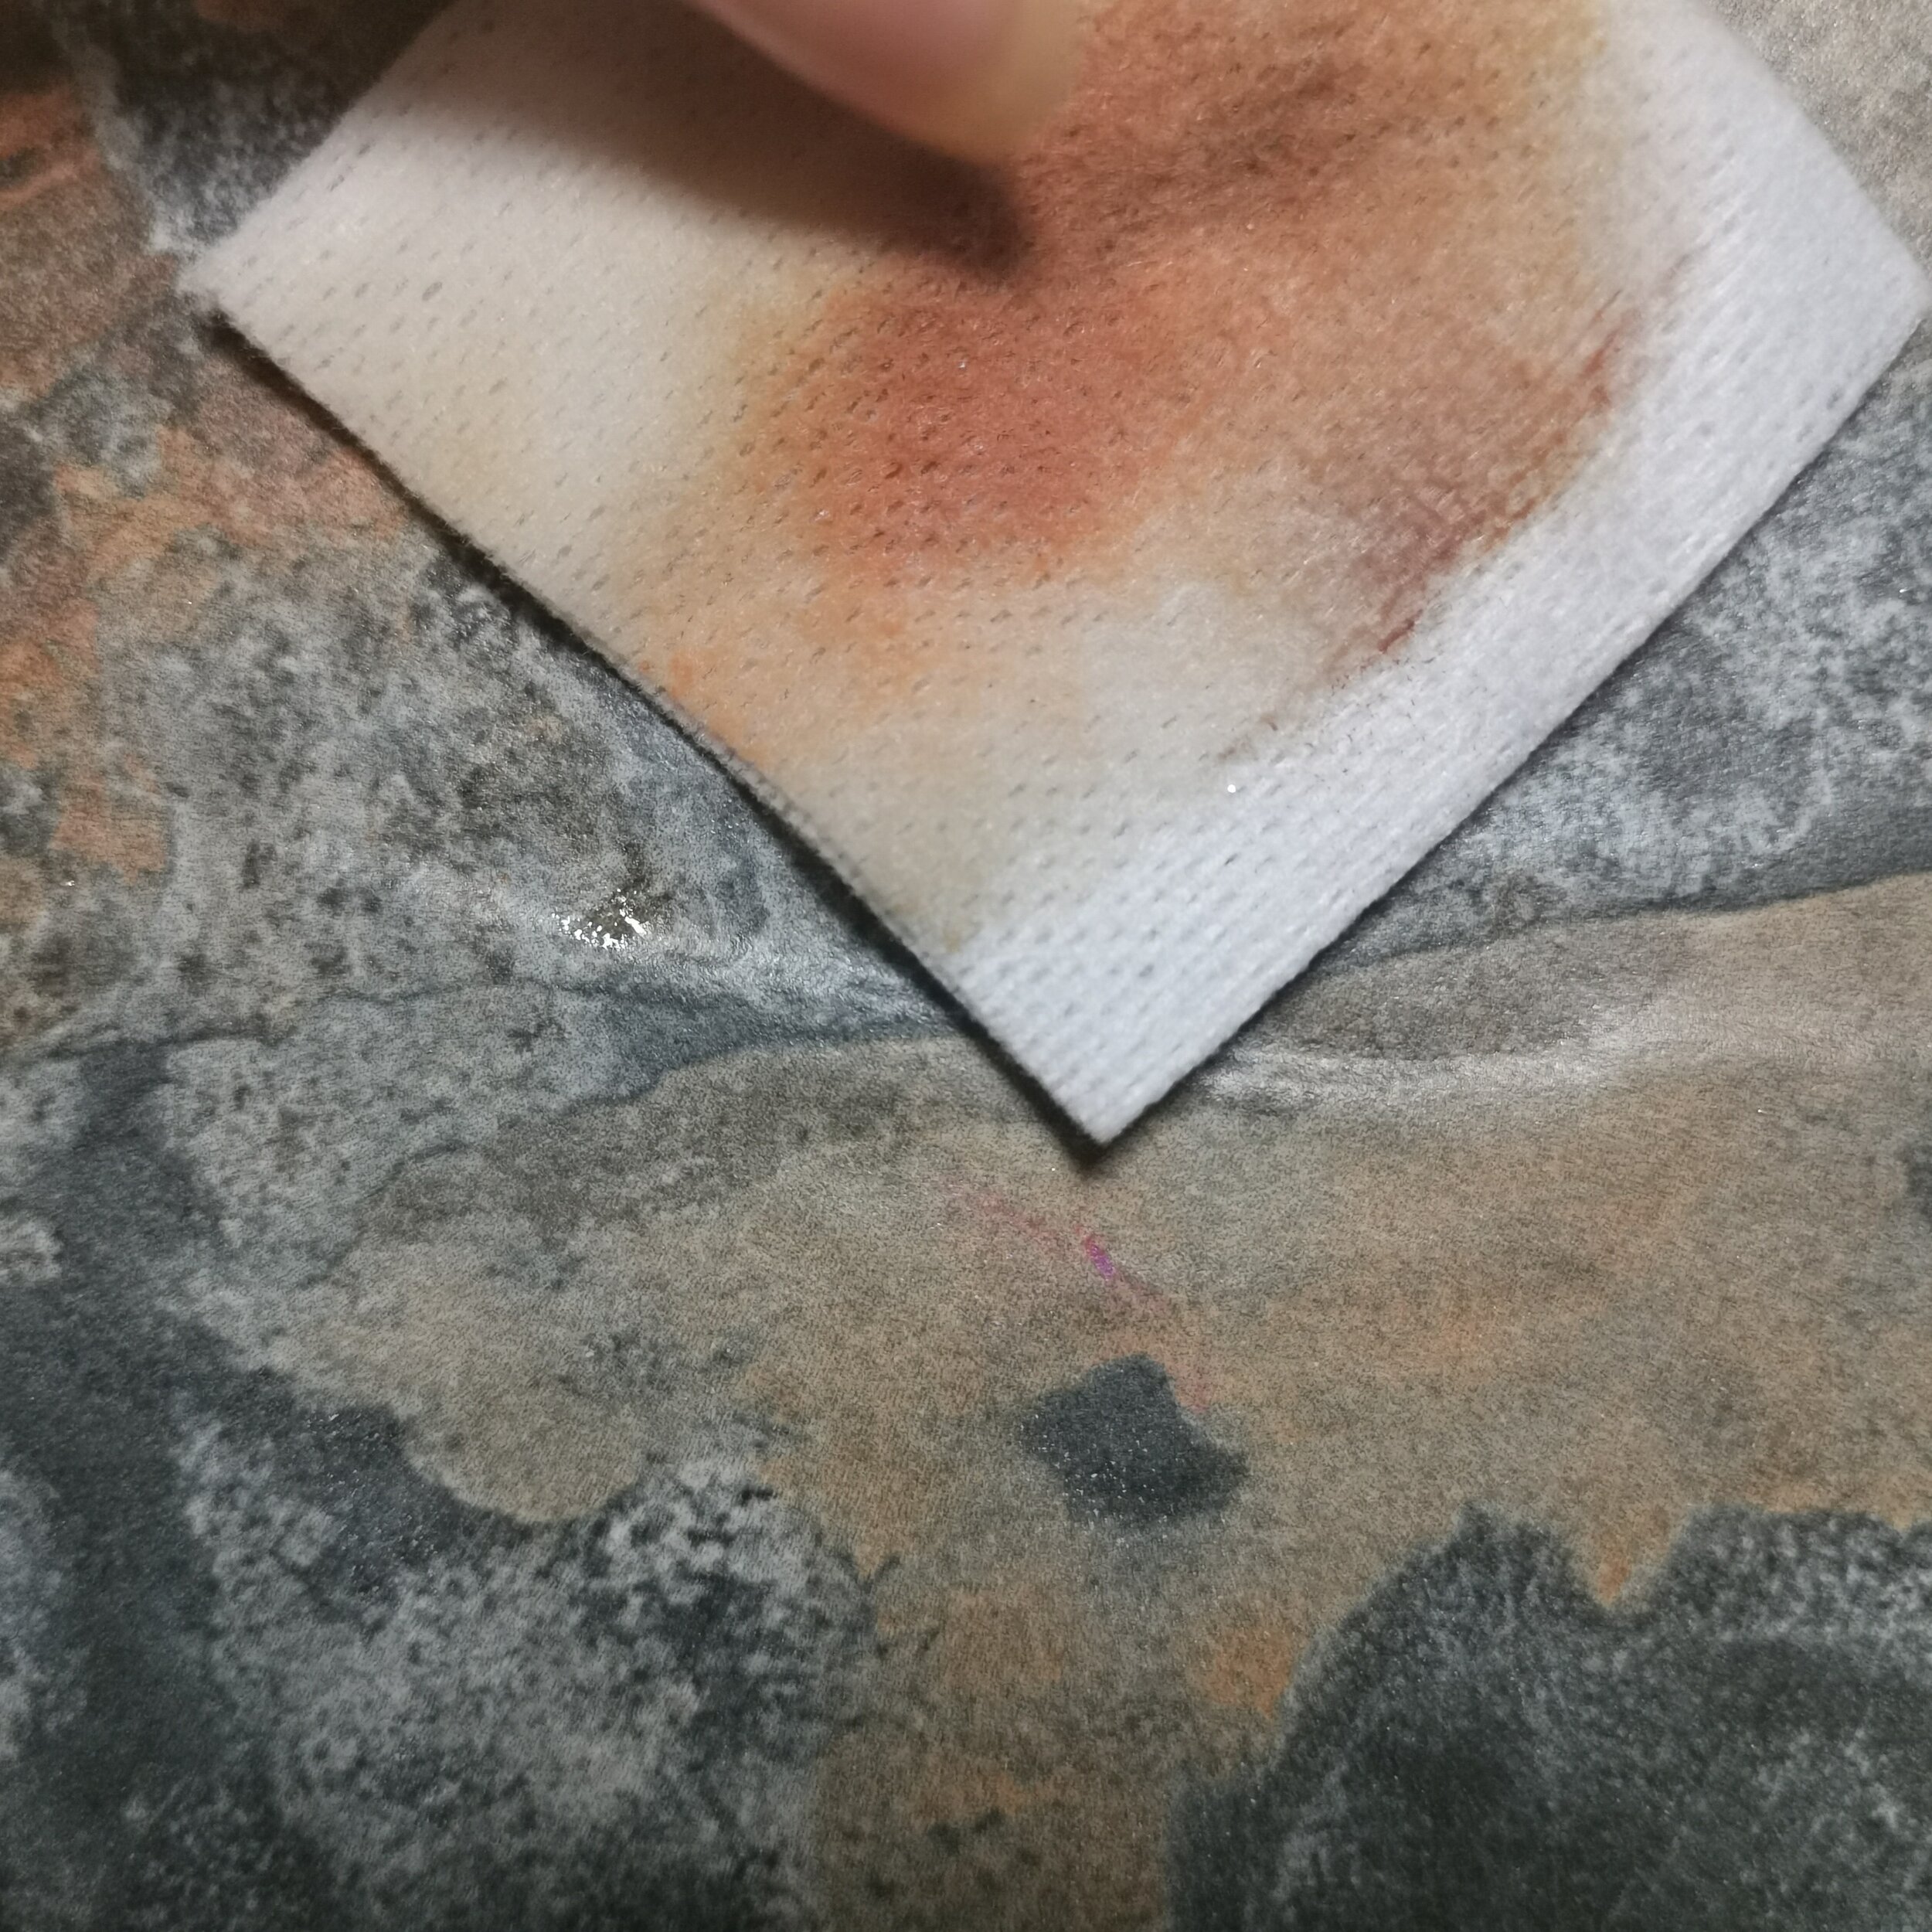
To take off old polish, oil up your cuticles to protect them from acetone as much as you can

Soak your cotton pad with acetone or nail polish remover and press on to the nail for a few seconds (this is for normal polish, not gel)

This should remove the polish. You can use a new cotton pad to wipe off any bits that you’ve missed

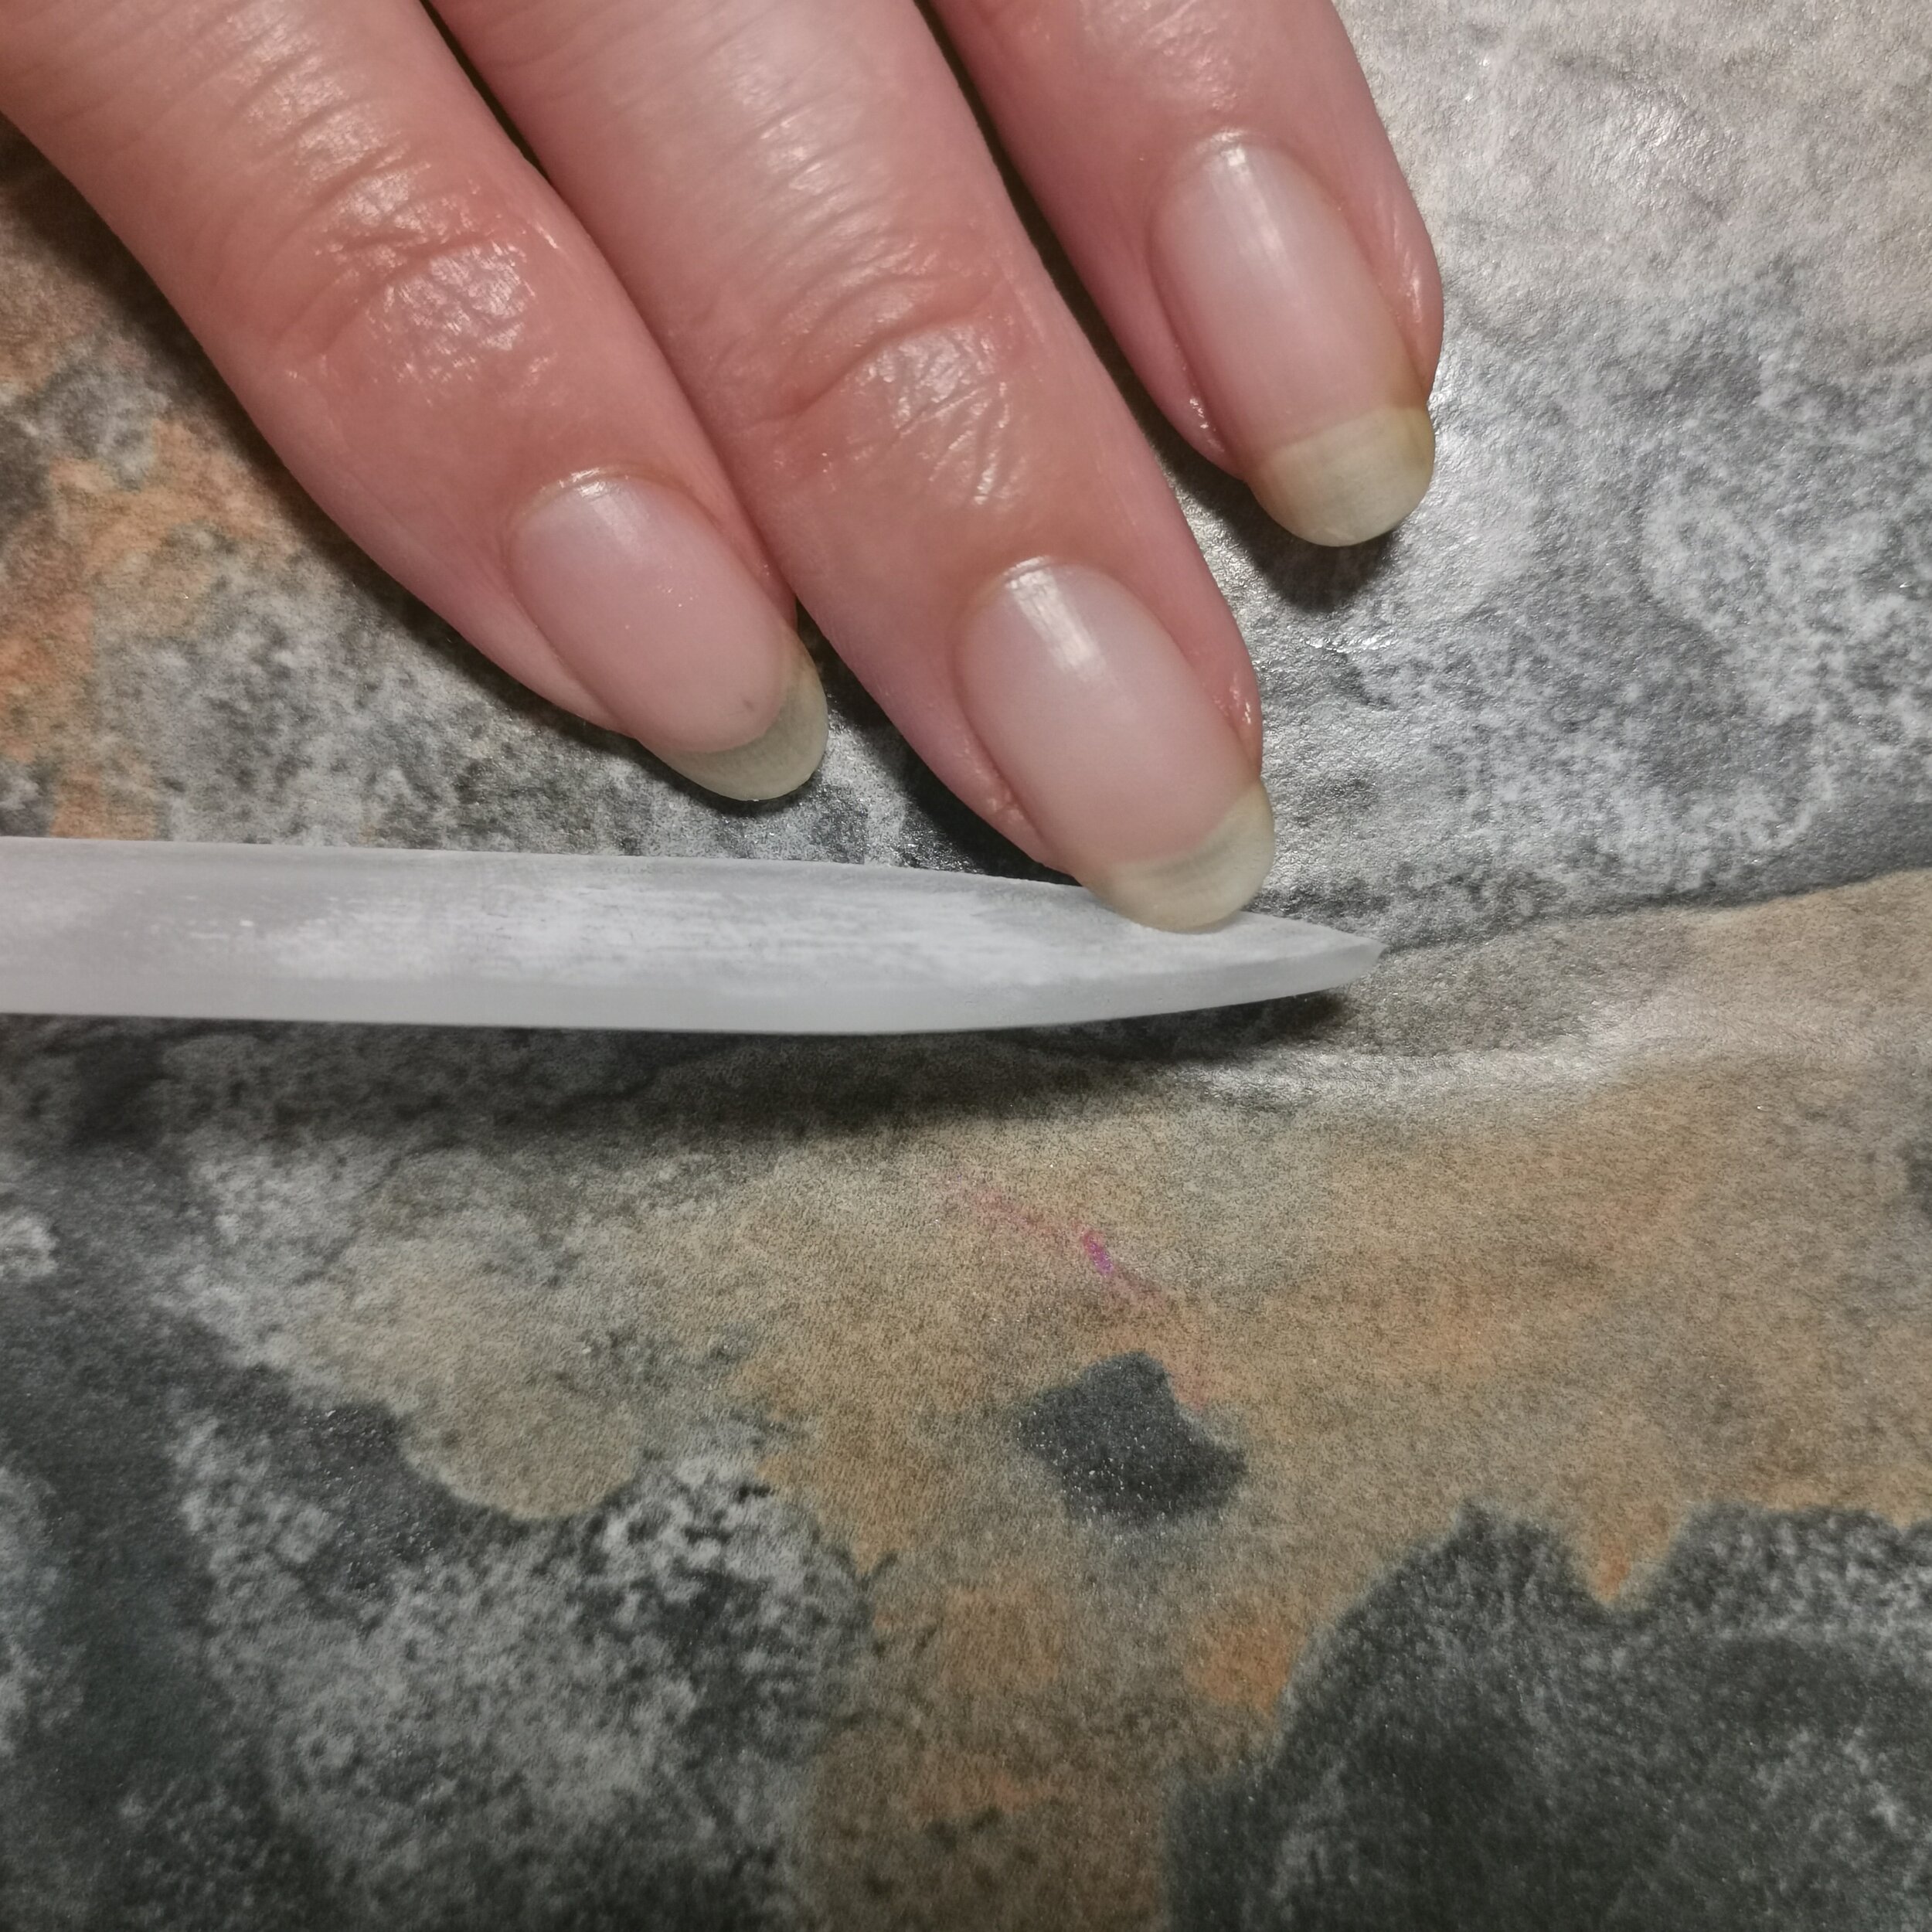
File down to desired length/finish/shape
My nails are a little long for my lifestyle so I’ve filed it down and shaped it again to suit myself. Not the best edges trying to photograph and file though!
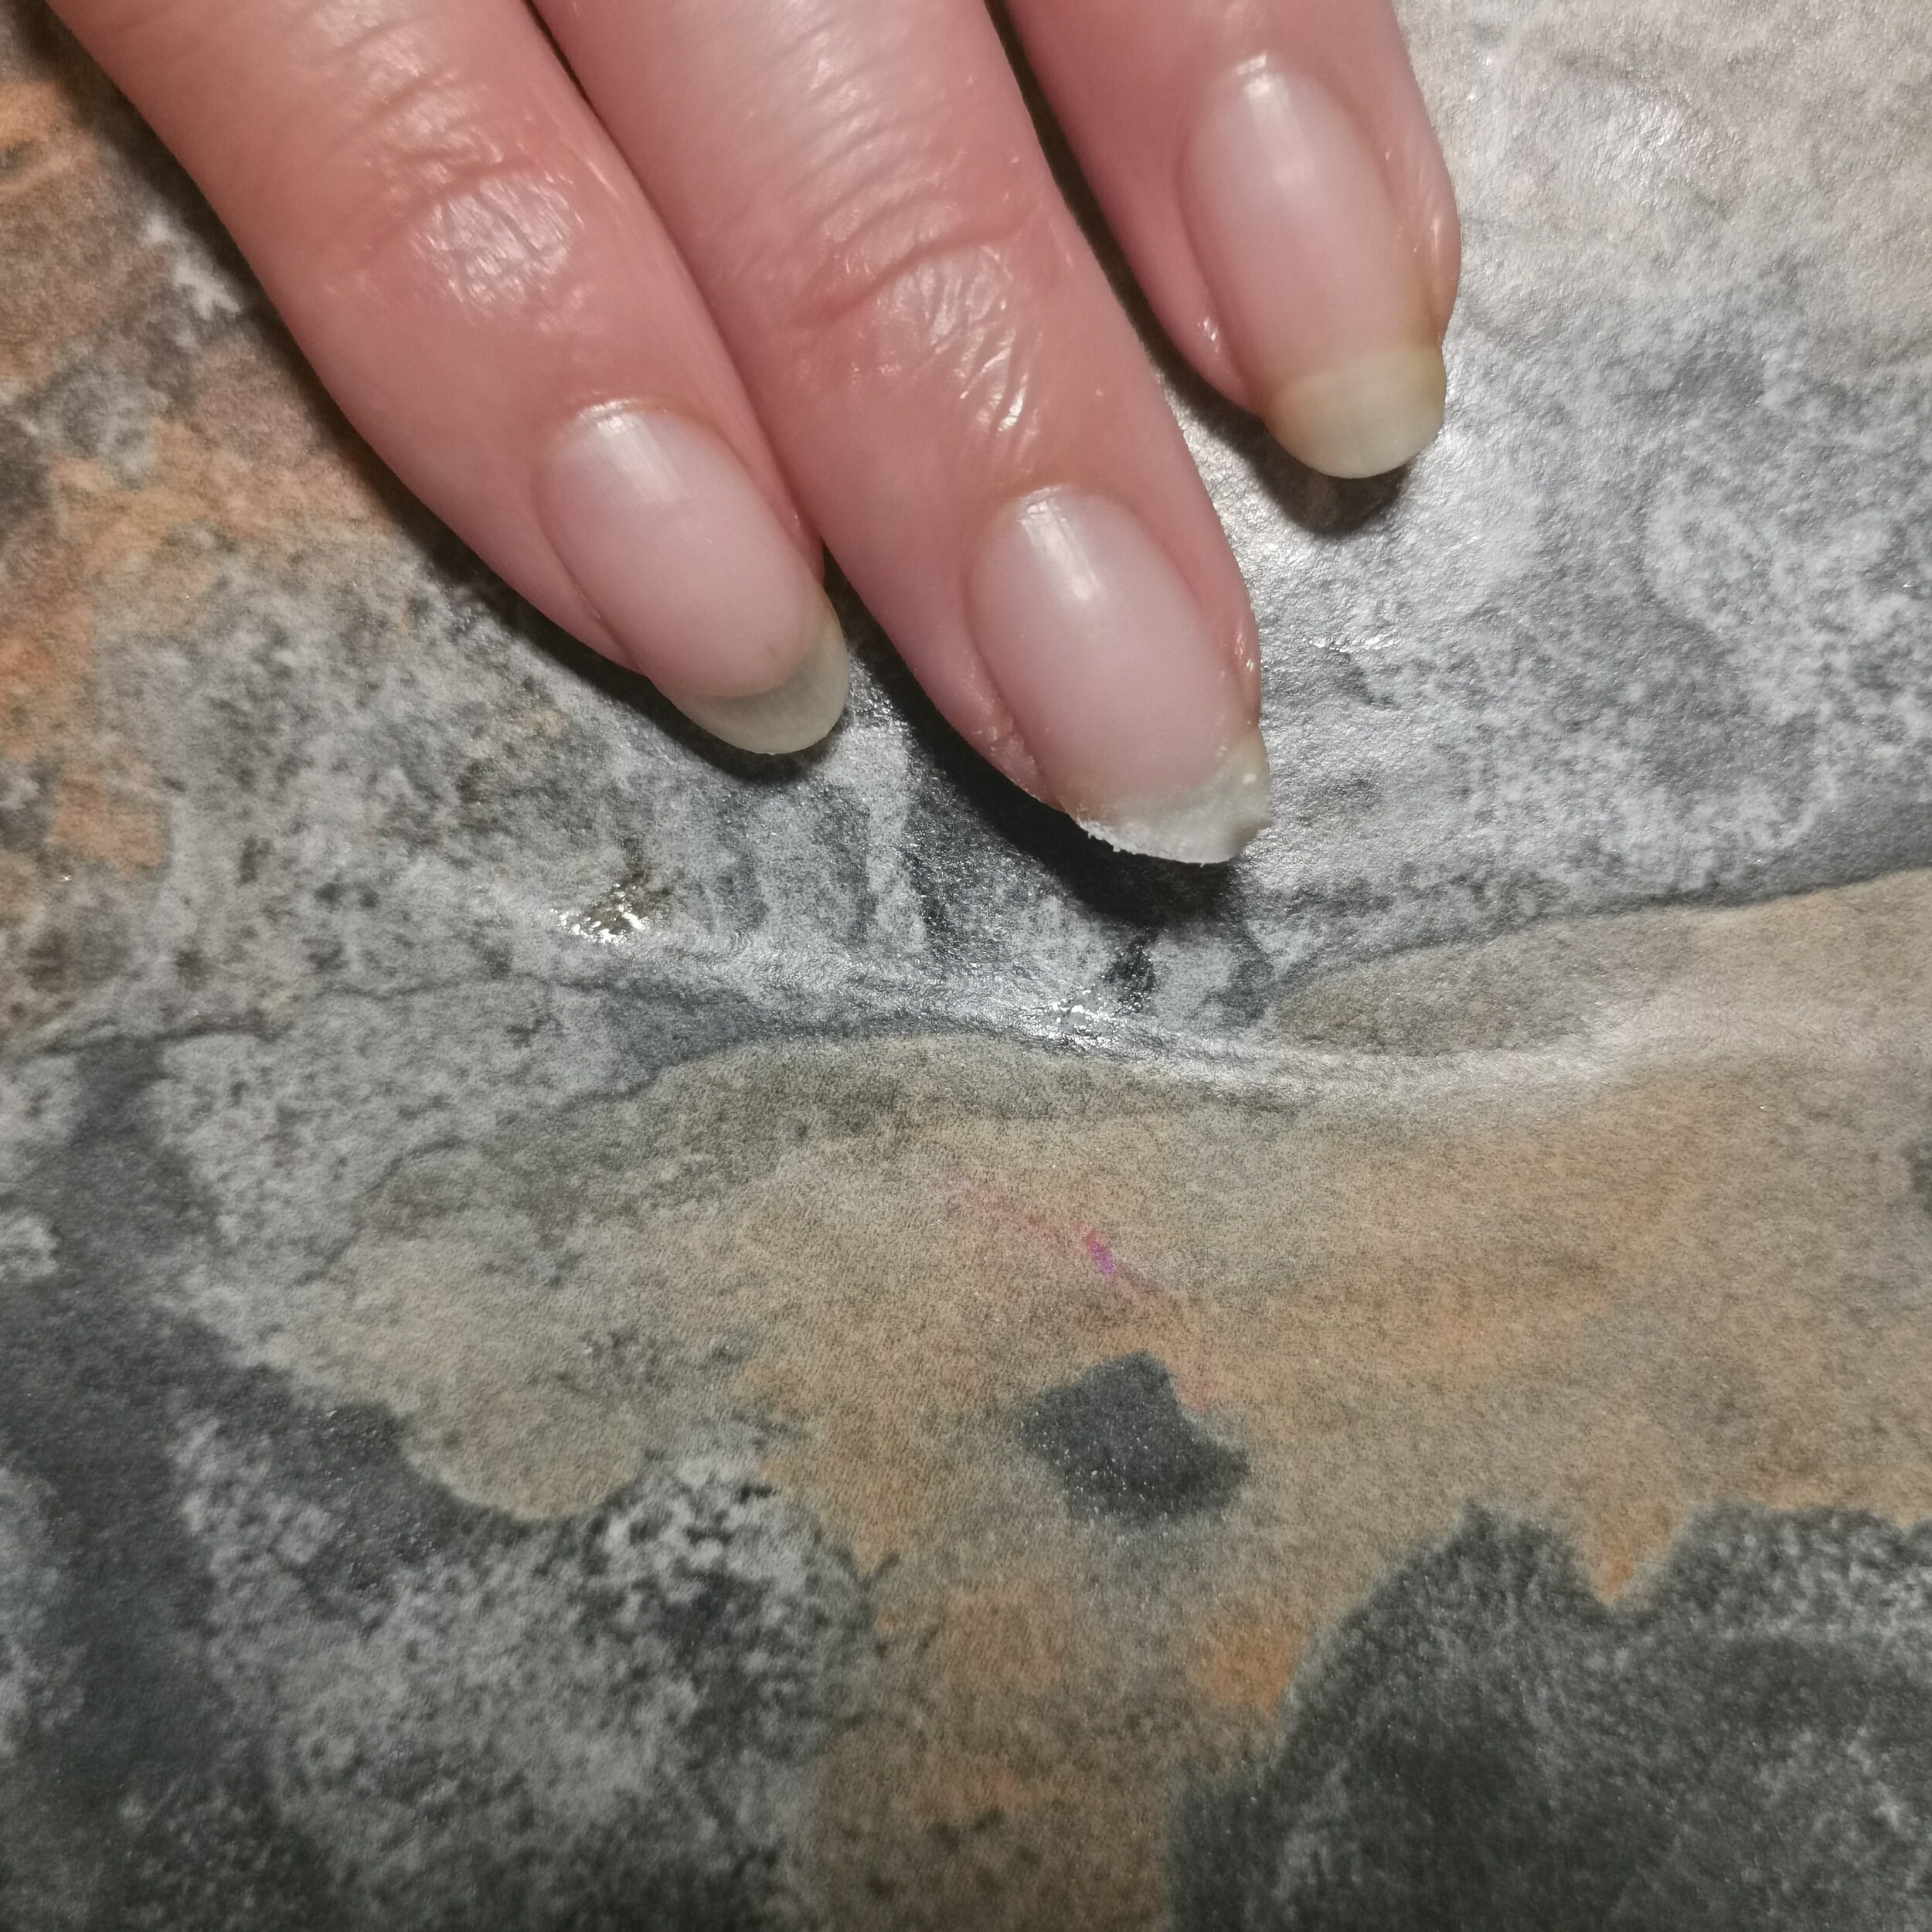
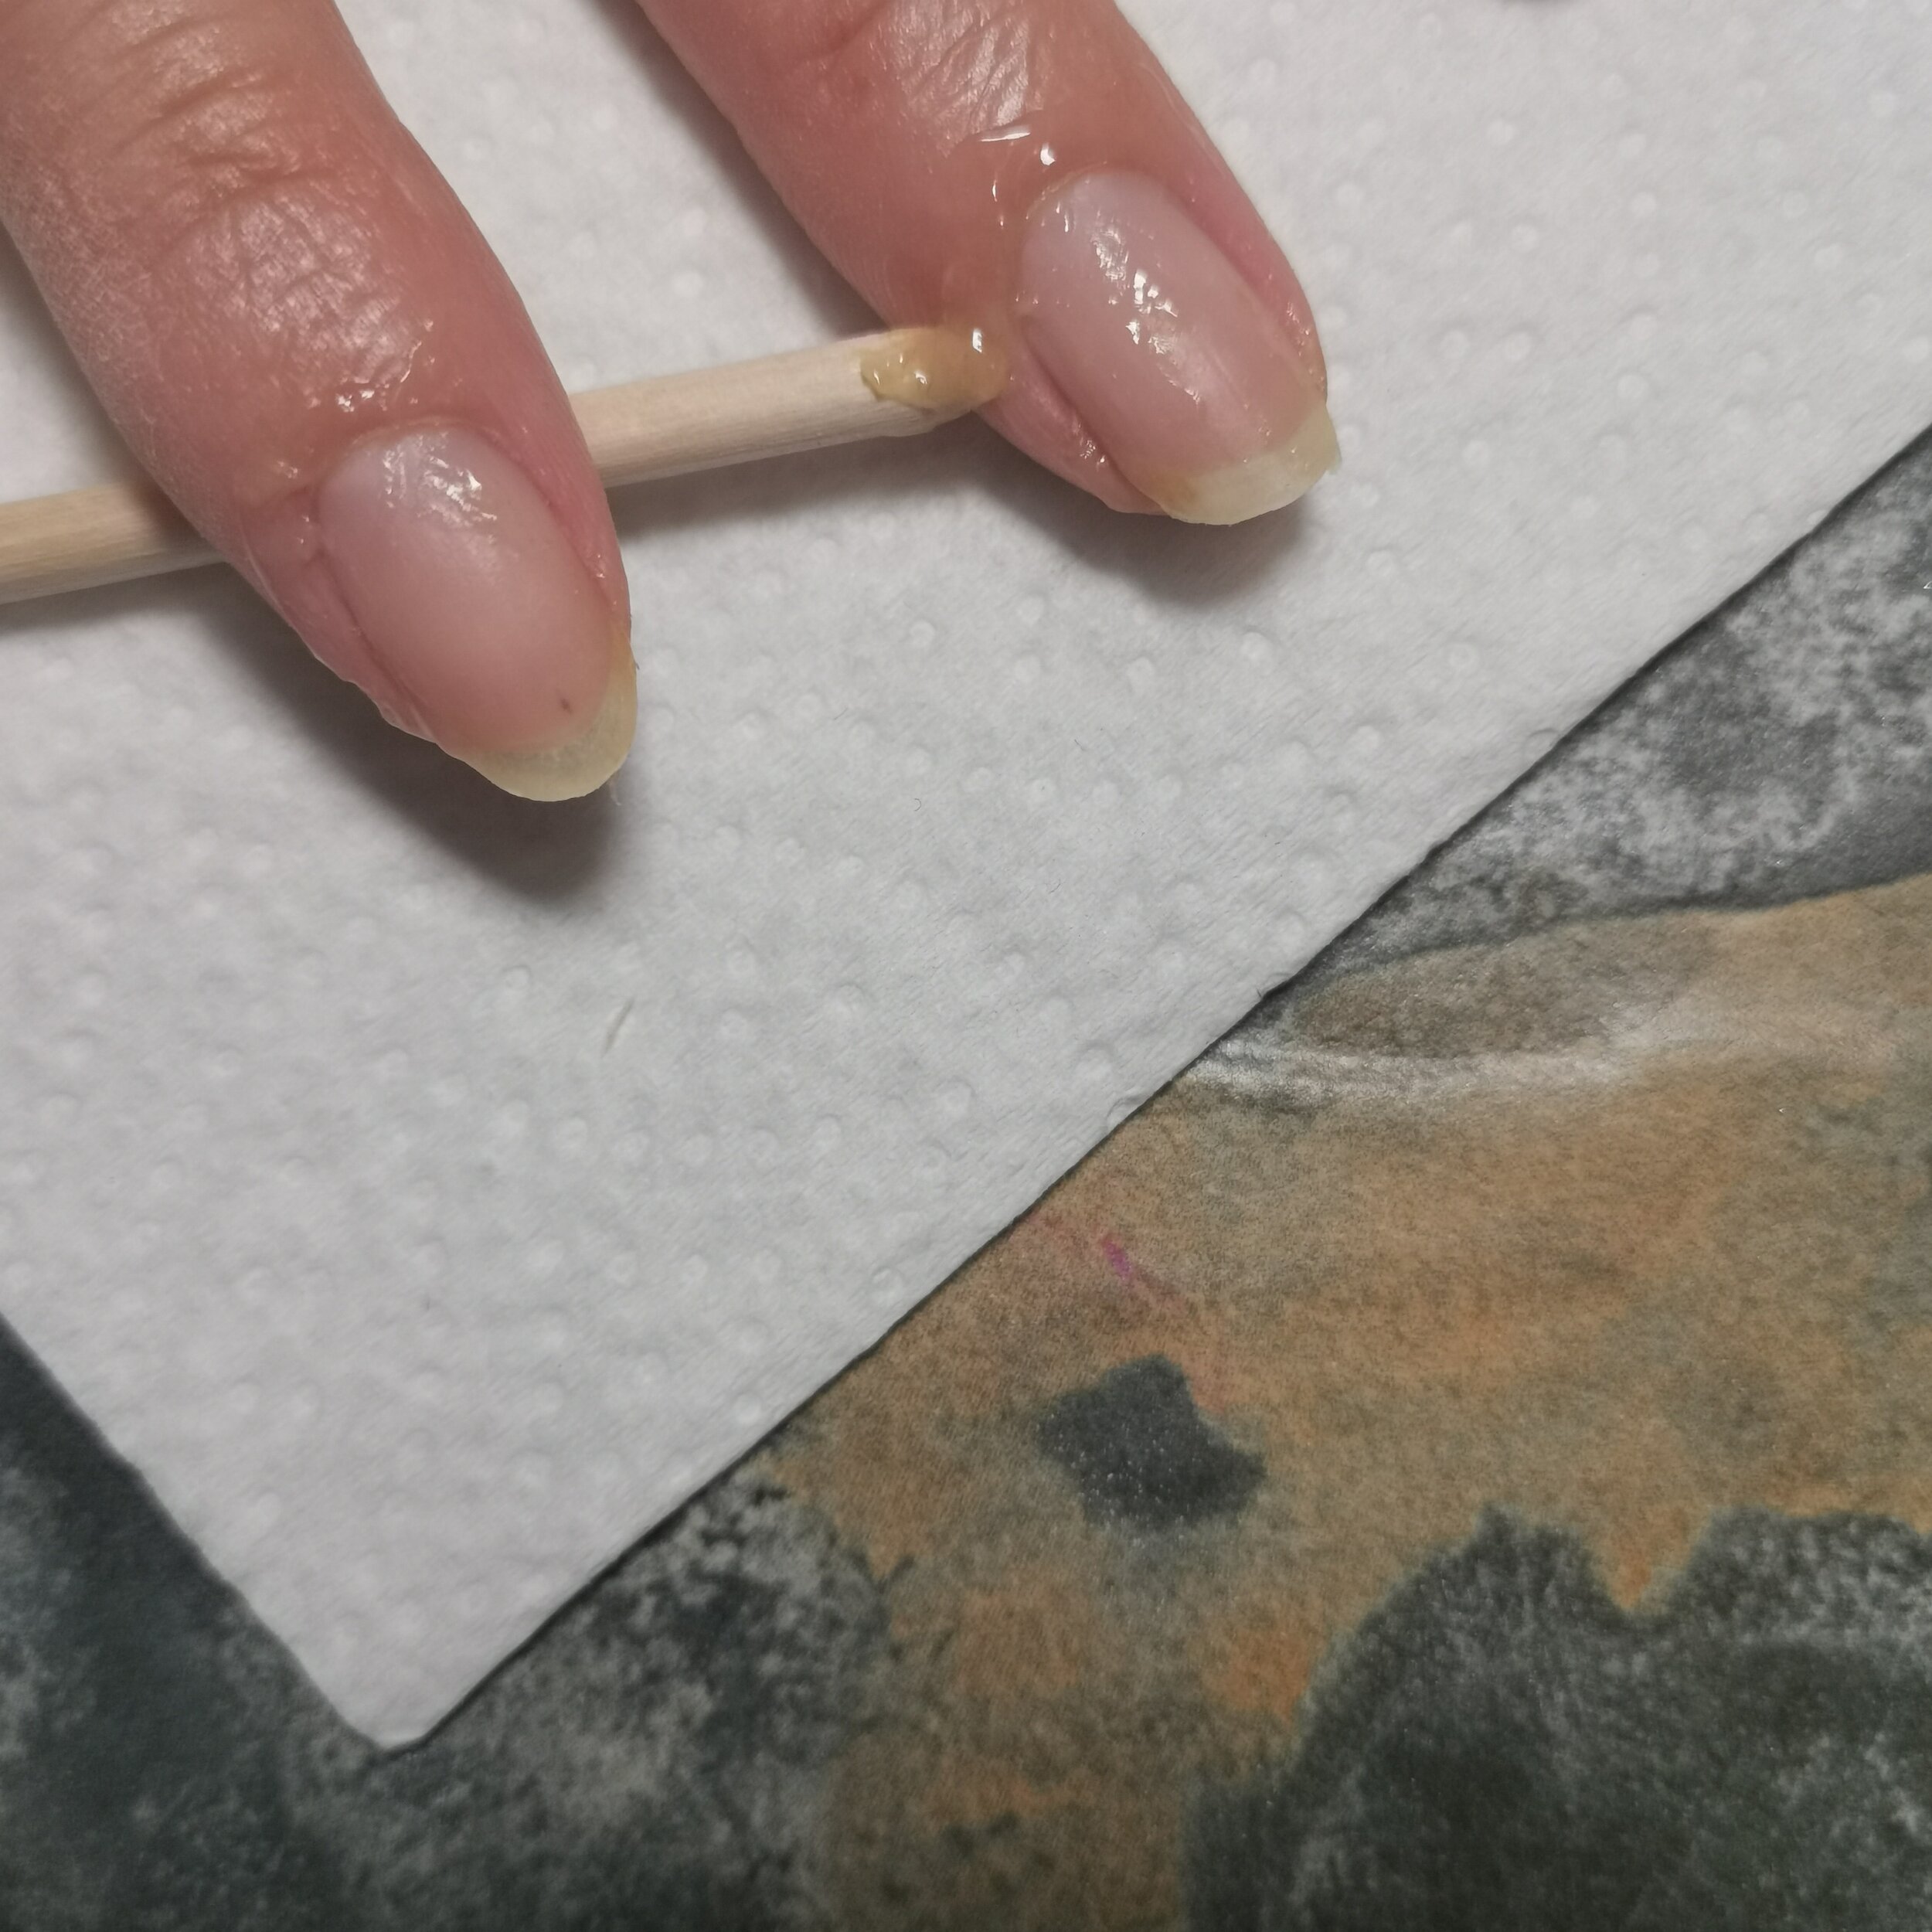
Remove “excess” cuticles - the dead skin by putting the cuticle removing drops around the cuticles and wait for 15 seconds. Then use an orange stick to gently push back and scrape off the dead skin.
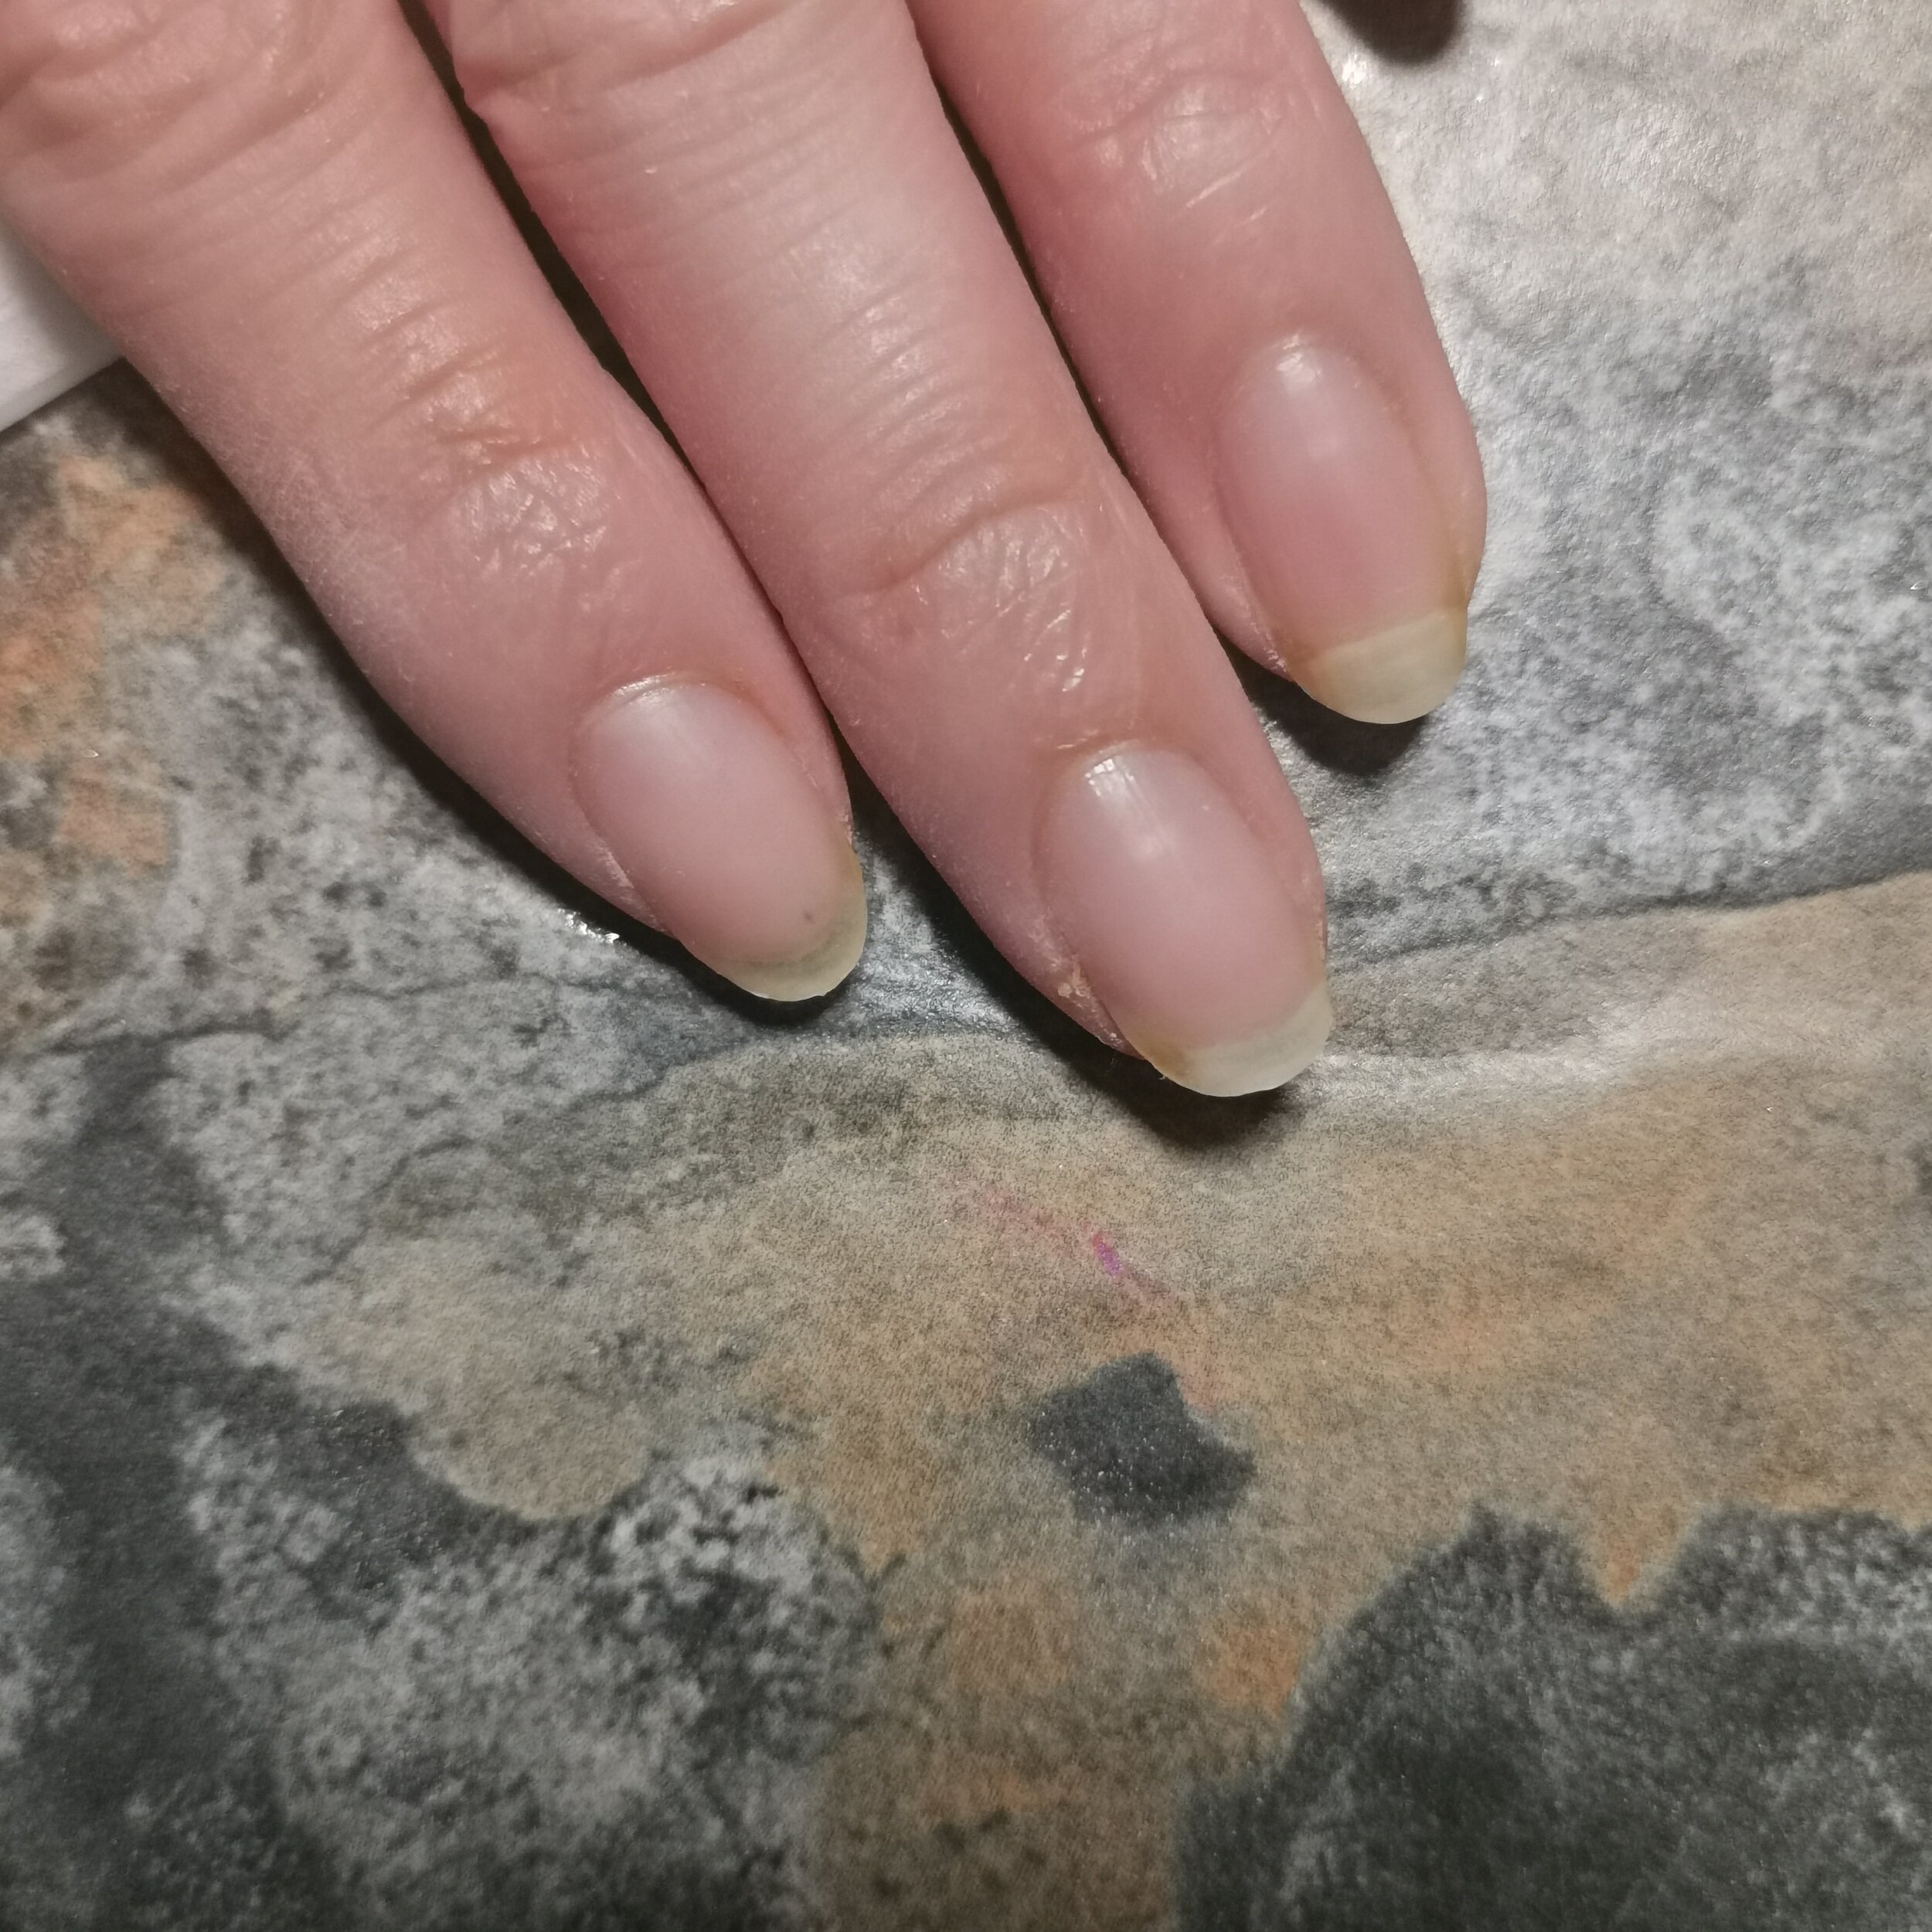
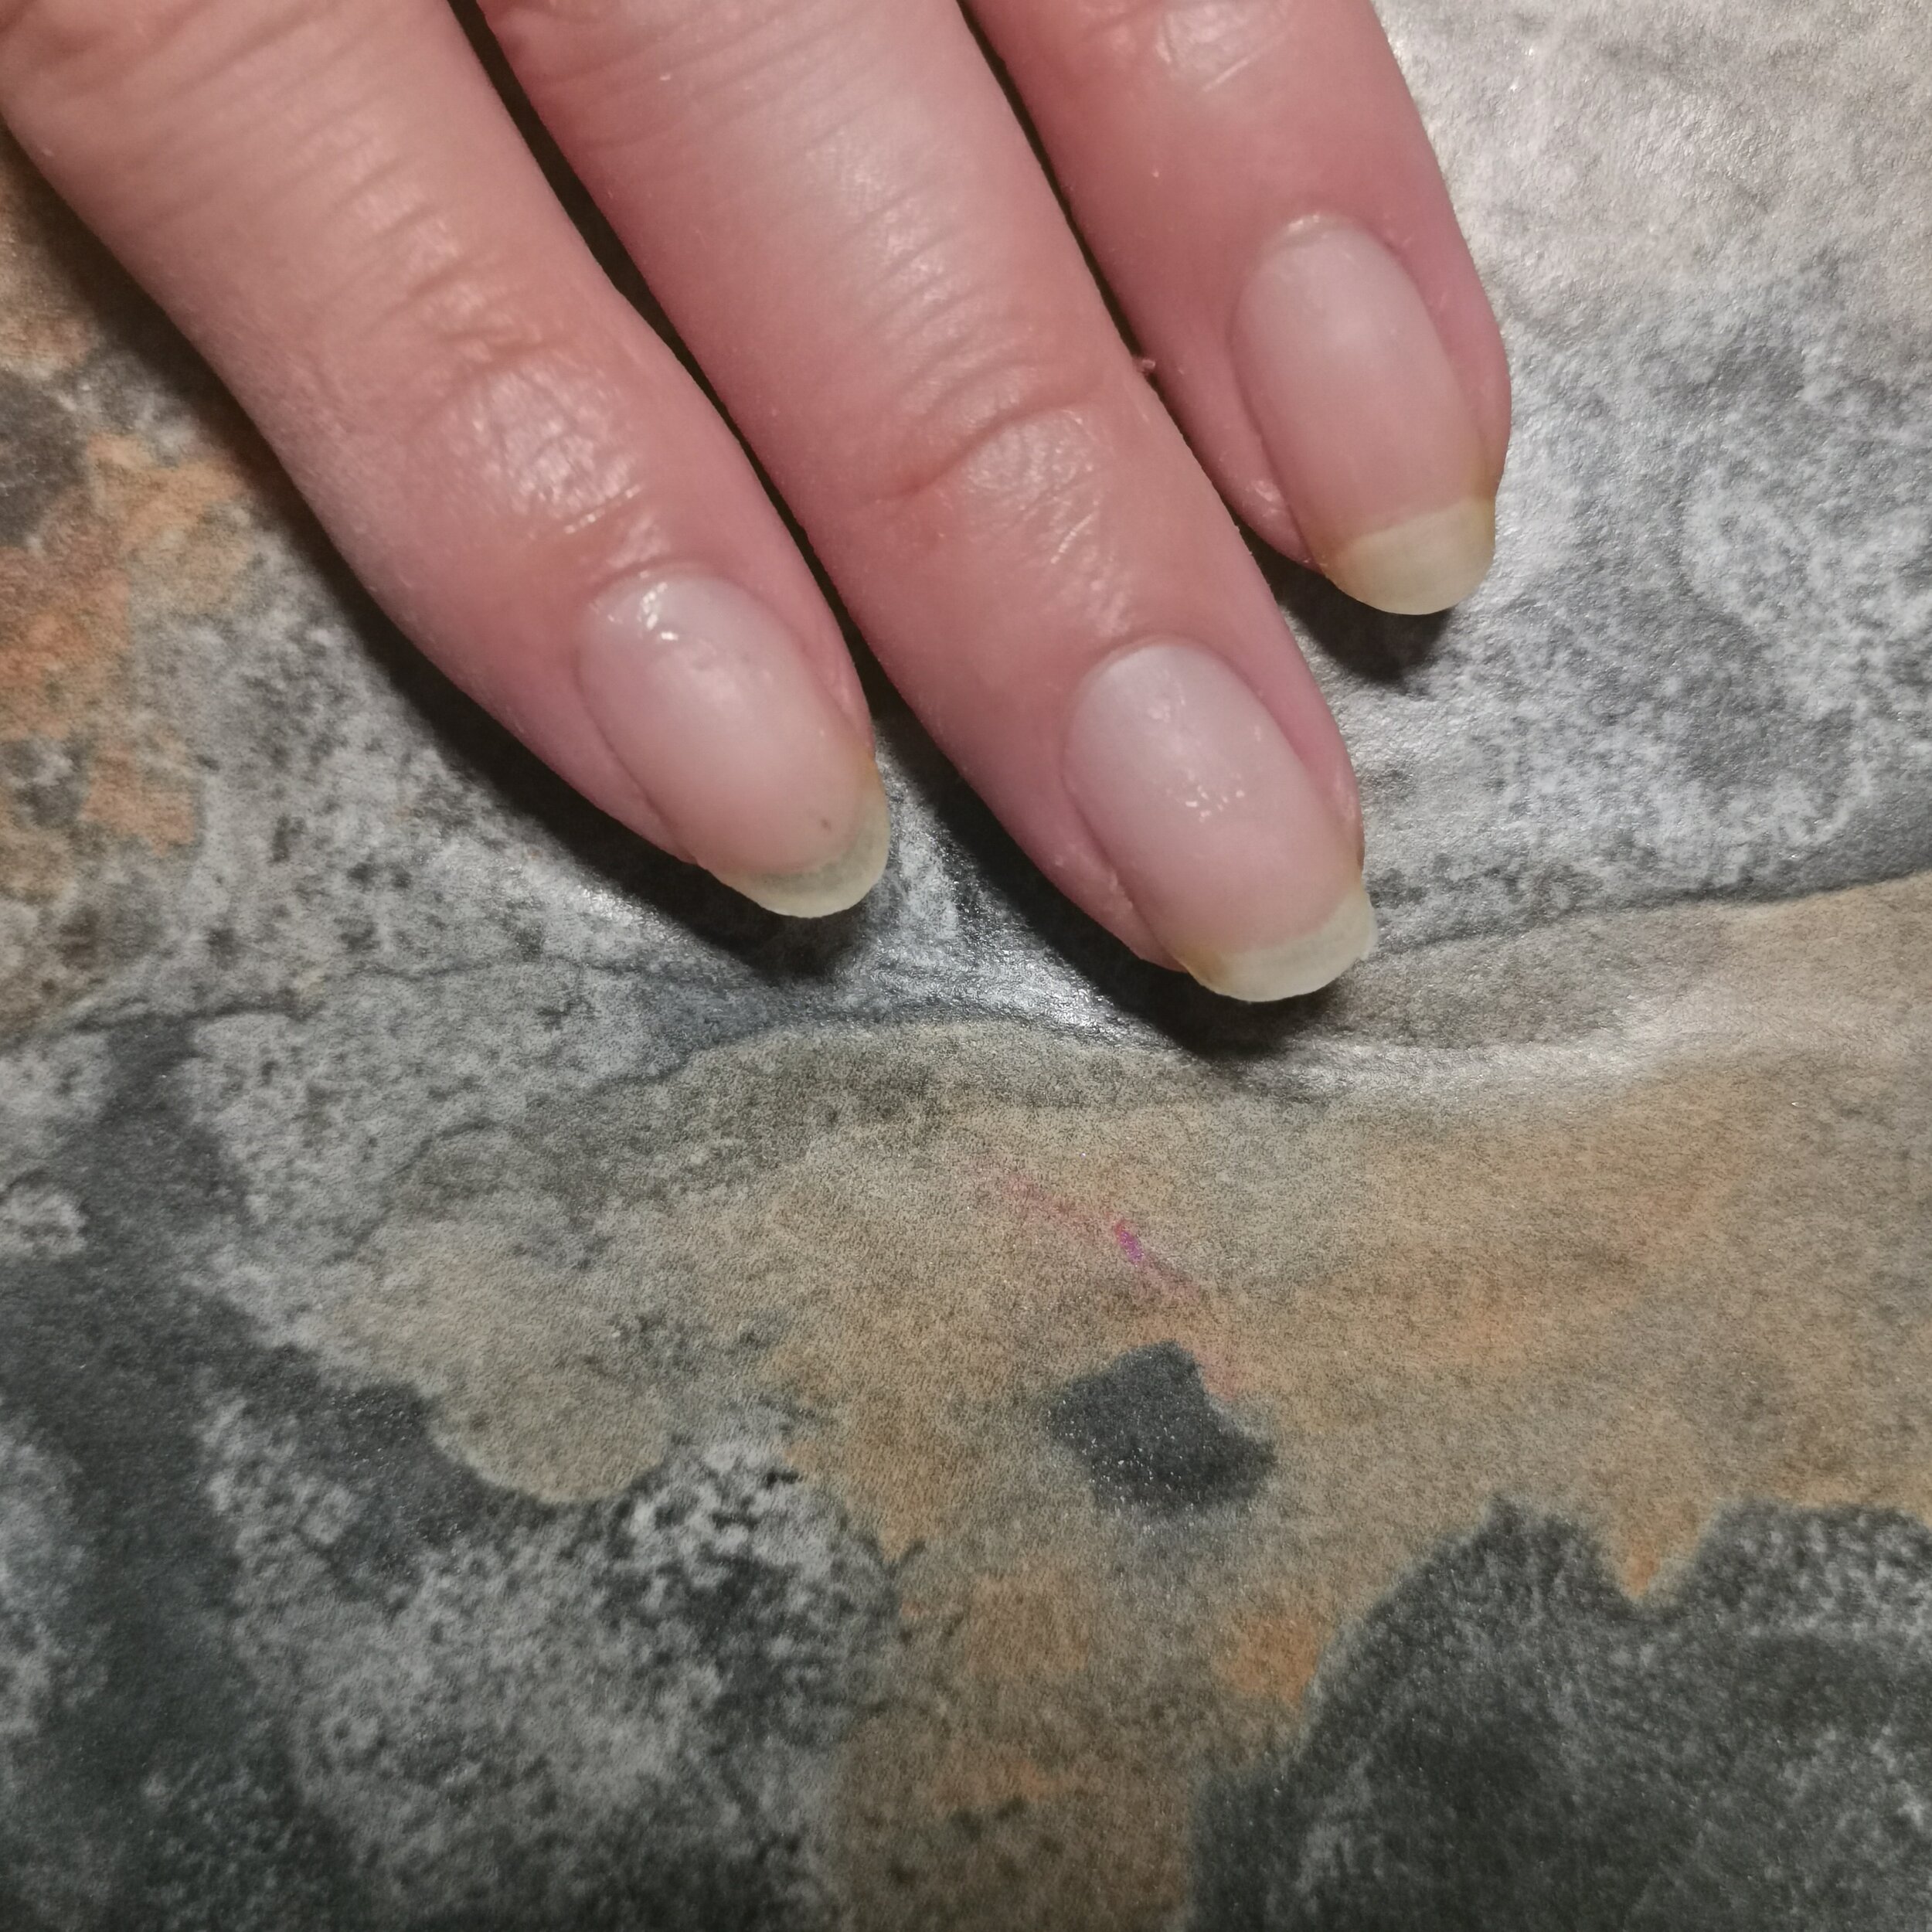
Once you re done with filing and removing cuticles, rinse your hands with water

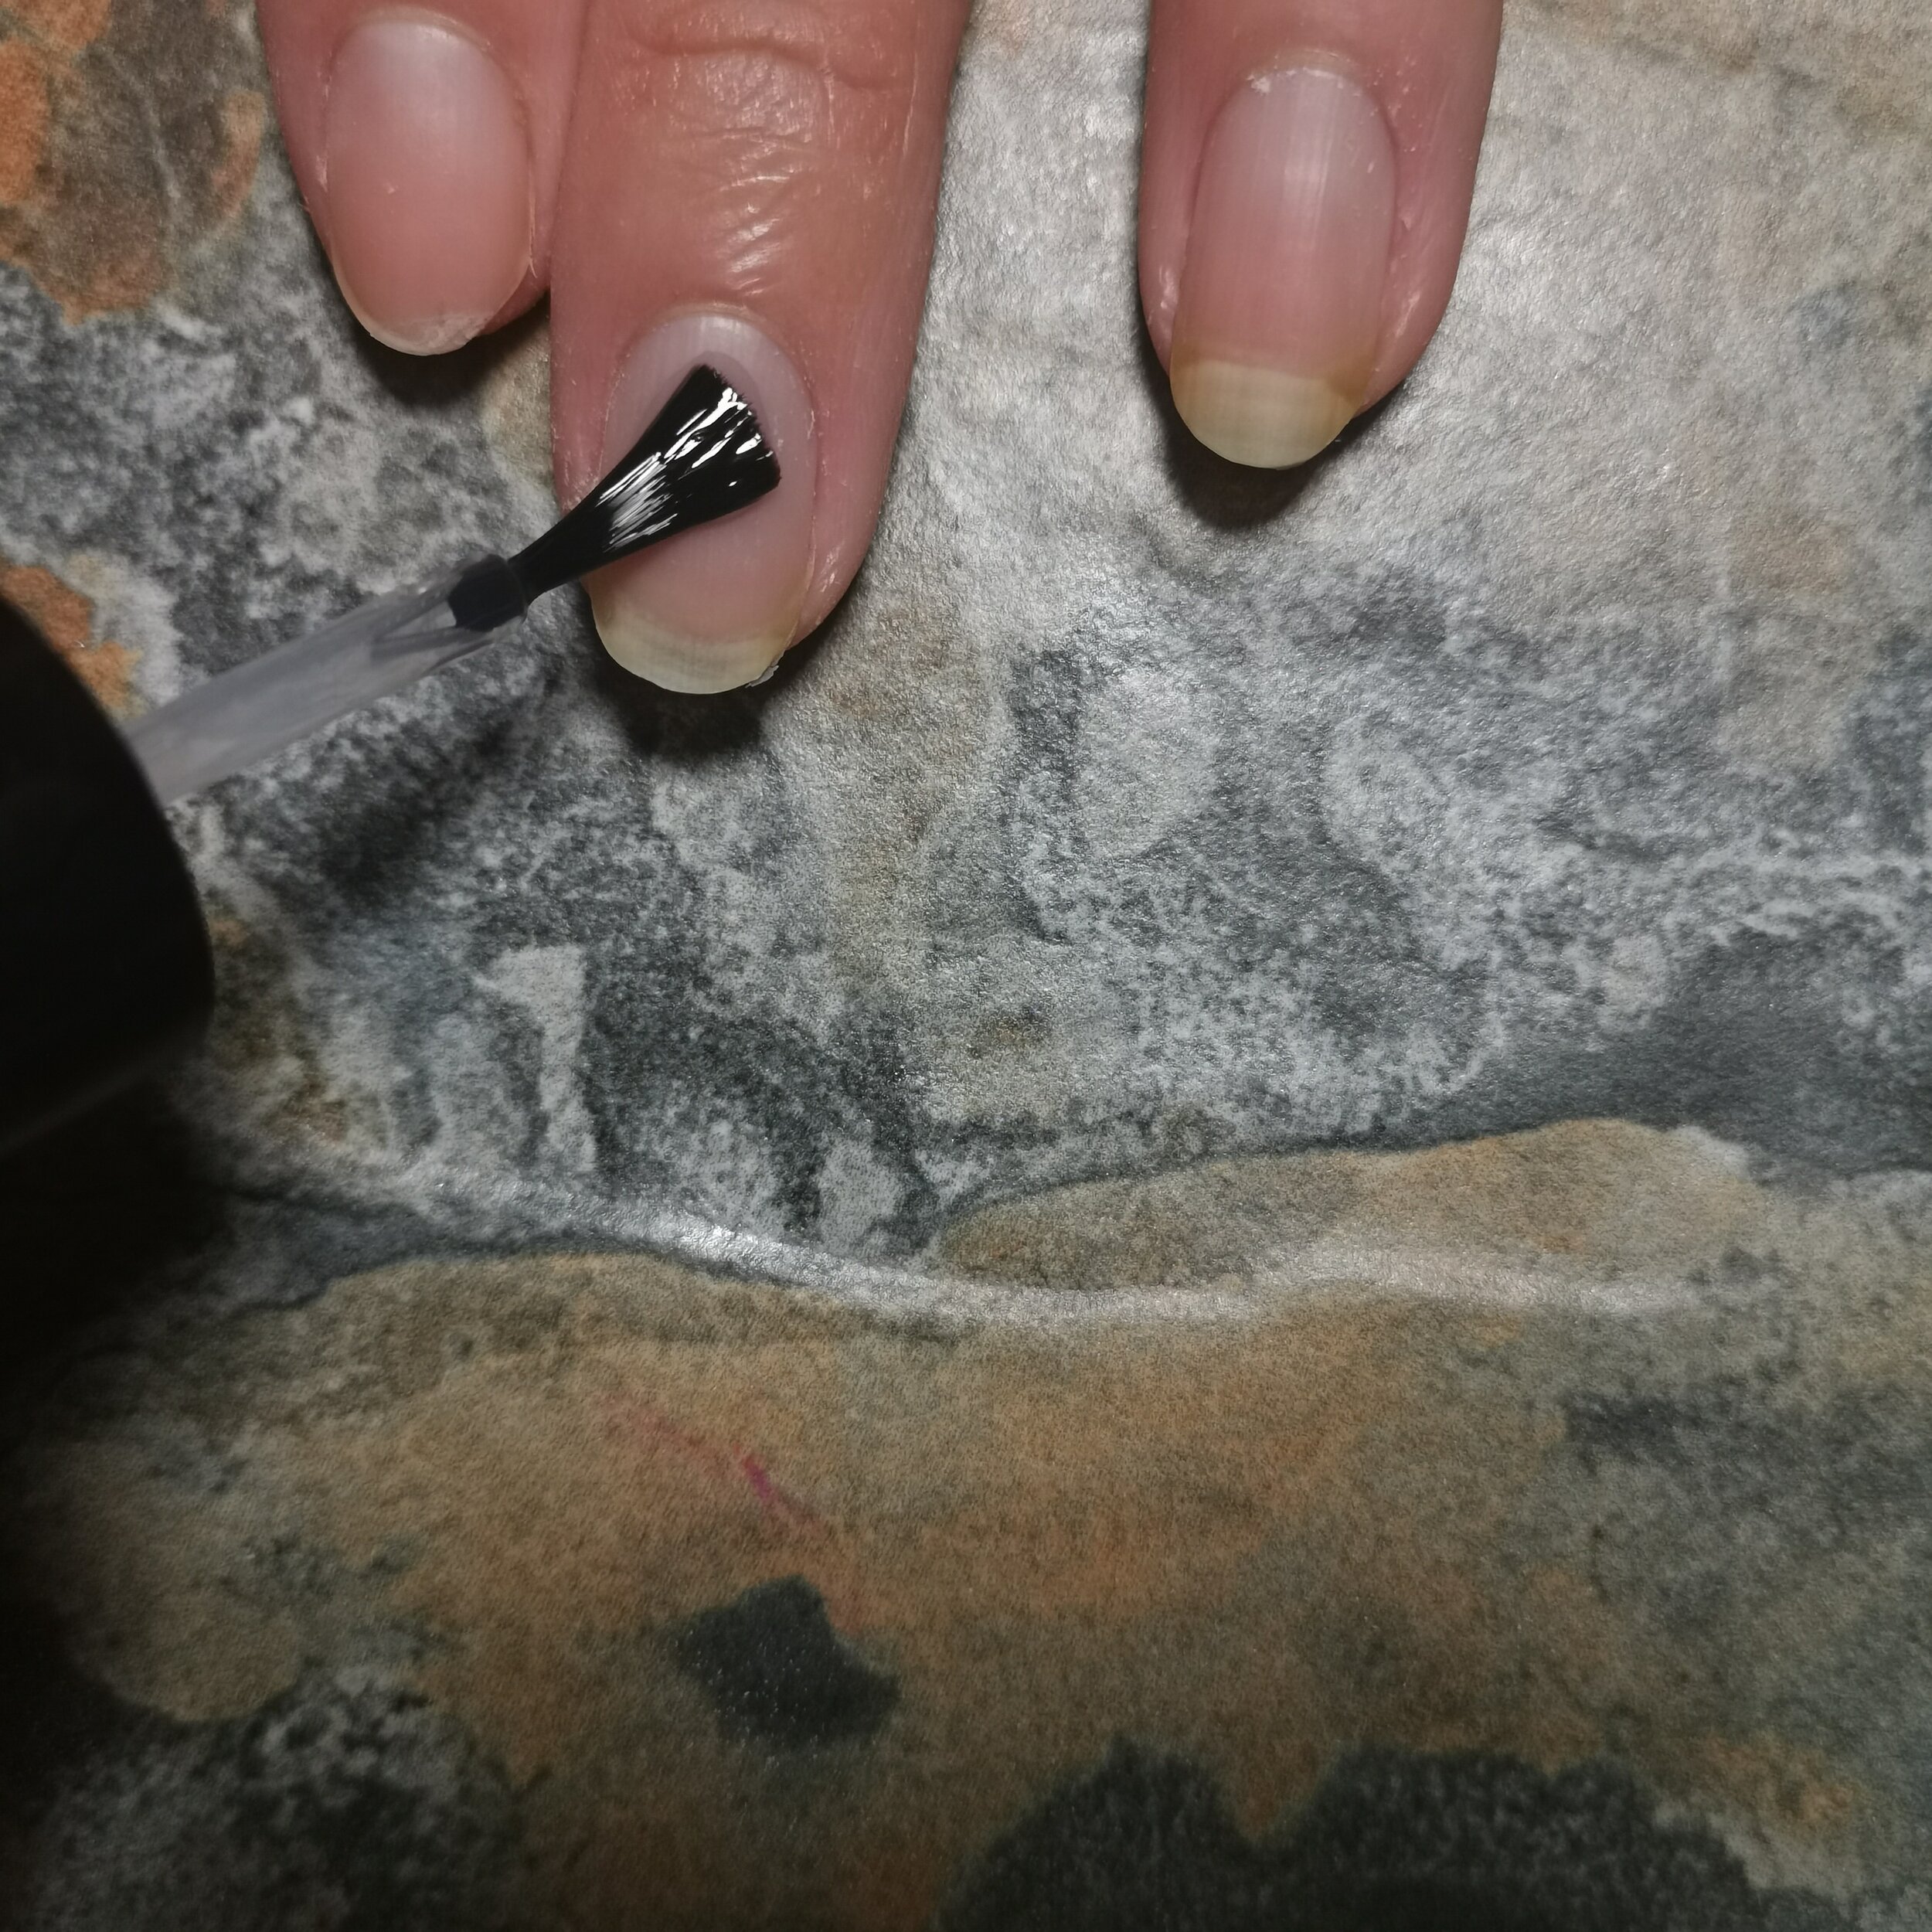
Wipe nail down with acetone and apply base coat
Wiping the nail with acetone helps get rid of any moisture and oil that’s on the nail plate to prevent your mani from sticking to your nail. Always remember to wrap the tip of your nail to seal it.
Base coat is like a “primer” for nail polish to stick to your nail. You can get long-lasting base coats that will make your mani last longer but how long your mani lasts also depends on other factors! Base coat is one of them.
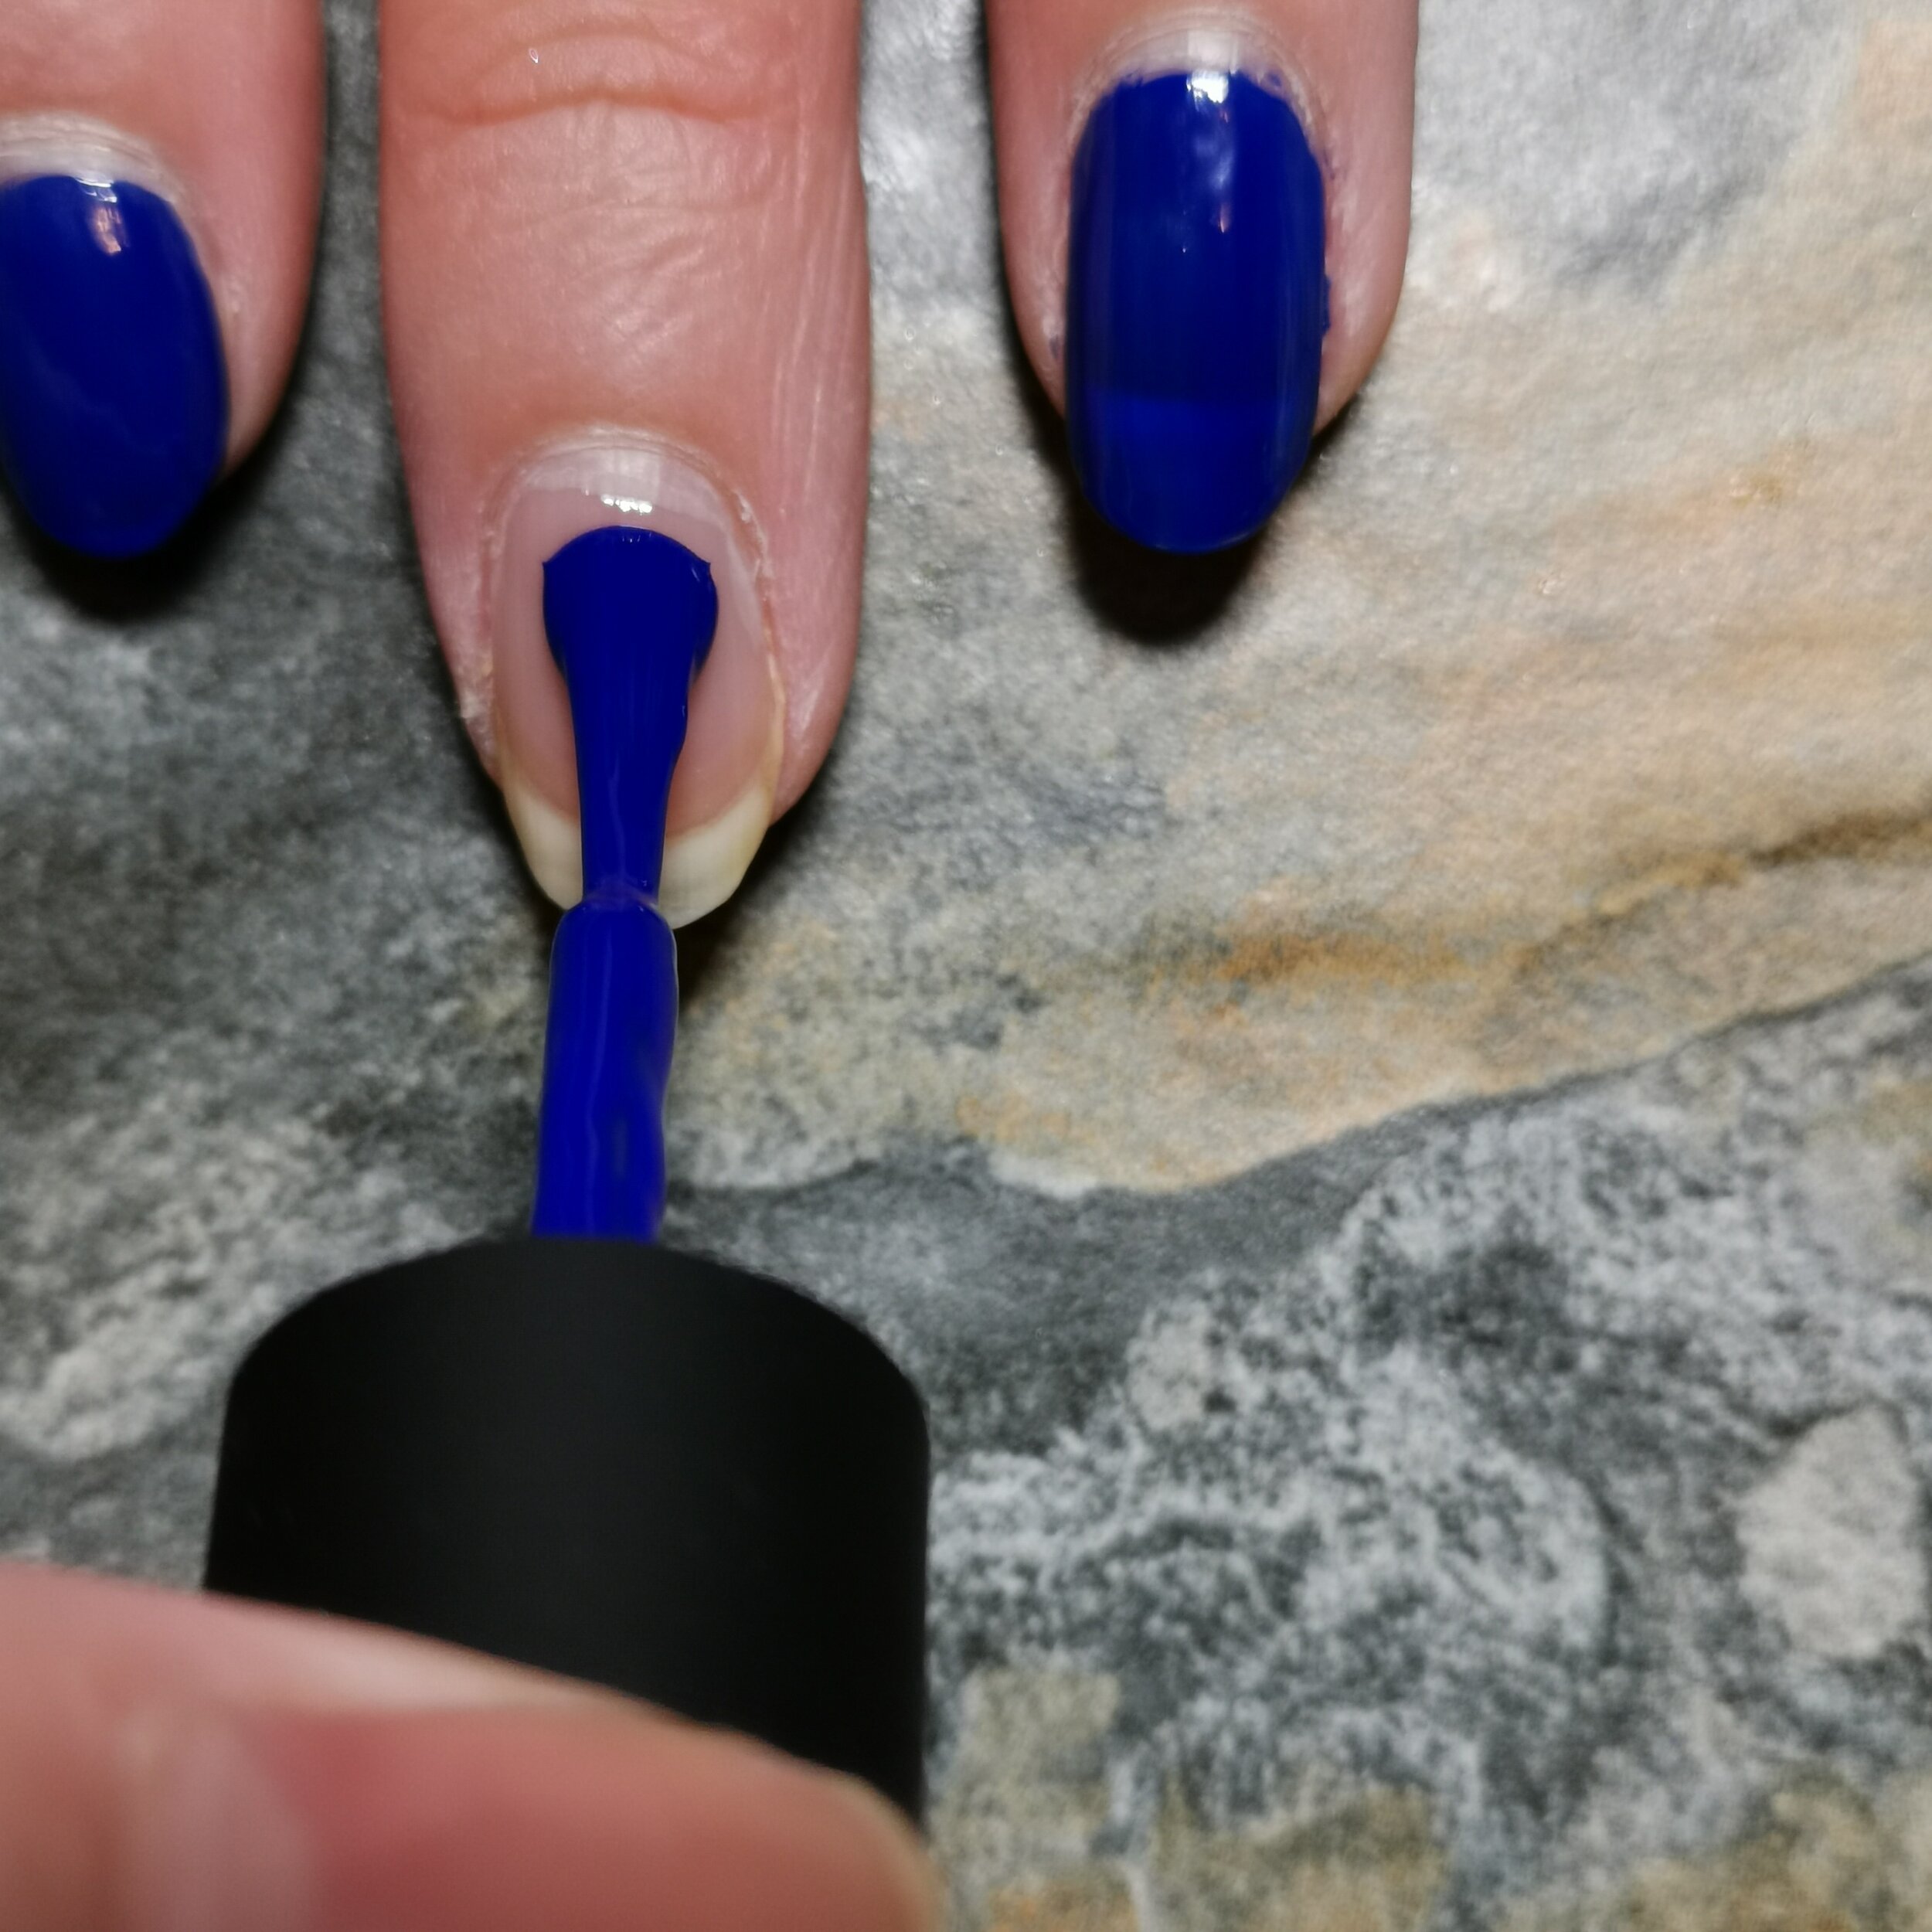
Paint first coat of nail polish
Here is where you can do whatever you want to nail designs. We all need to start with the first coat. if your nail polish is opaque enough then you may find you just need 1 good coat of it.
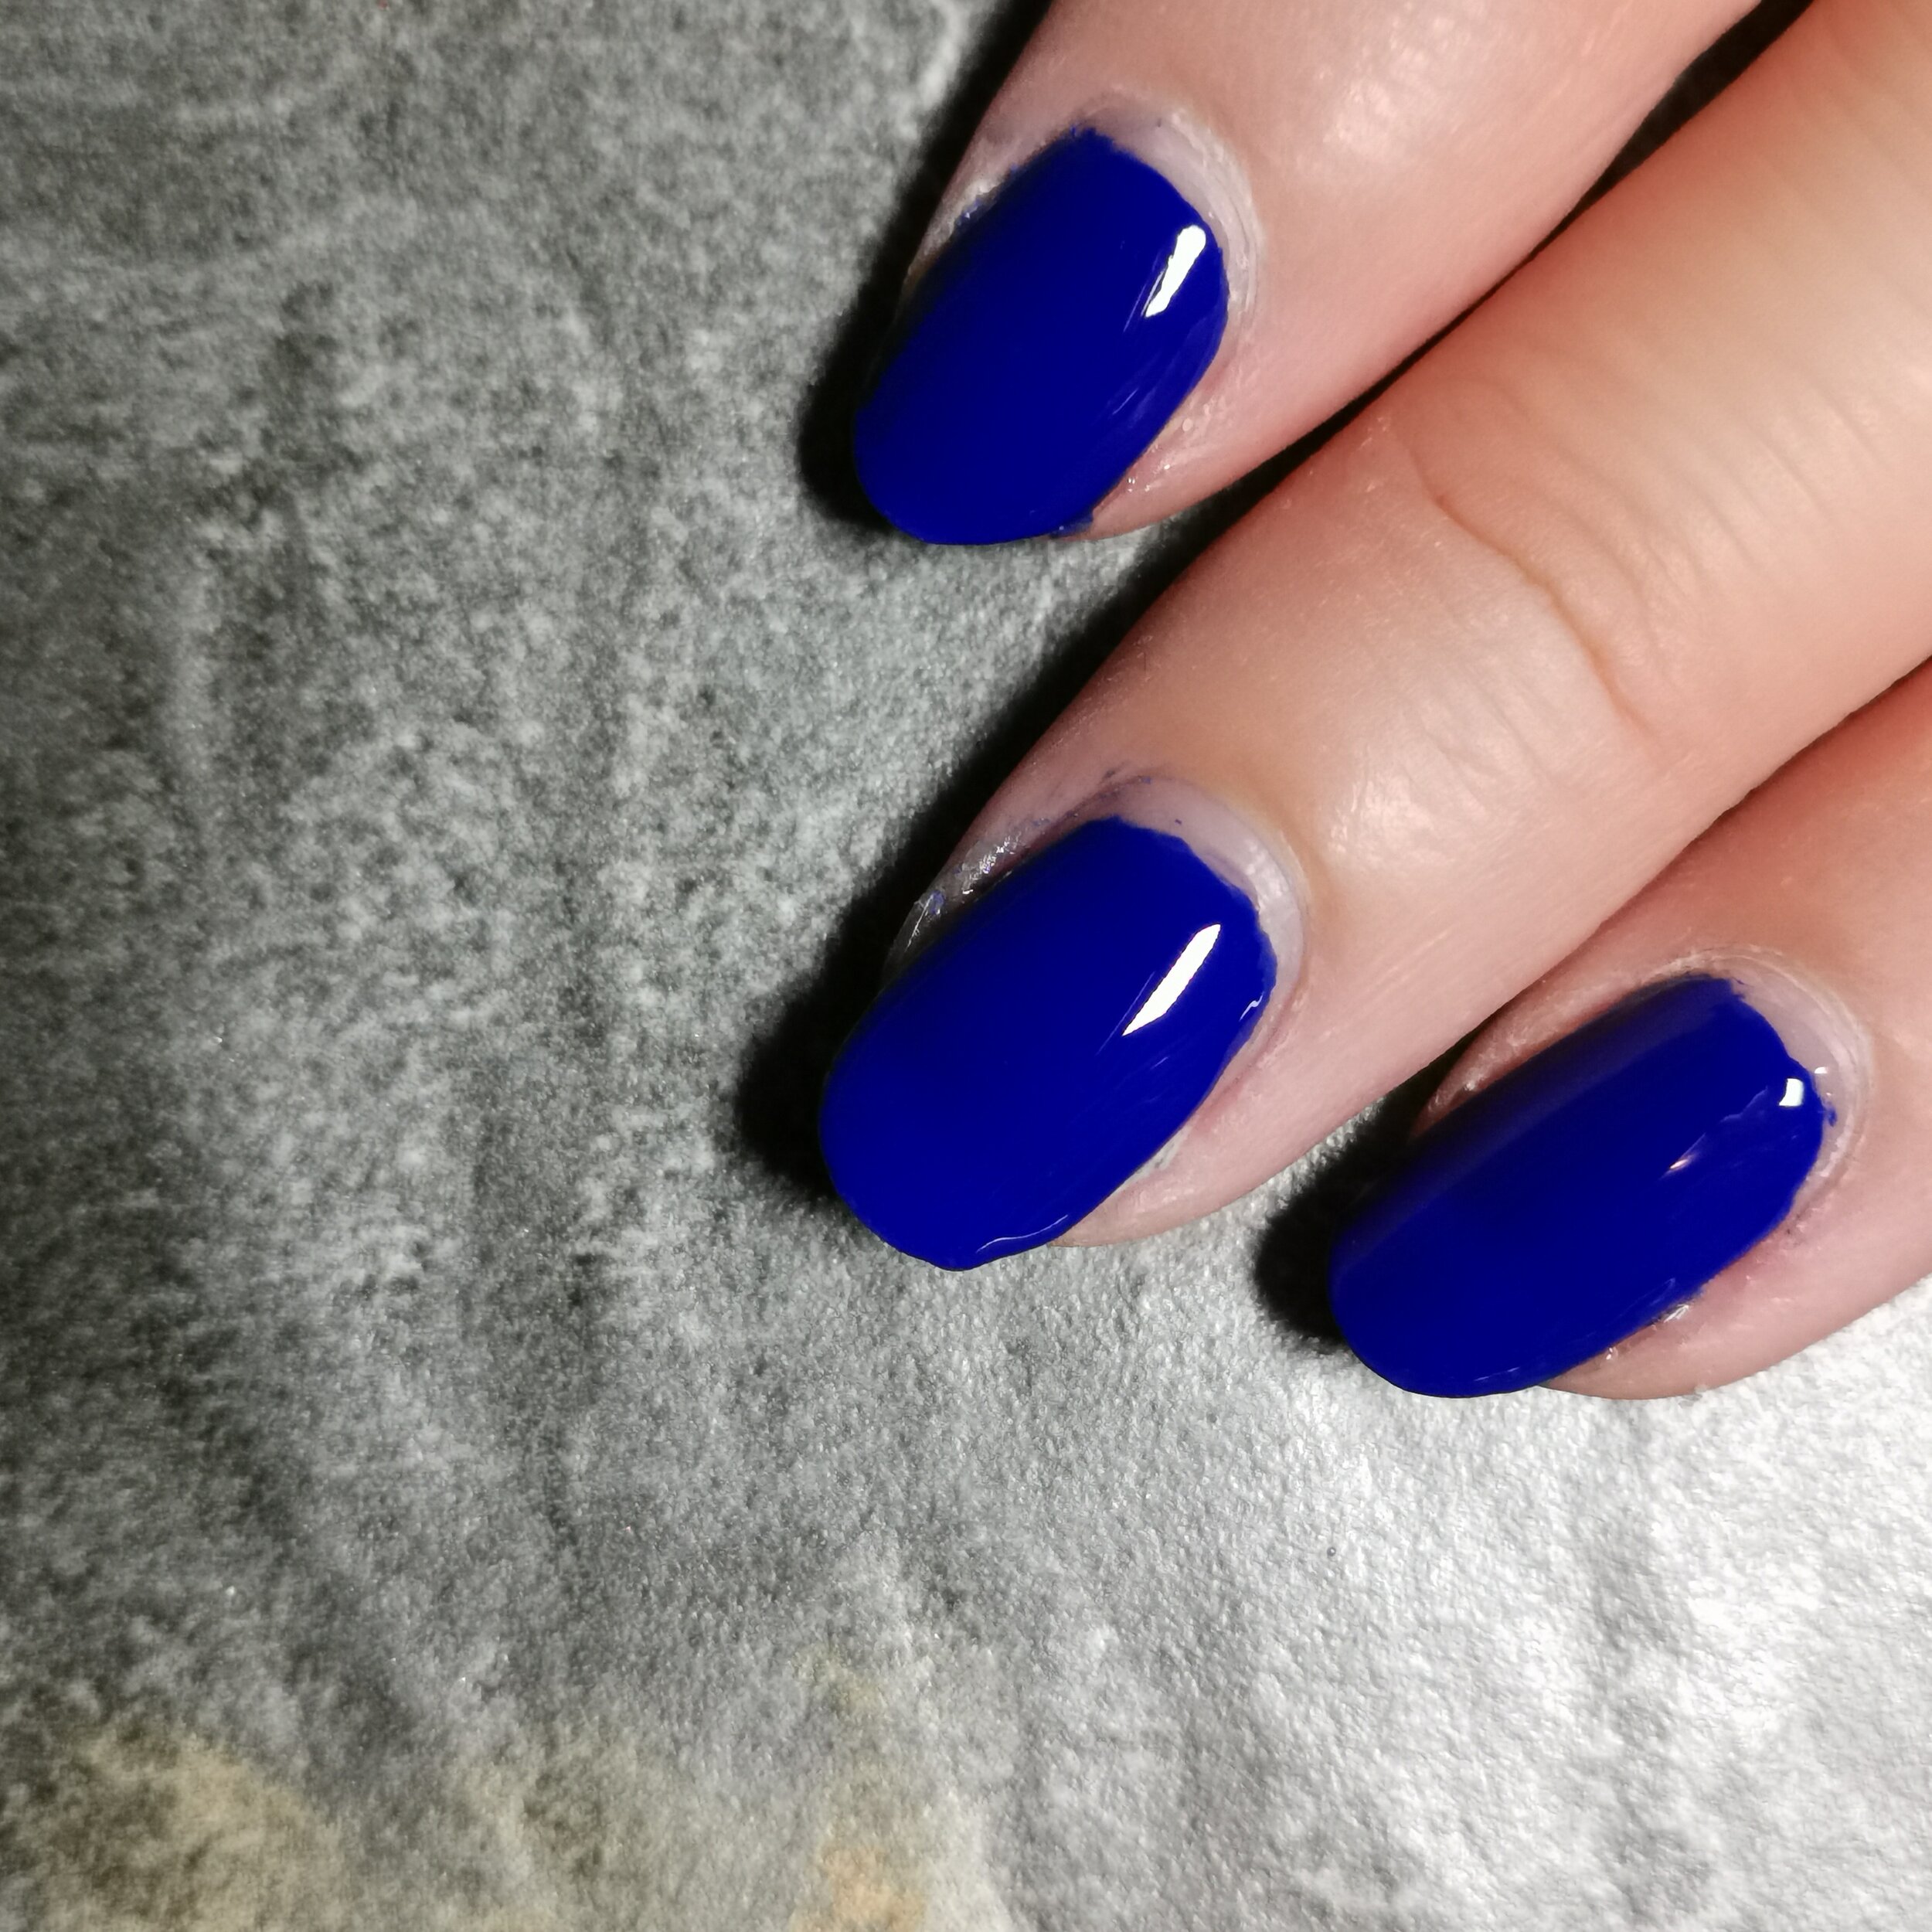
I am using Holo Taco in Royal Tea blue.
Find a method that works for you - I like to start away from the edge of the cuticle, then push the polish towards it before painting it all the way to the tip. I also don’t tend to paint all the way to the edge of the cuticles out of habit to account for my clumsiness.
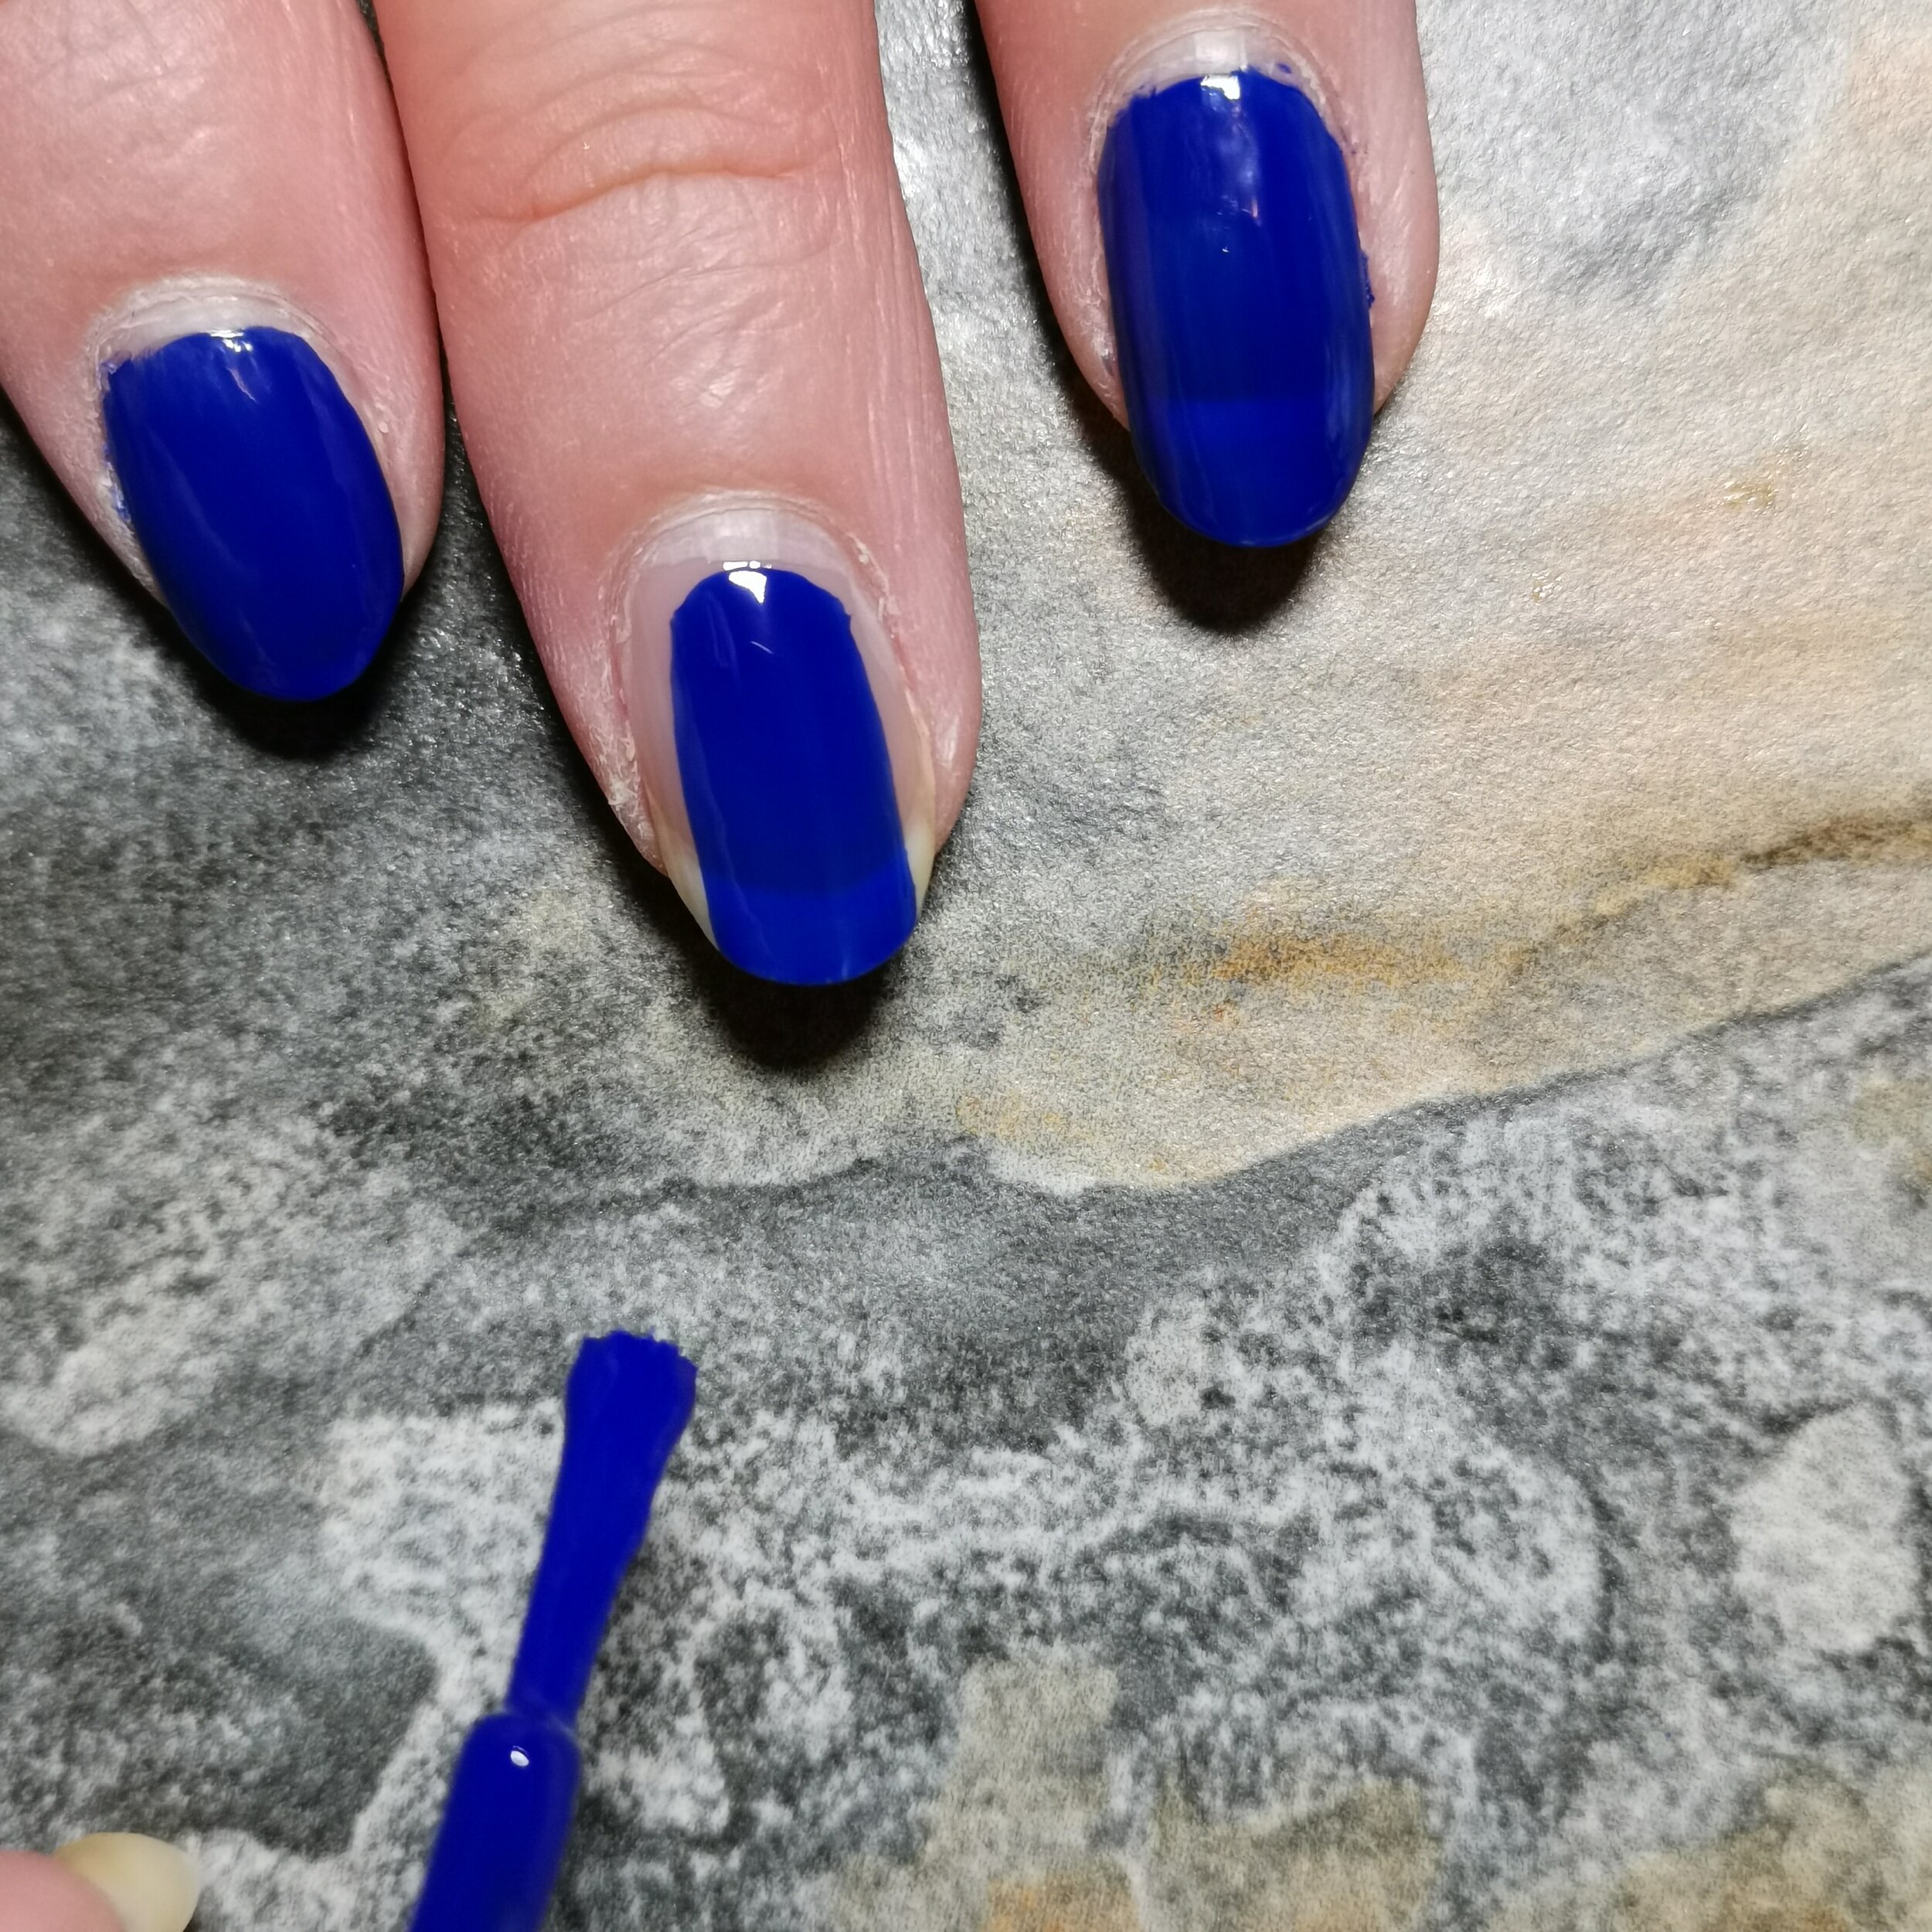


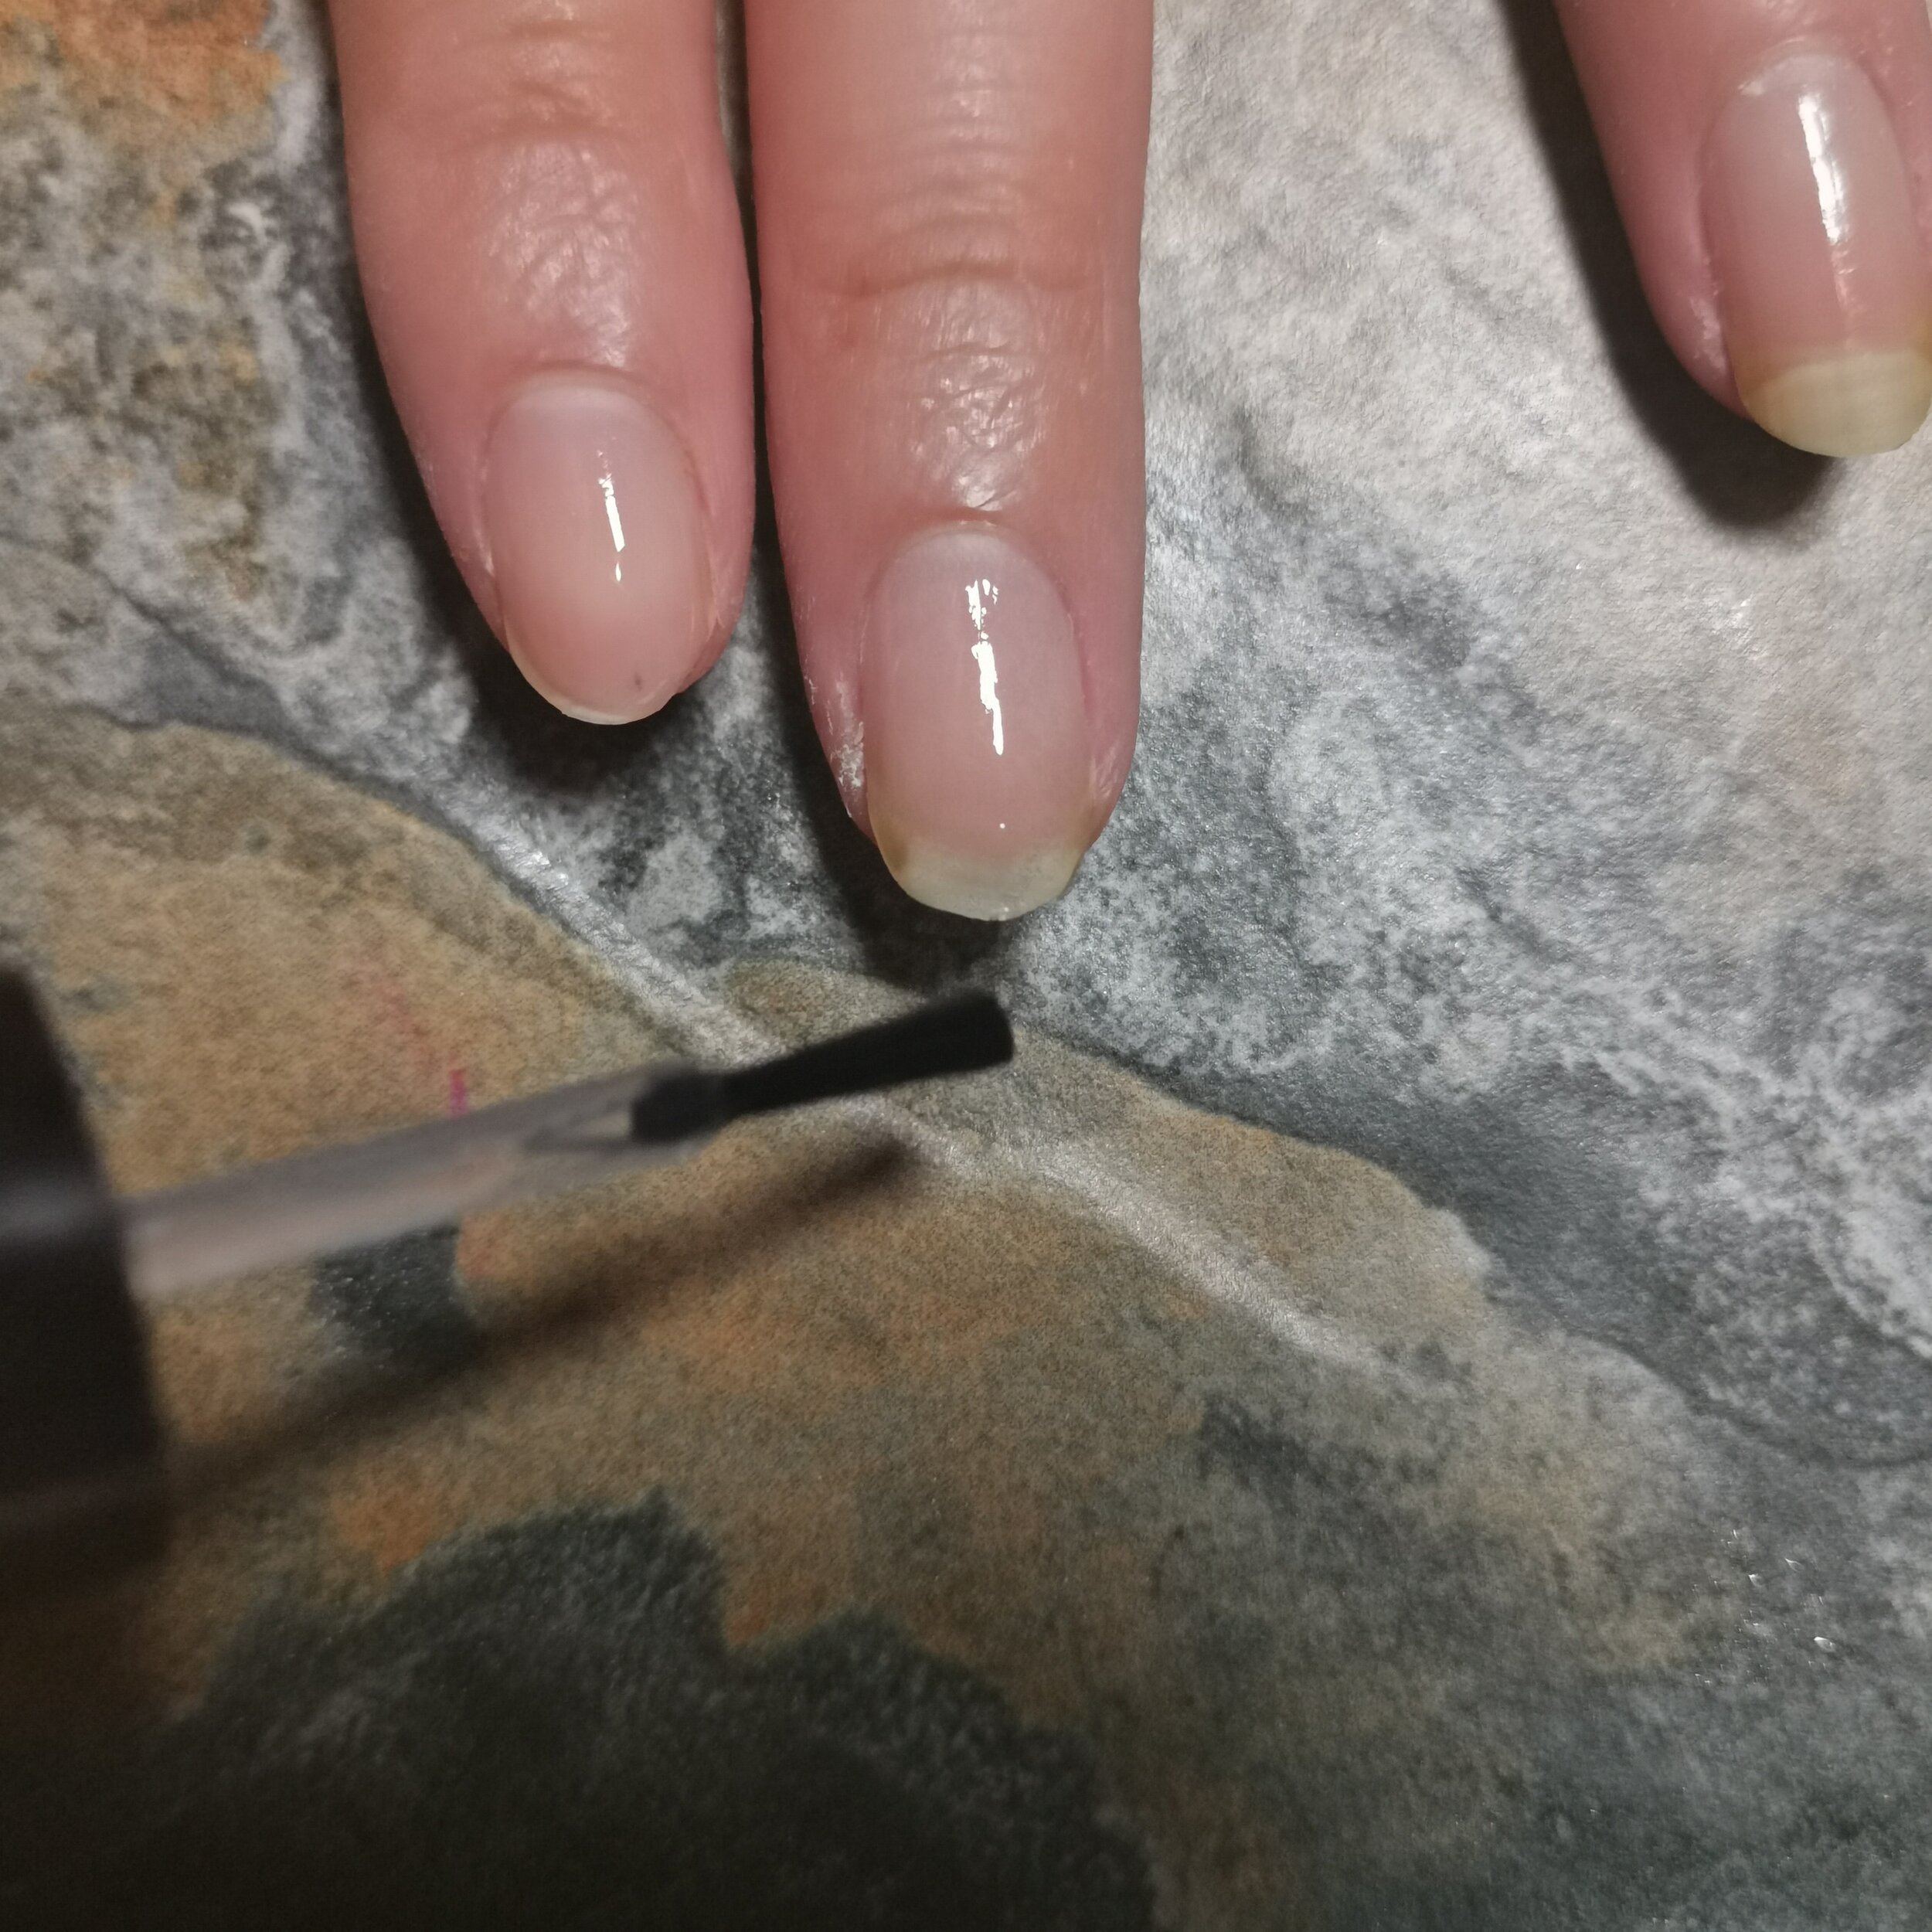
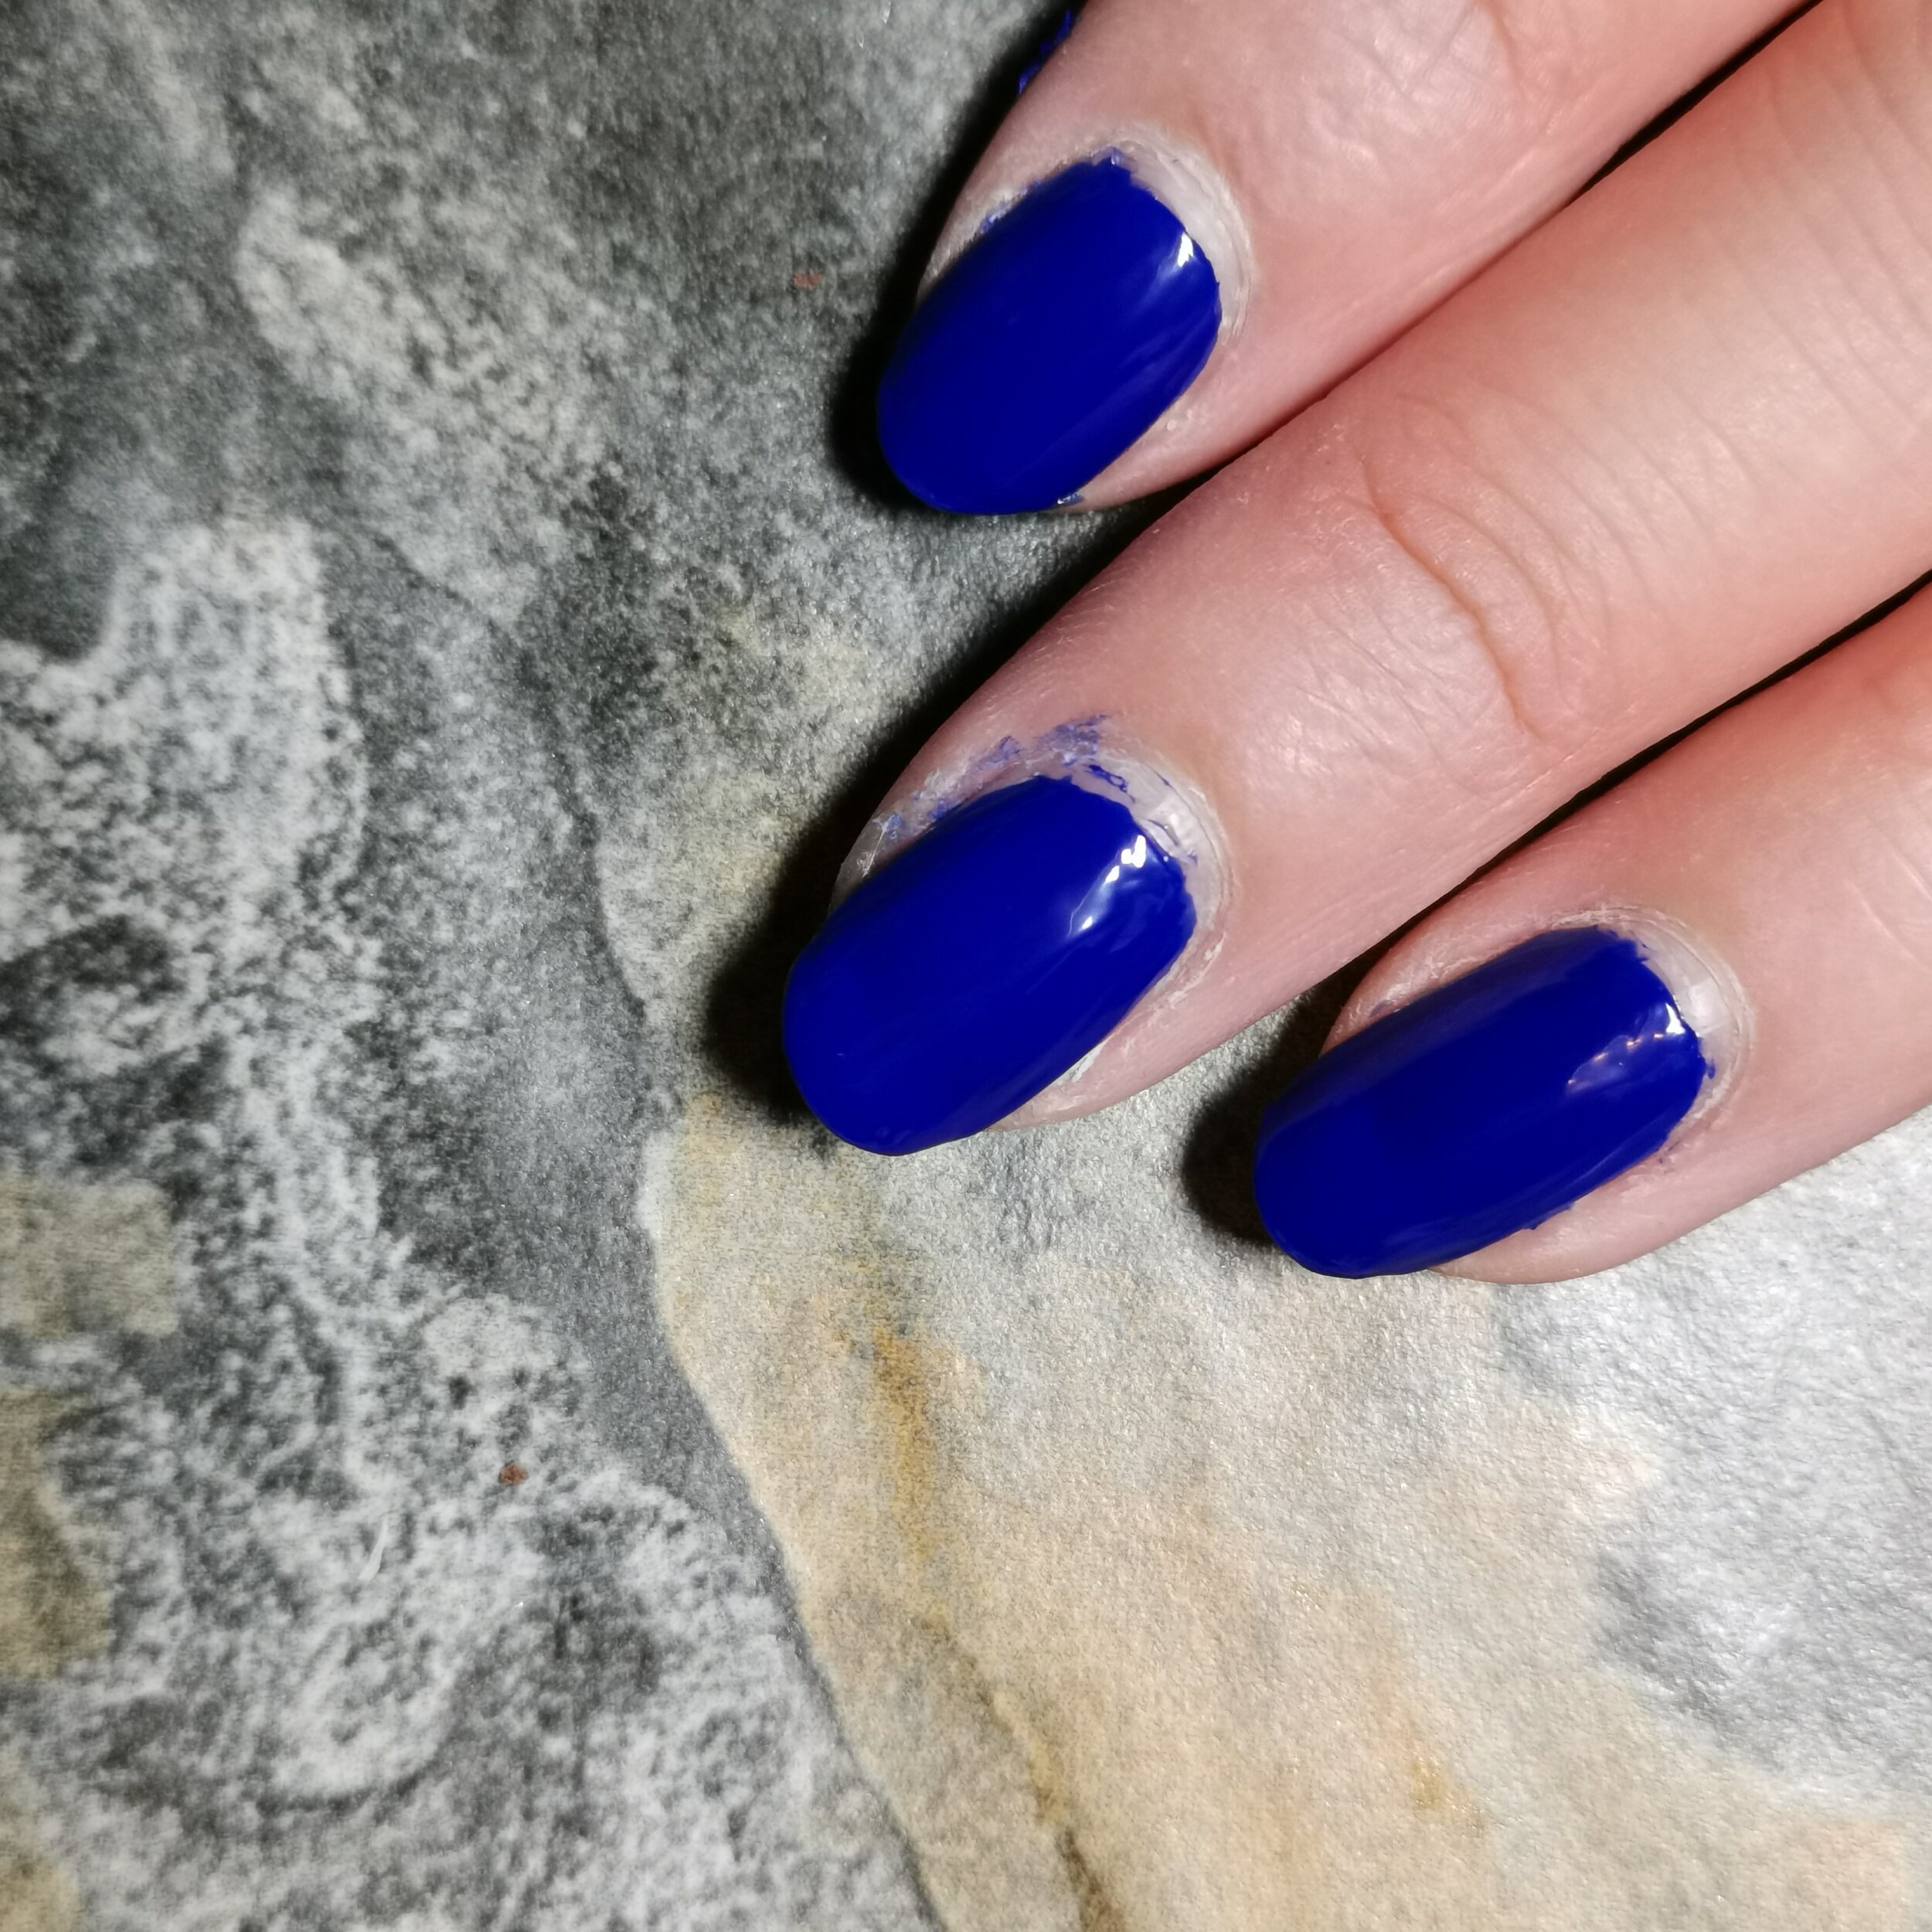
Clean up Edges
If you’re new to painting your nails or if you’re clumsy like me, chances are you wouldn’t have painted it as neatly as you wanted. I tend to flood my cuticles on the side and at the edge, which is why I tend to paint a little away from it.
Therefore, clean up is important to me - for easy clean up, use the orange stick and swipe it across the nail to take the excess polish off whilst it is still wet. If it’s dry then you will need to opt for brush dipped in acetone for a more precise clean up. I do this as well towards the end but I will always clean up after each coat.
Having polish cling on to skin makes it easier to chip/come off along with the dead skin (skin cells turnover!)

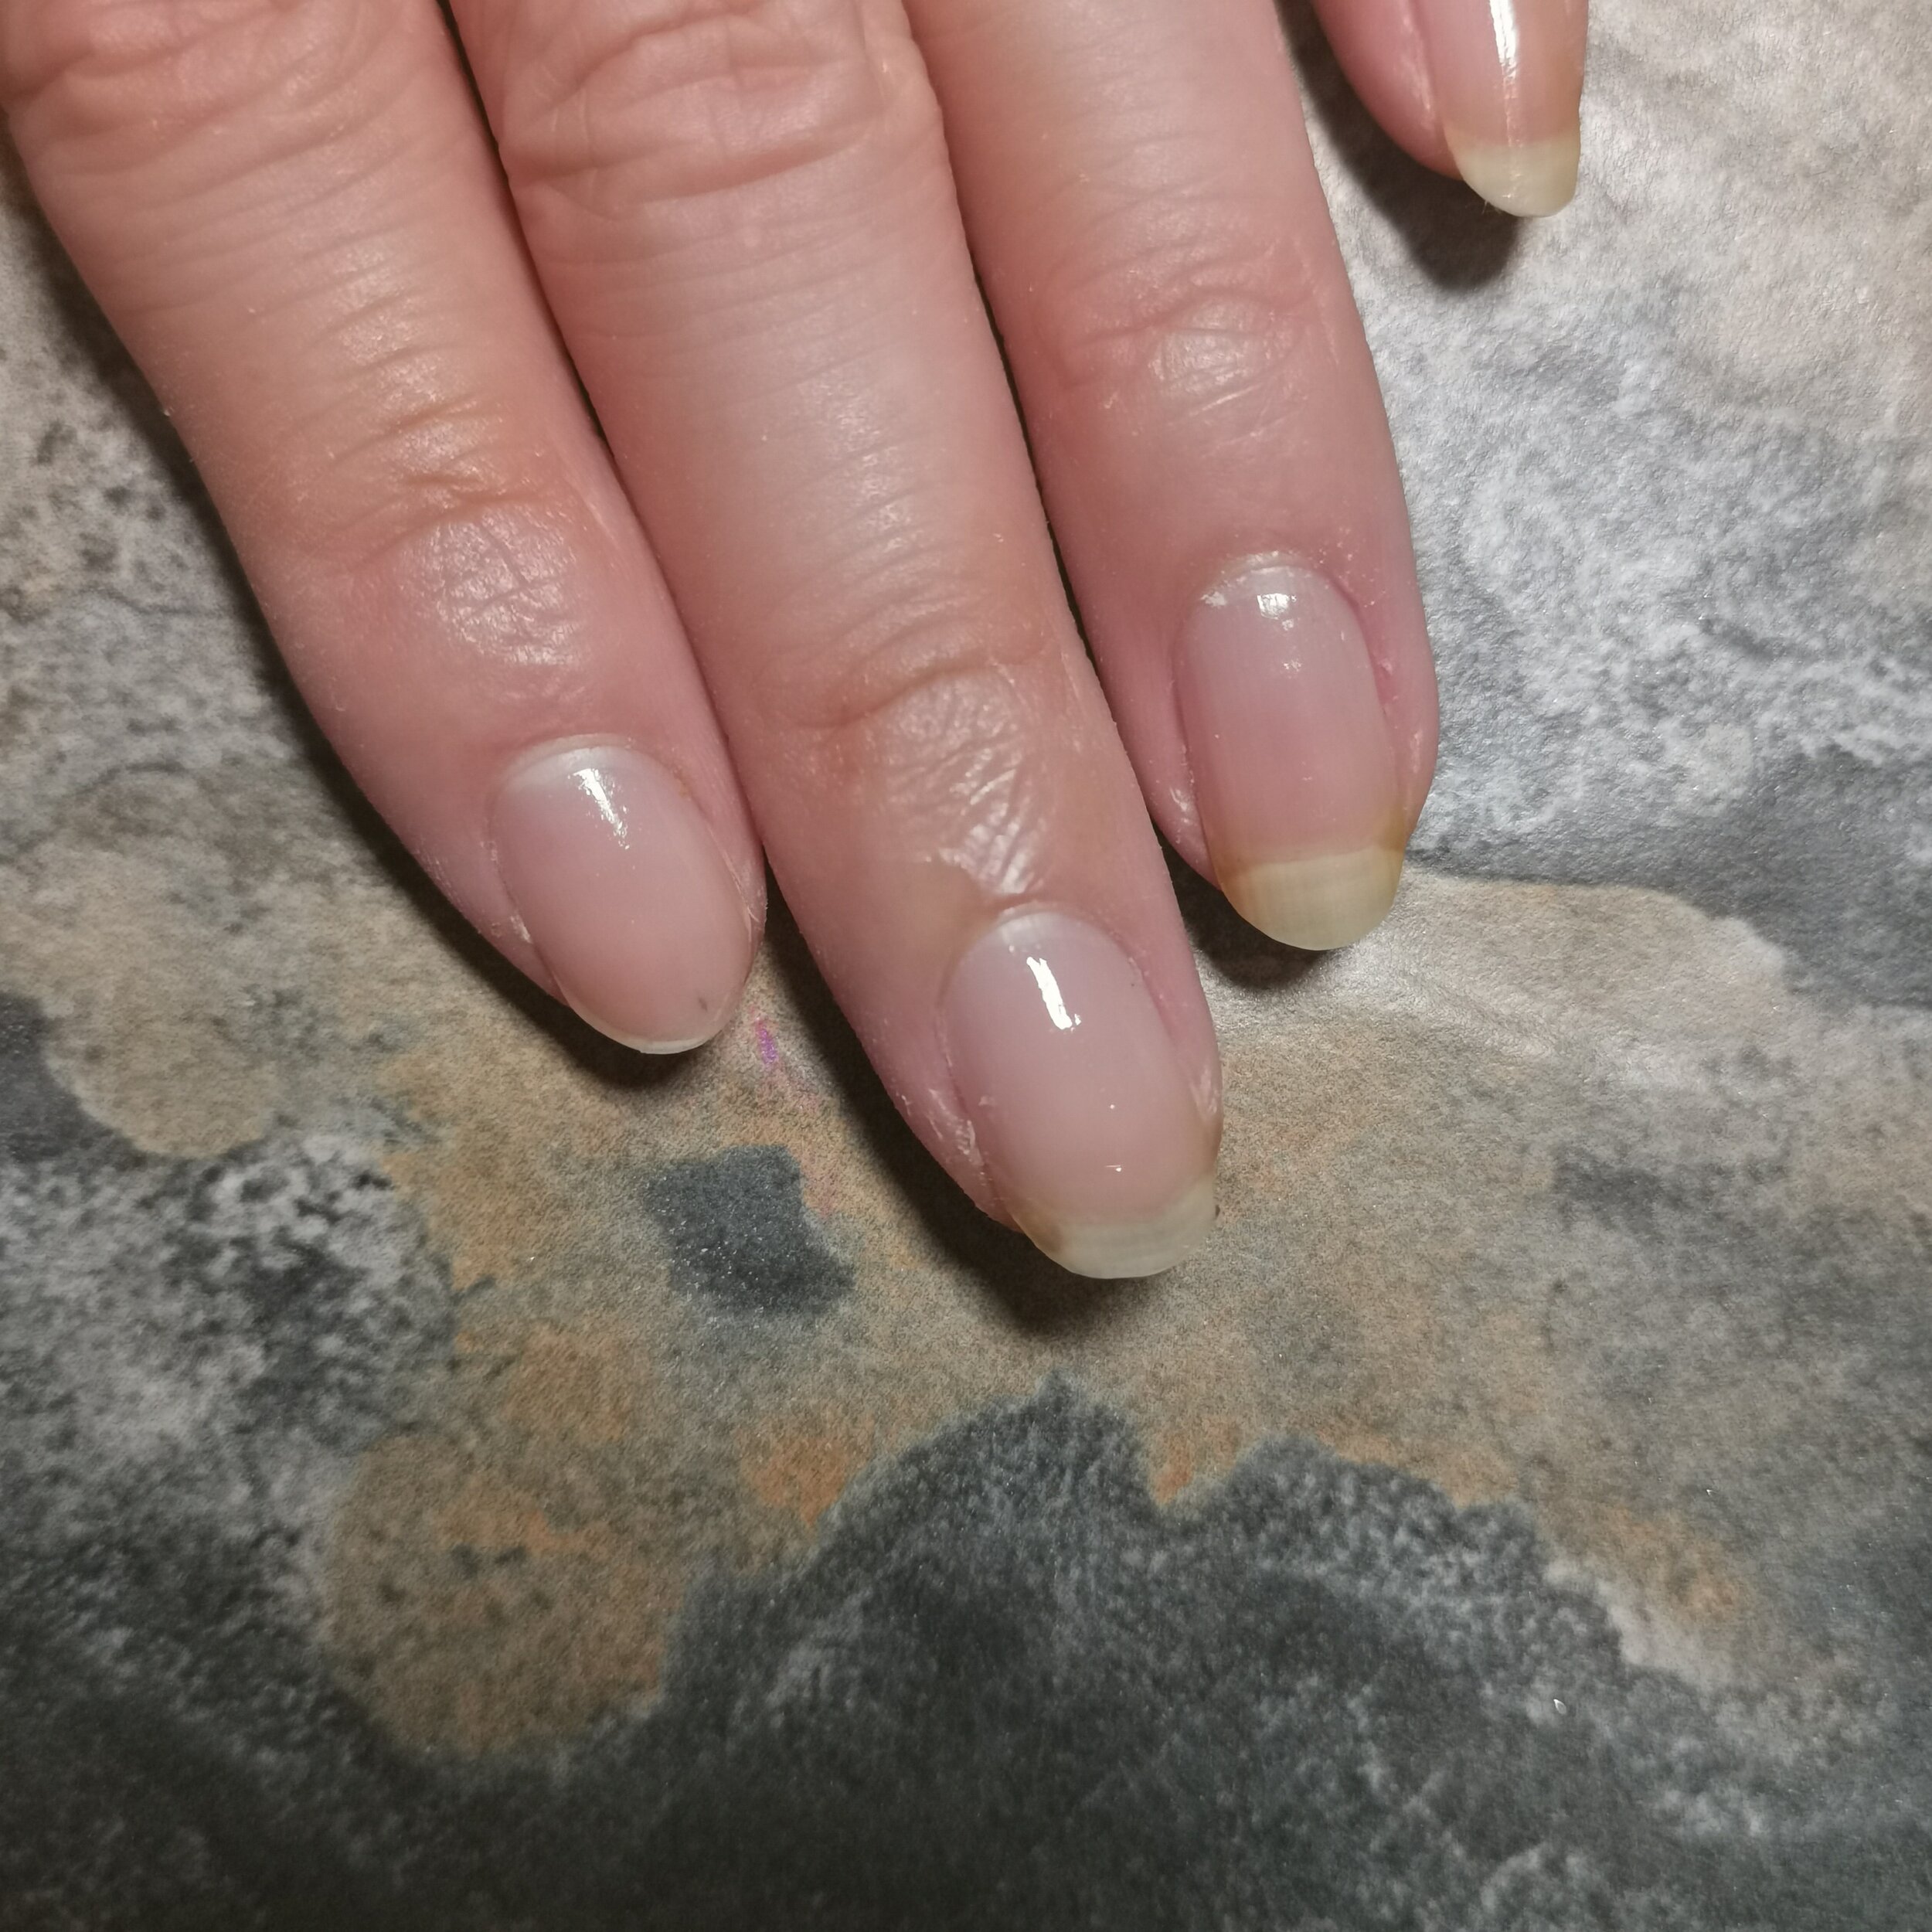
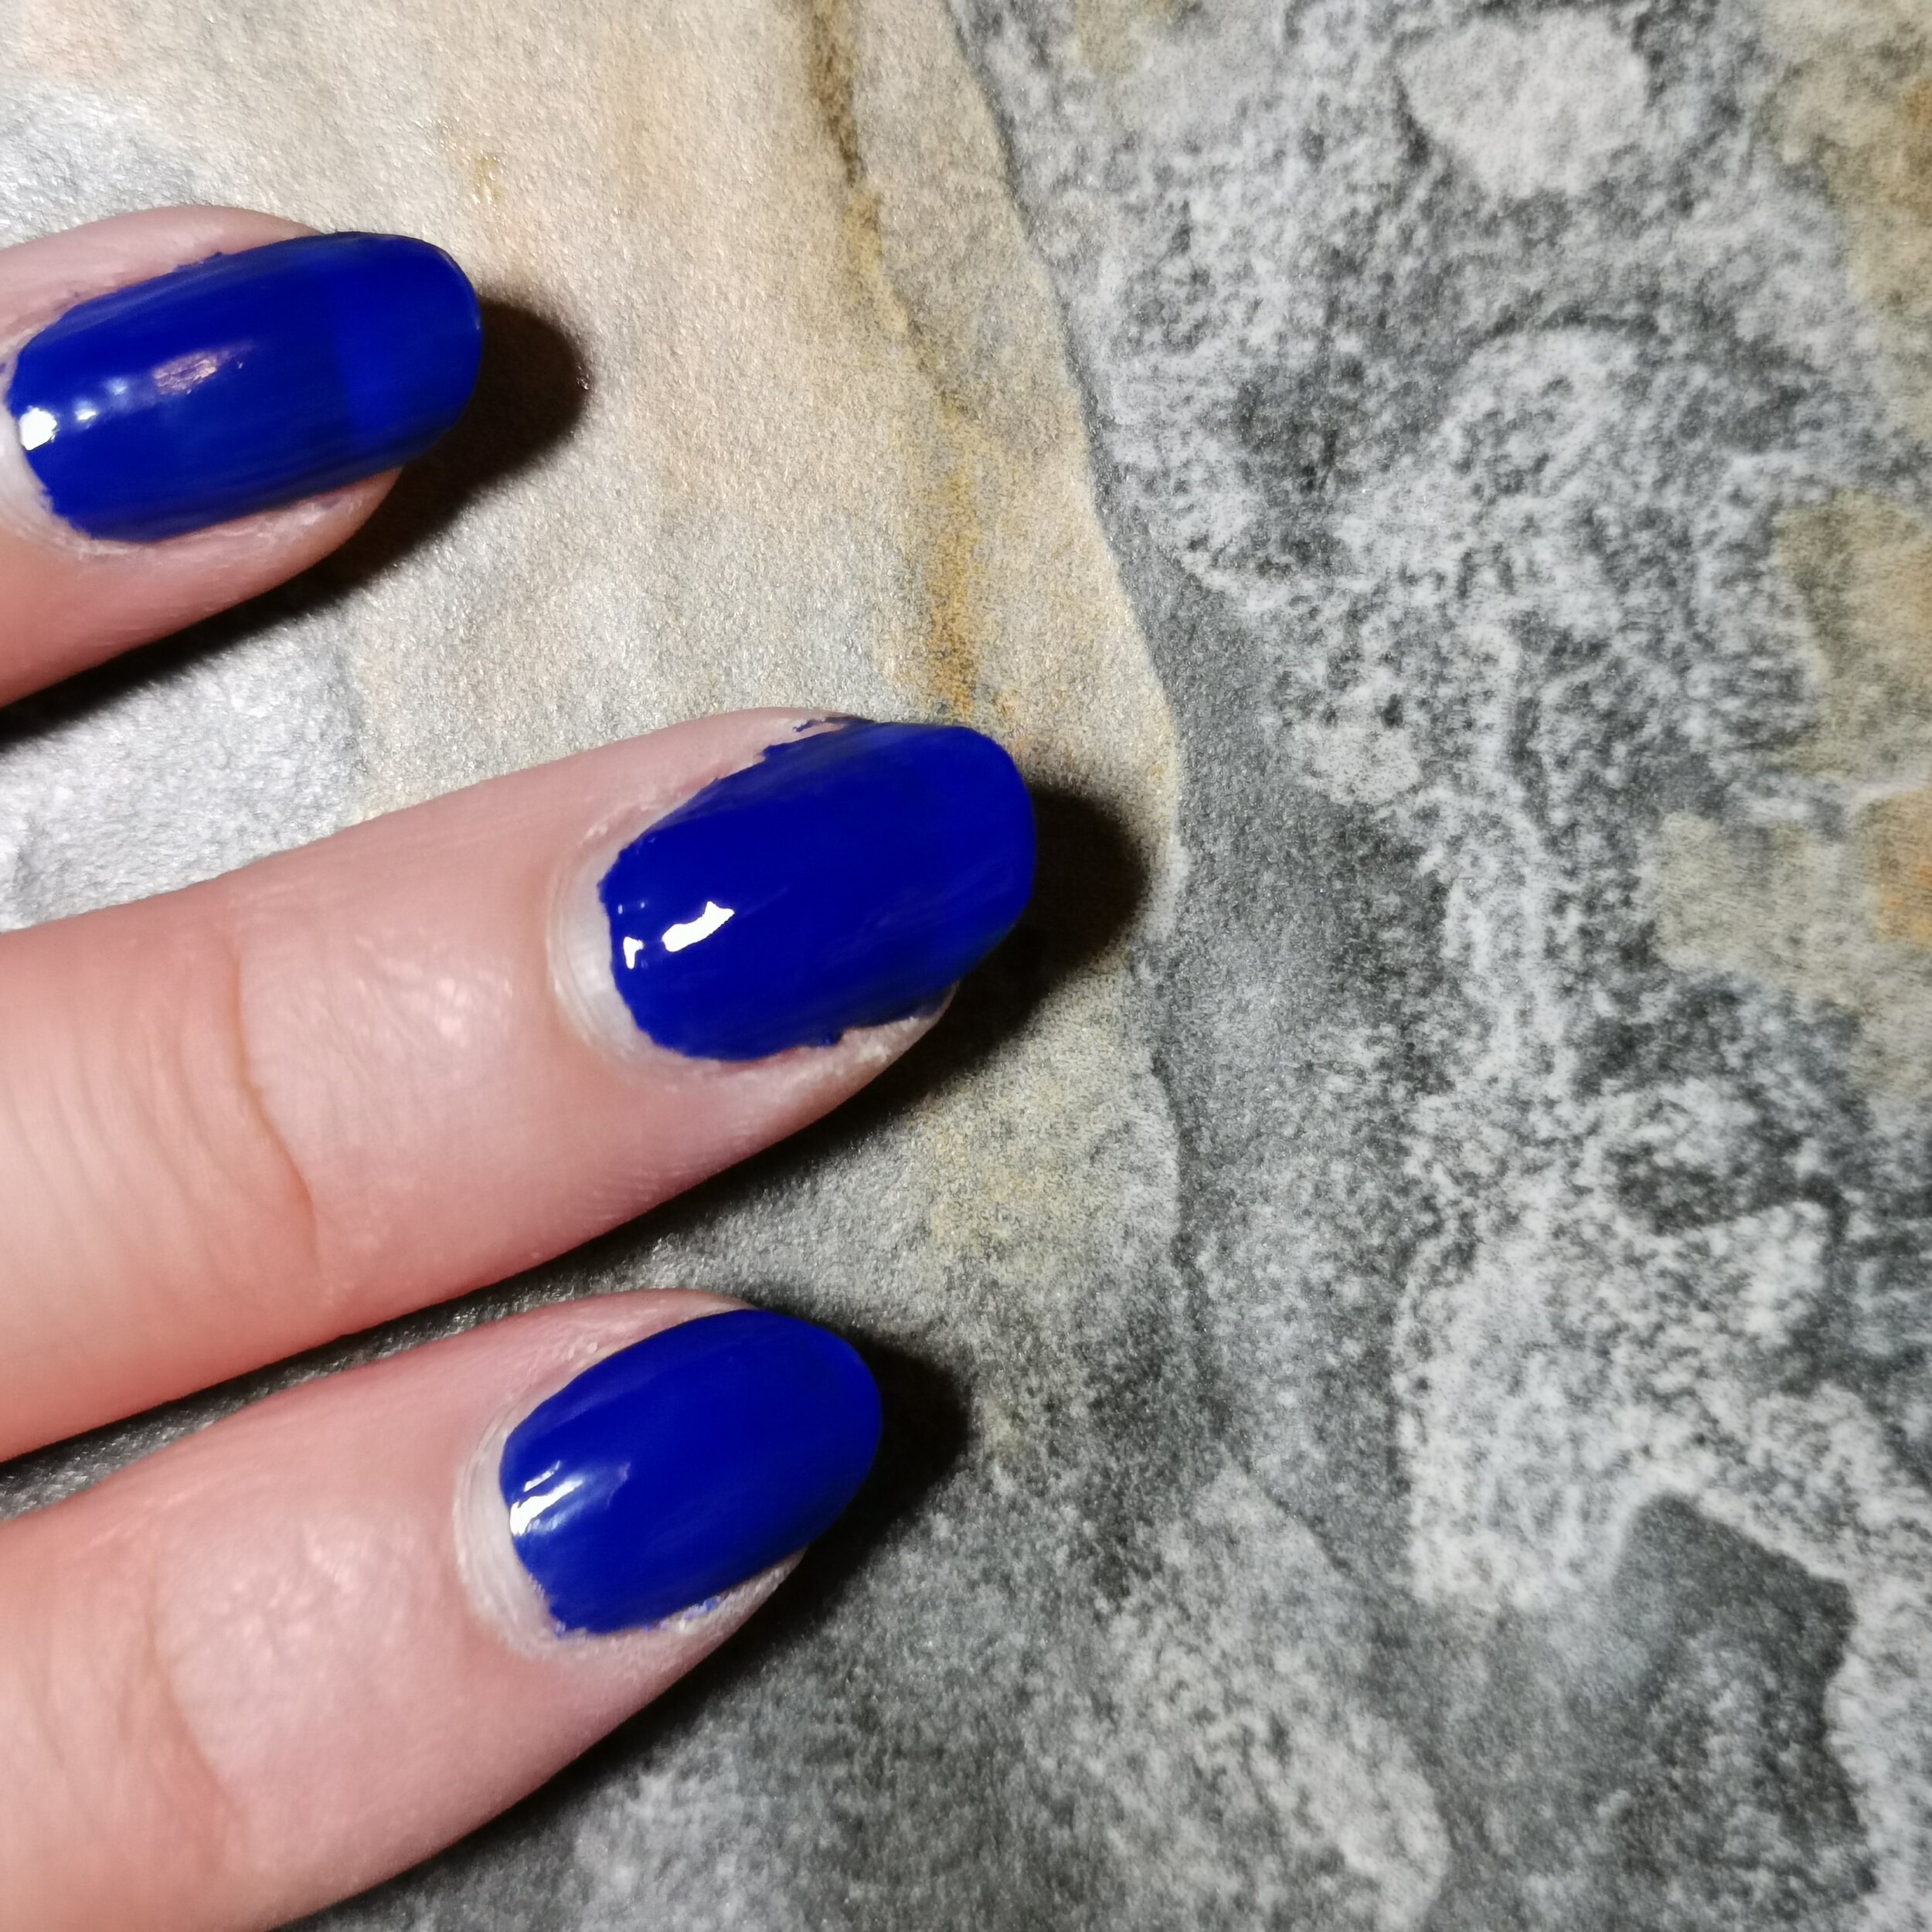
Let dry and paint your 2nd coat
This is where the waiting begins. Depending on the formula of your polish they can either dry fast or dry slow. Naturally I like polish that dries fast. After you painted your second coat, let dry. If you need to paint more coats then rinse and repeat.
However, the thickness of your first coat will also affect how fast it’ll dry. As a rule of thumb, it’s better to paint multiple thin layers than 1 thick layer so it looks more even and dries down better.
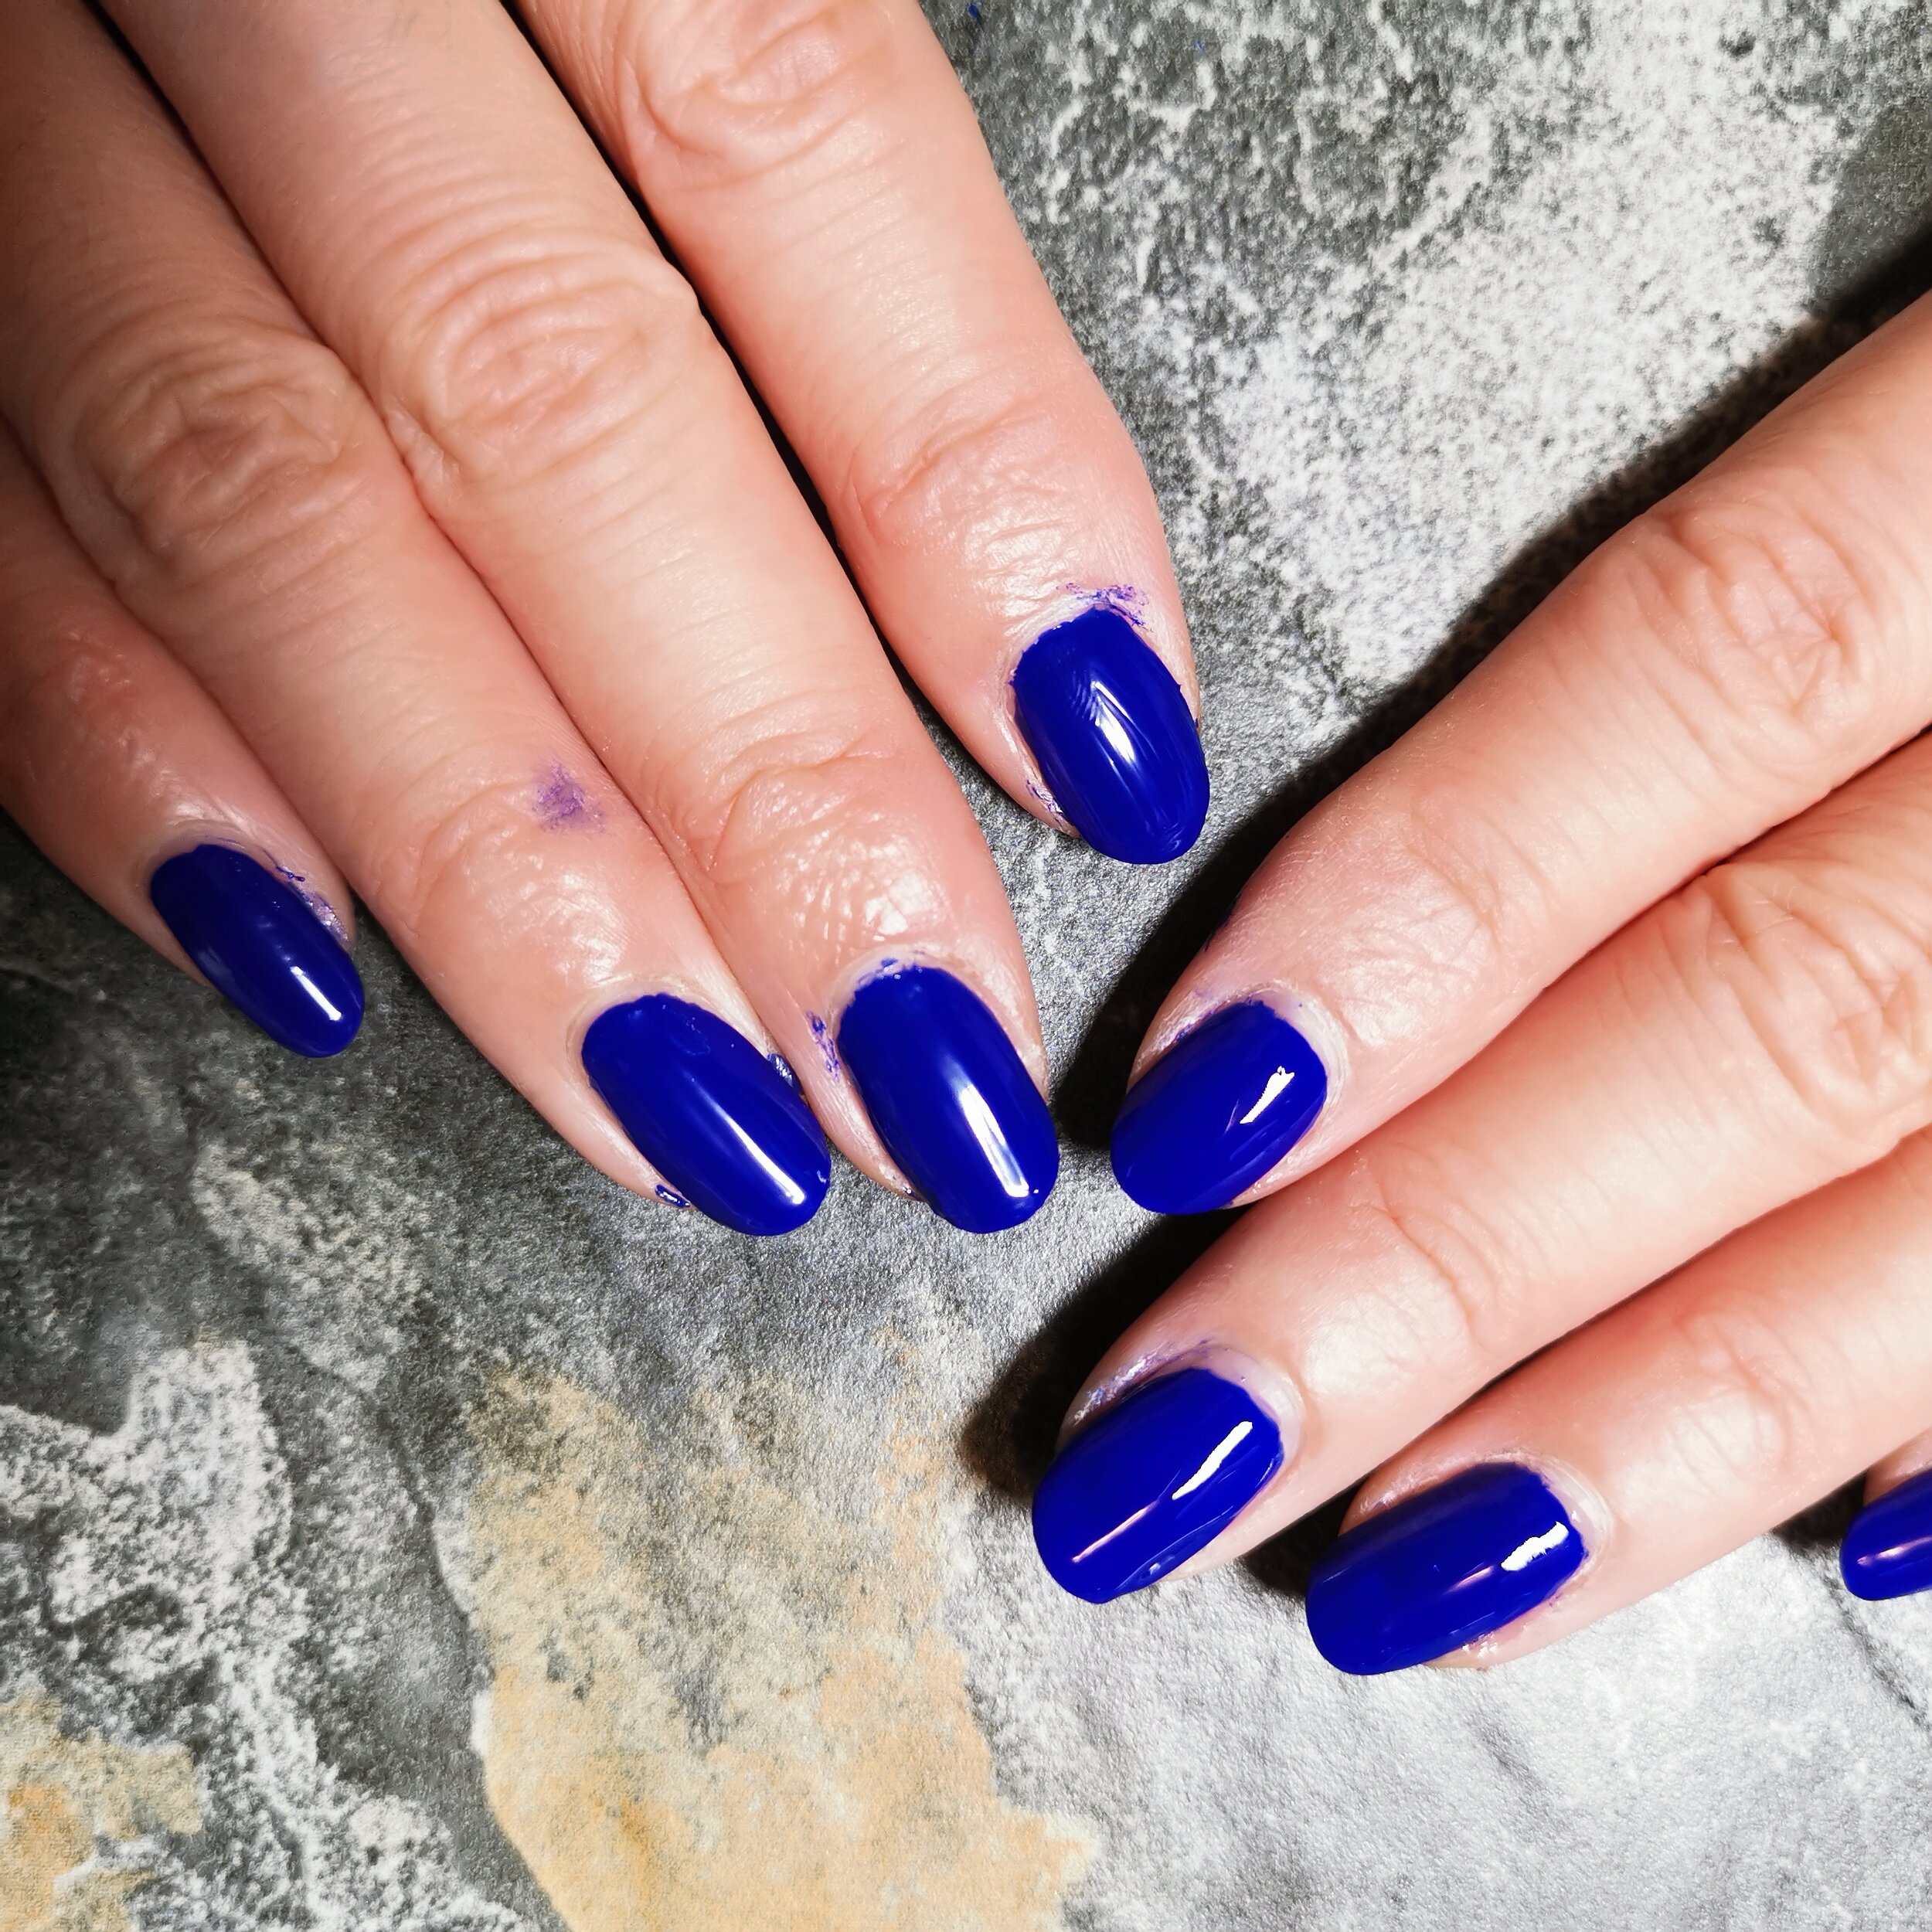
Look at how messy I am!
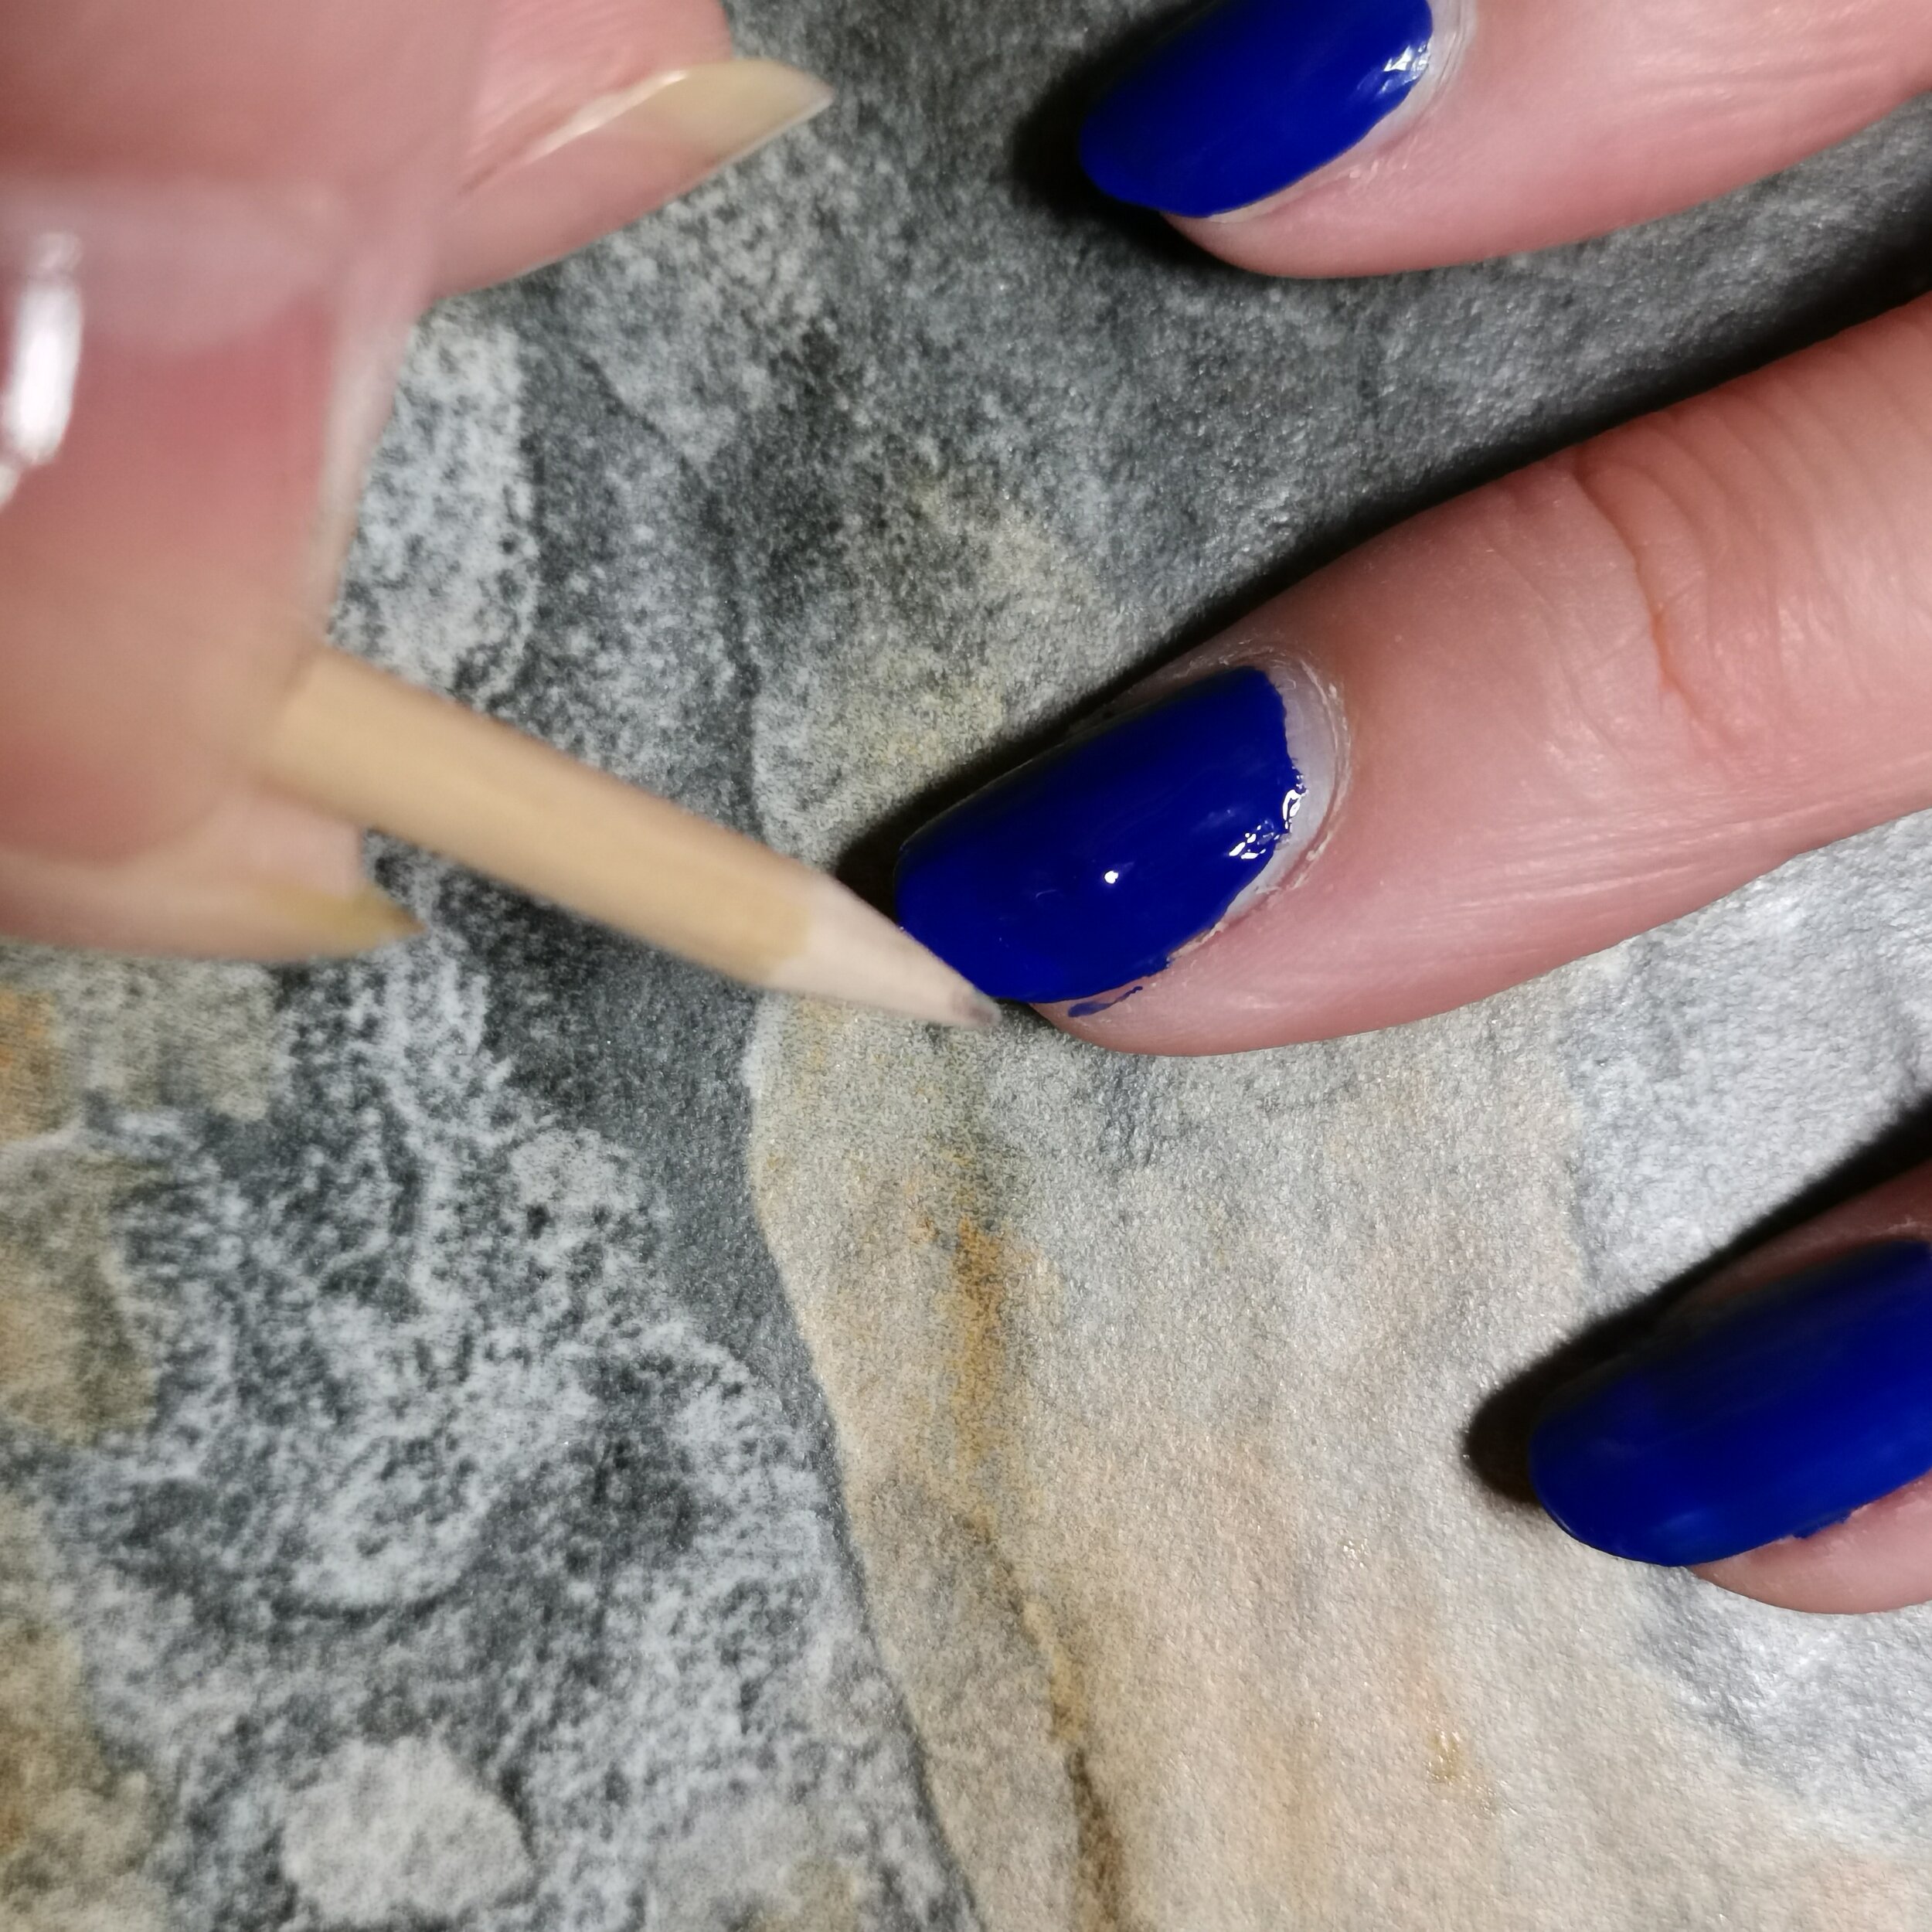
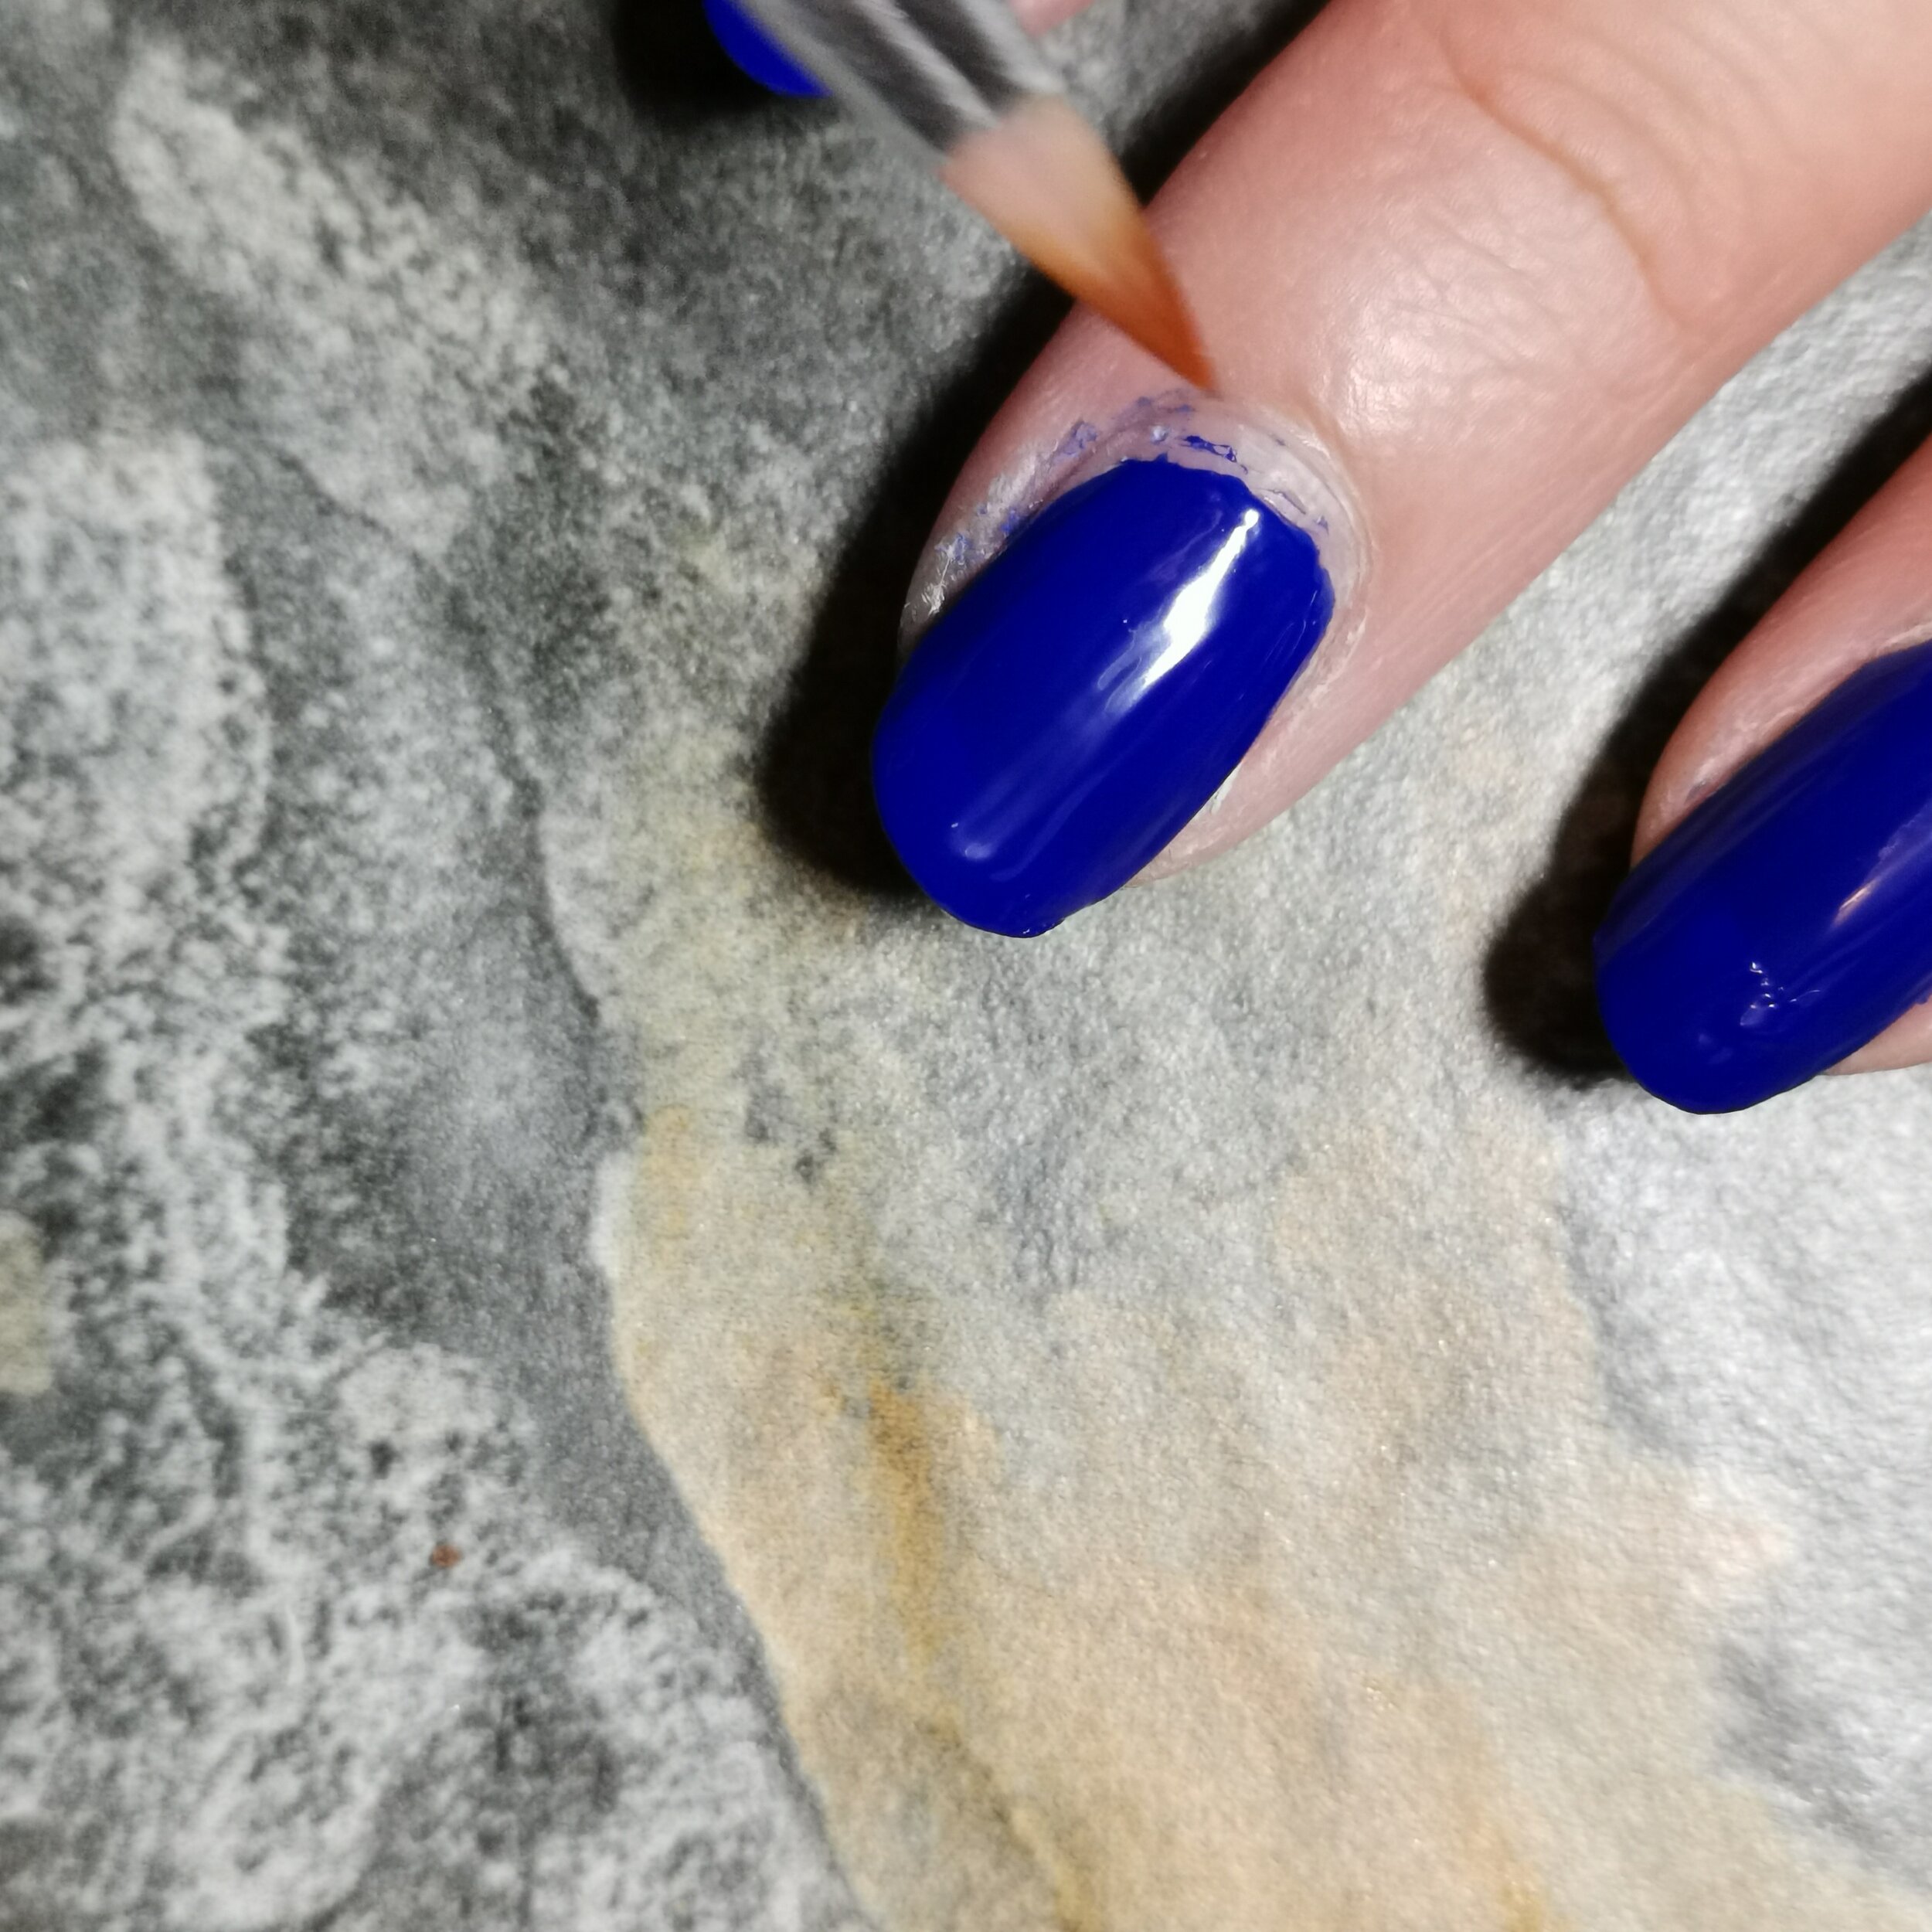
Time for another clean up!
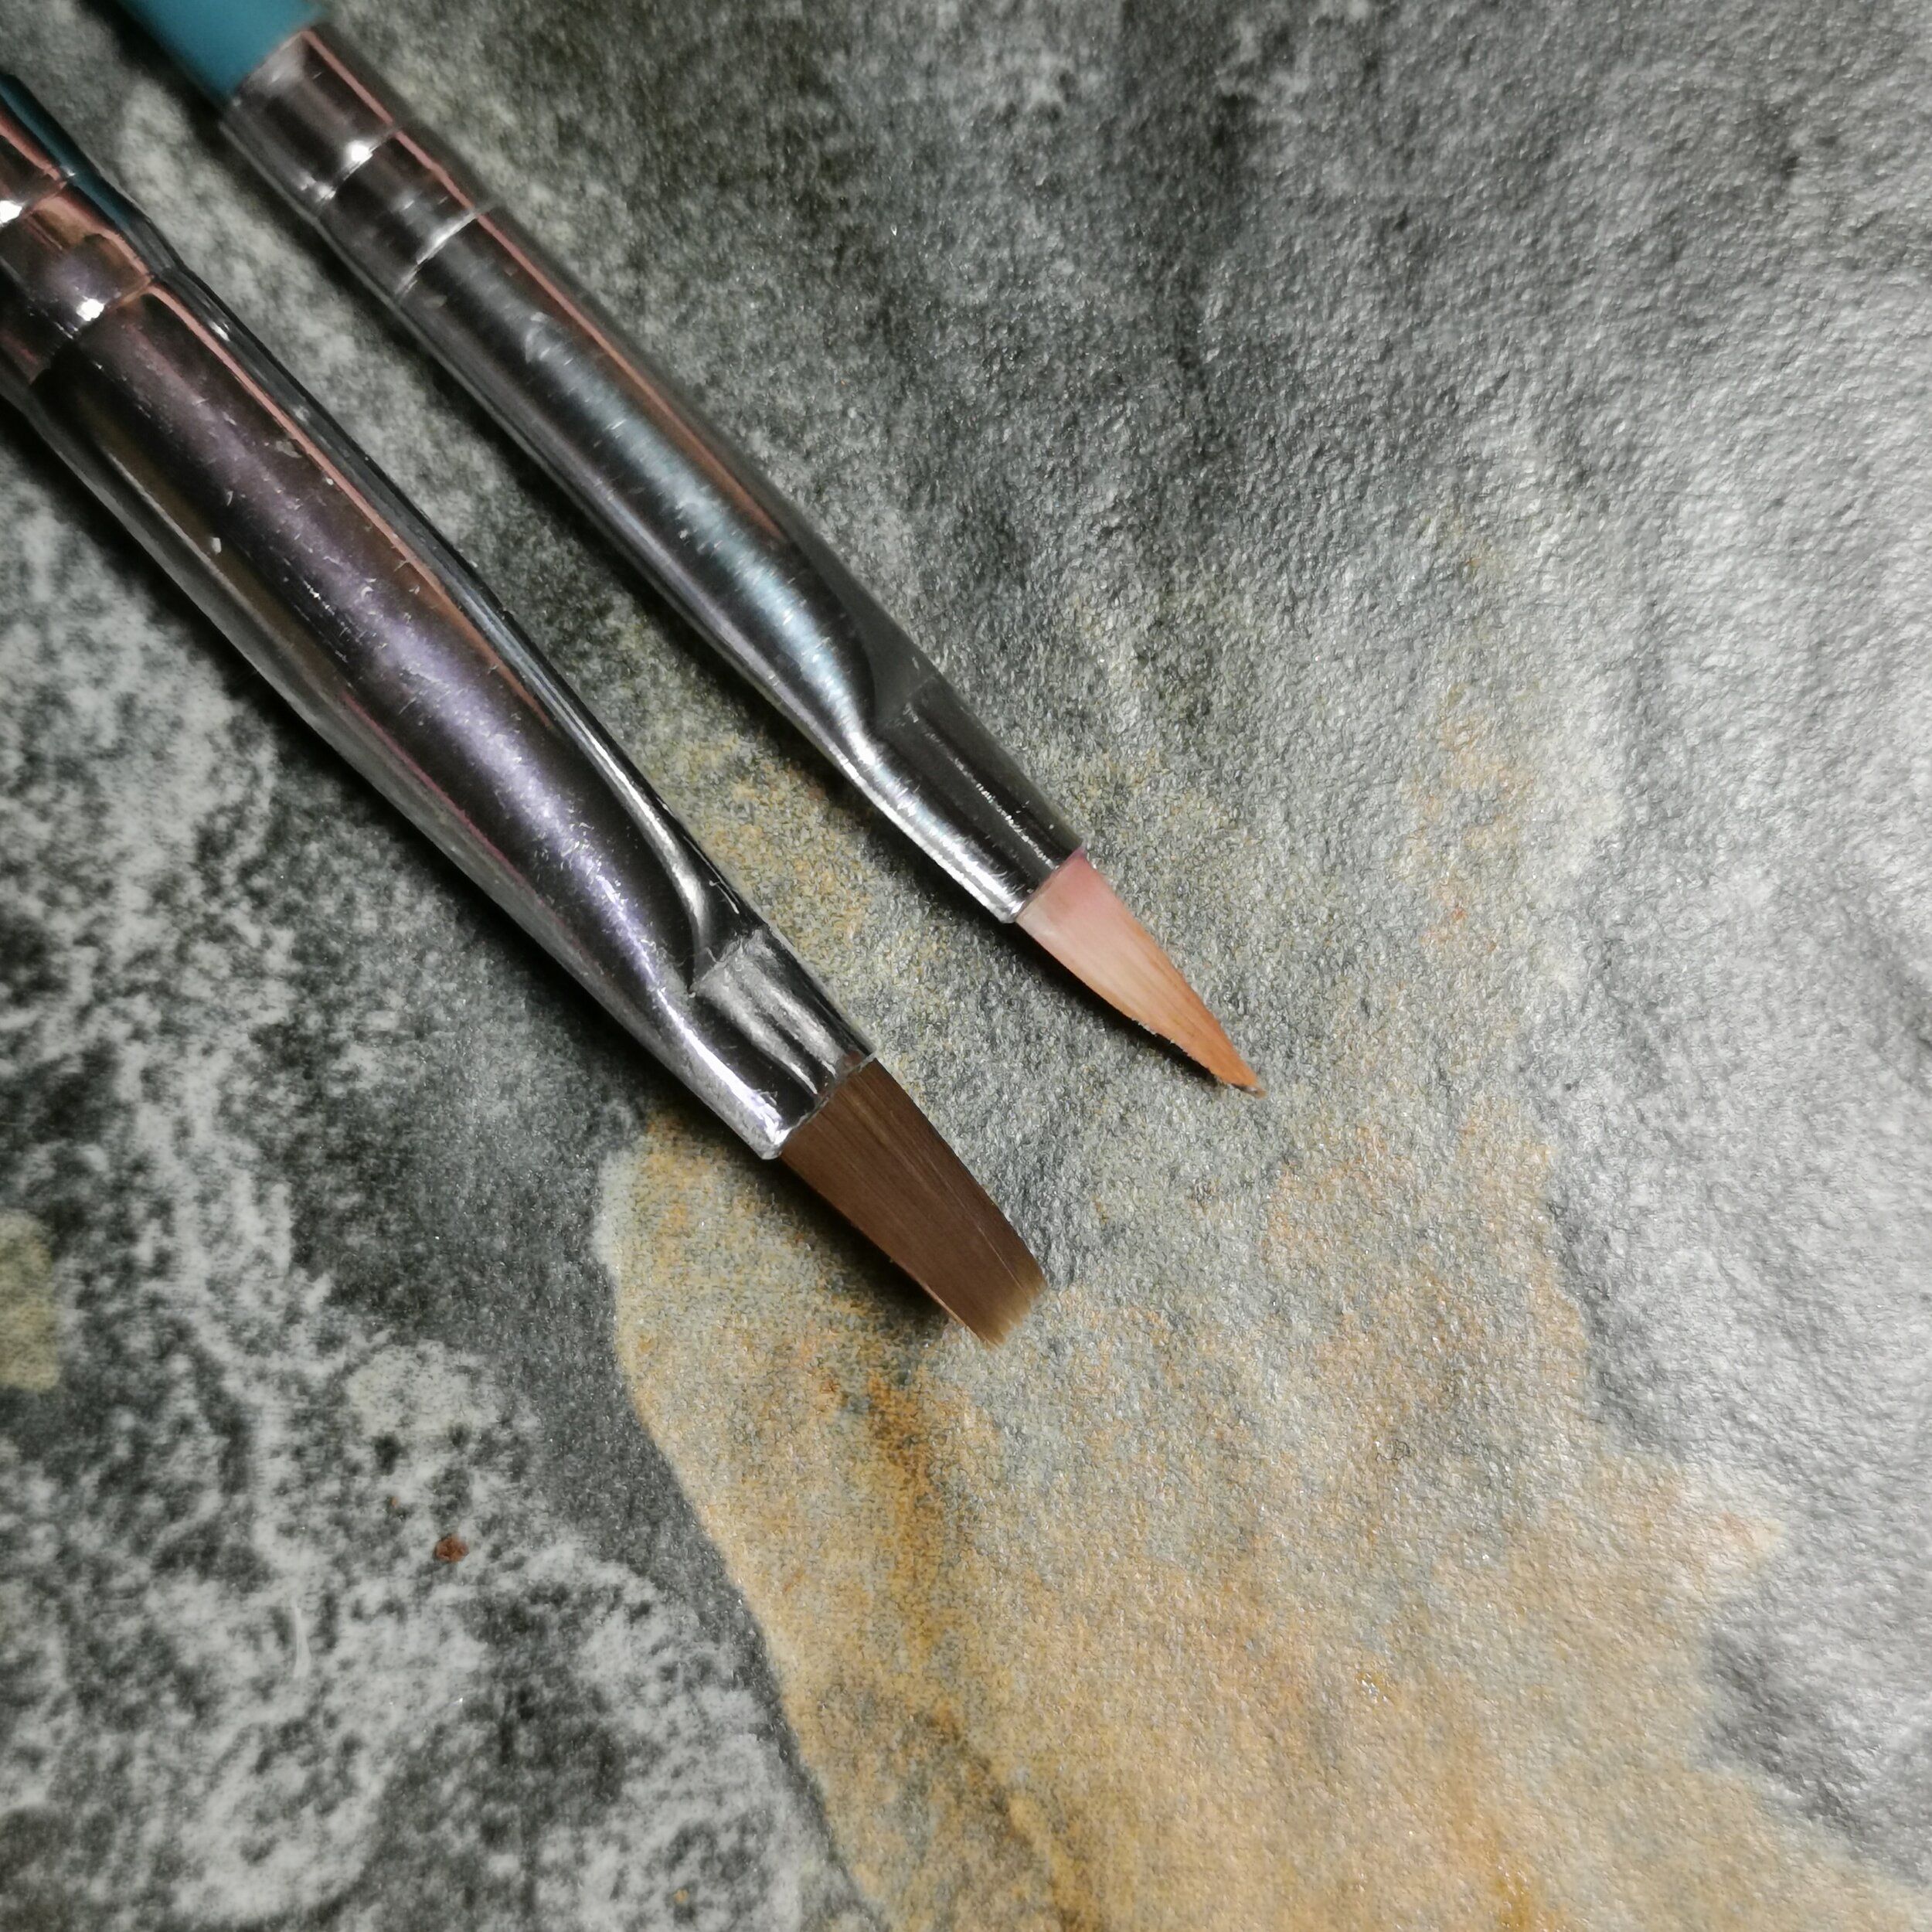
This time I am using brushes dipped in acetone for finer line and control. You can get these off Ebay or if you have a crappy paint brush lying somewhere. Acetone destroys bristles so you can either get cheap ones like I do, or better ones that are designed to be used with acetone.
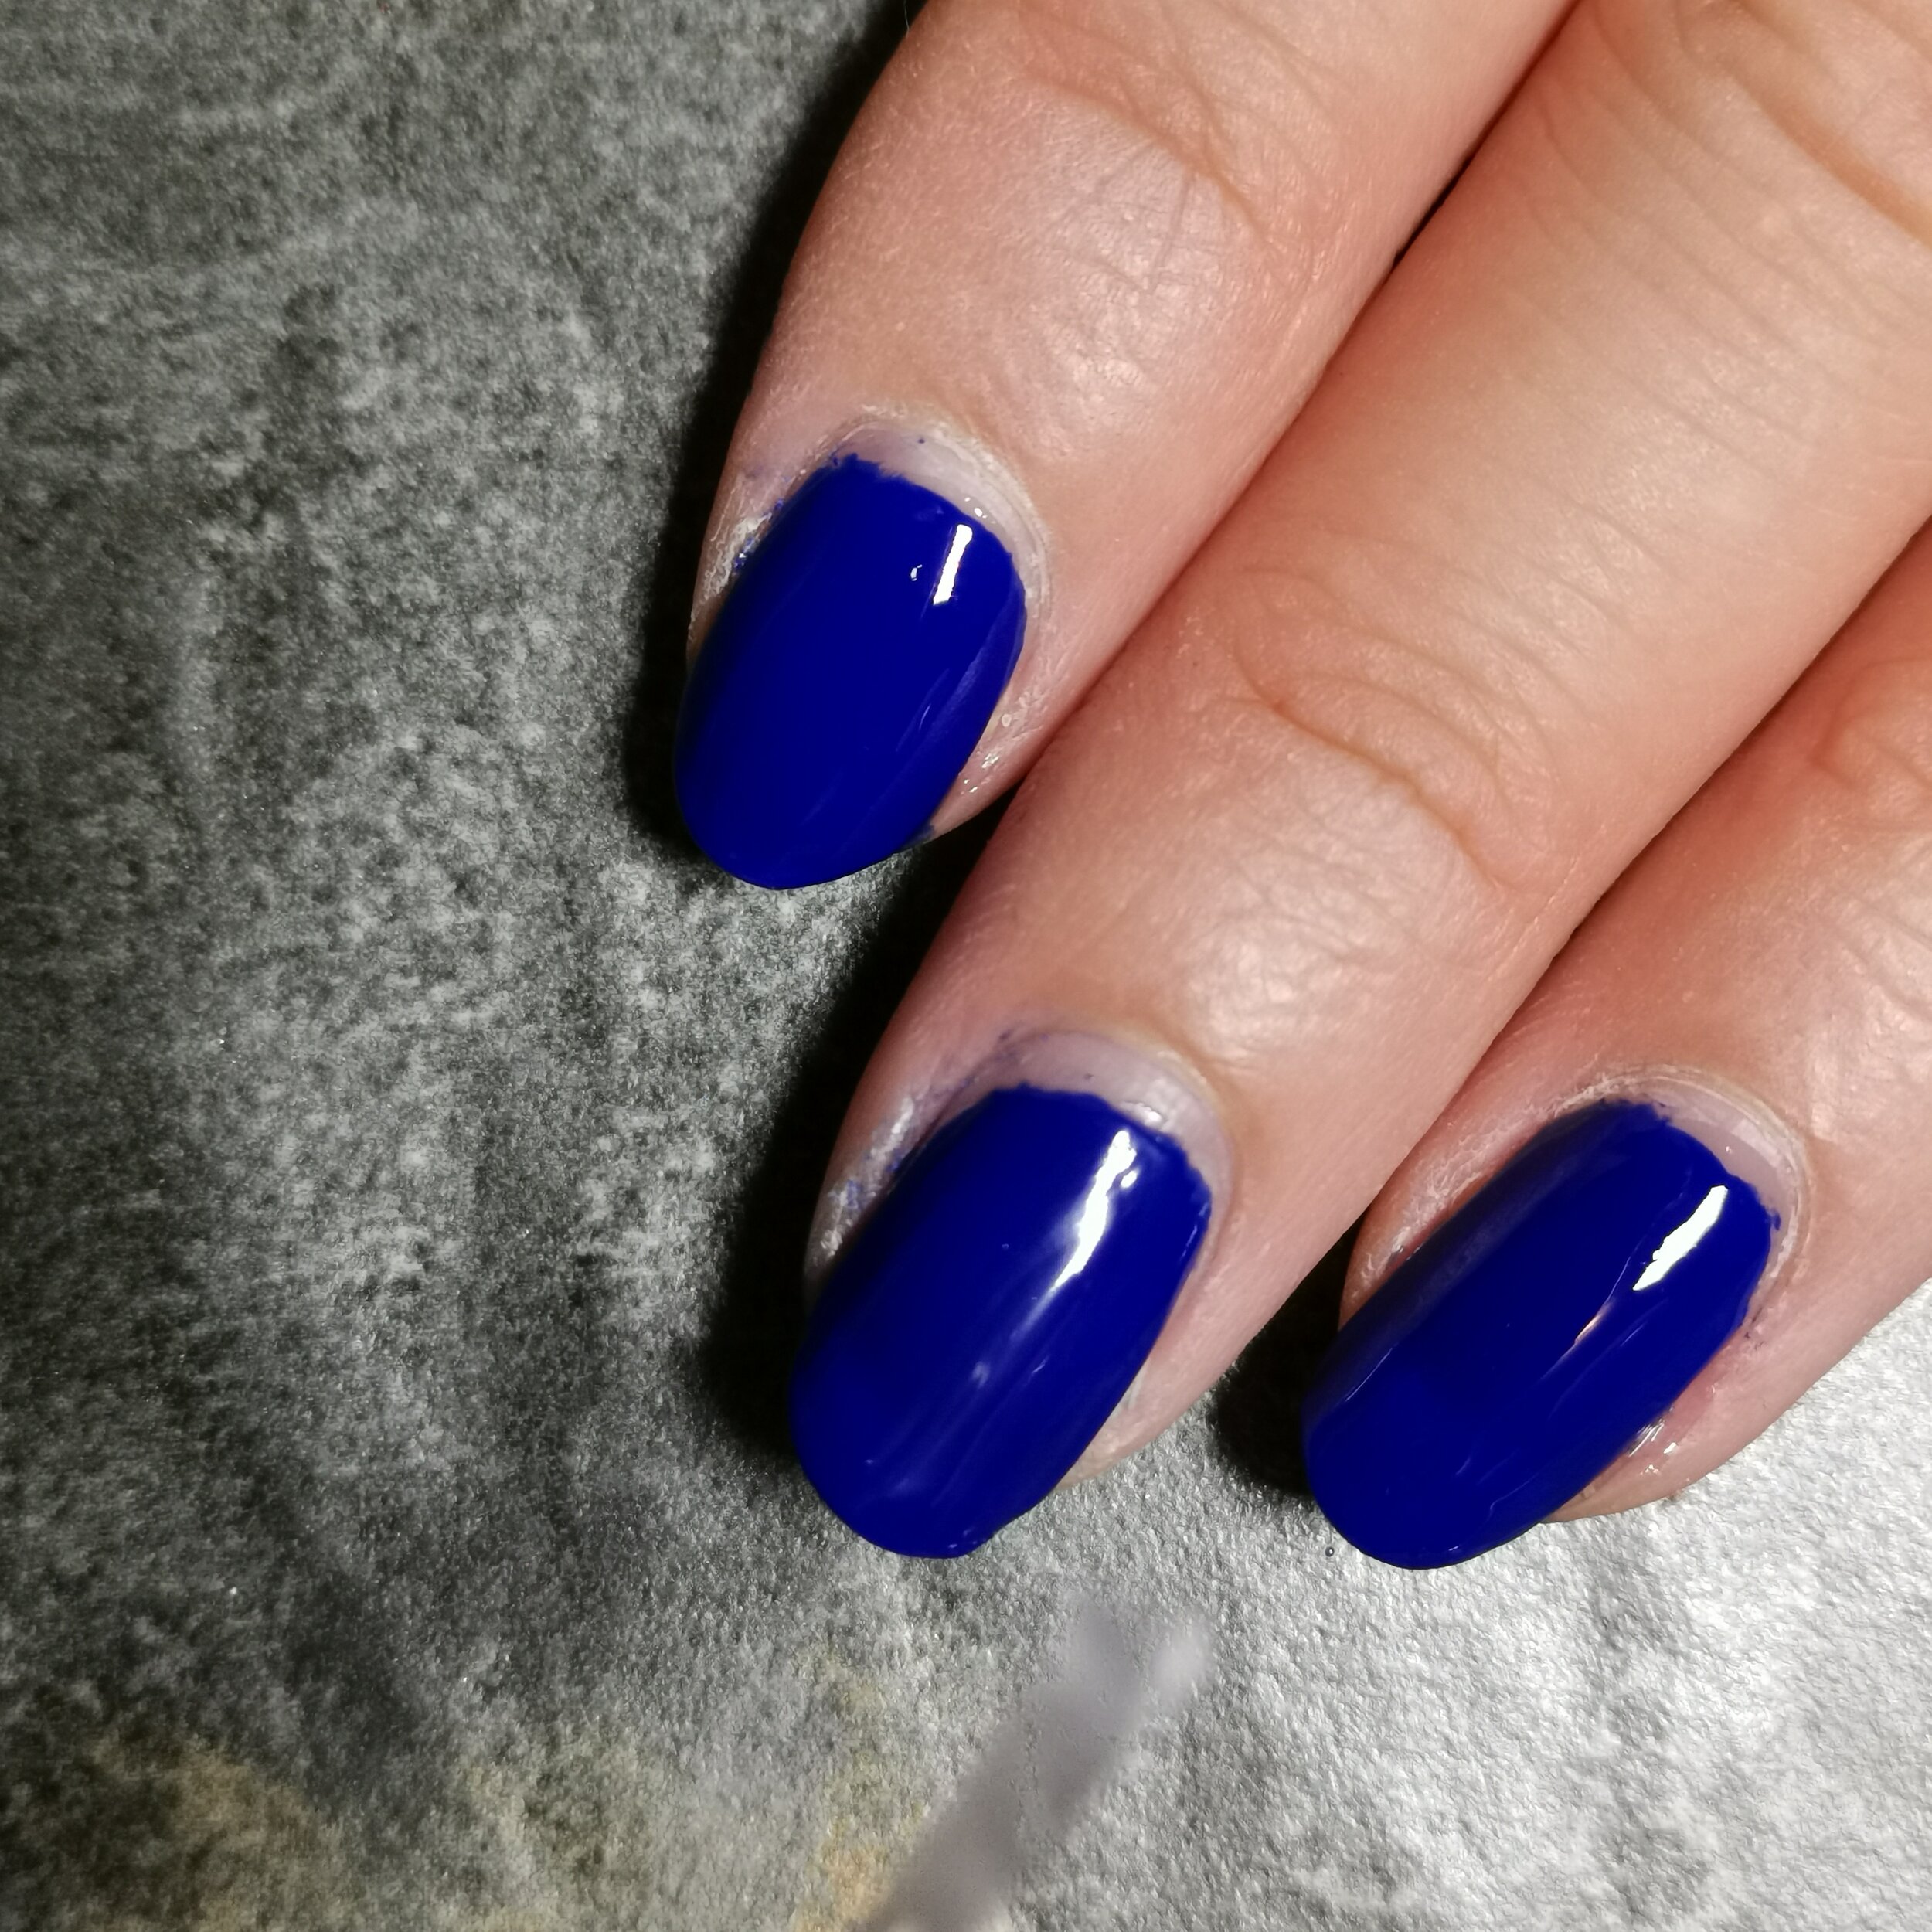
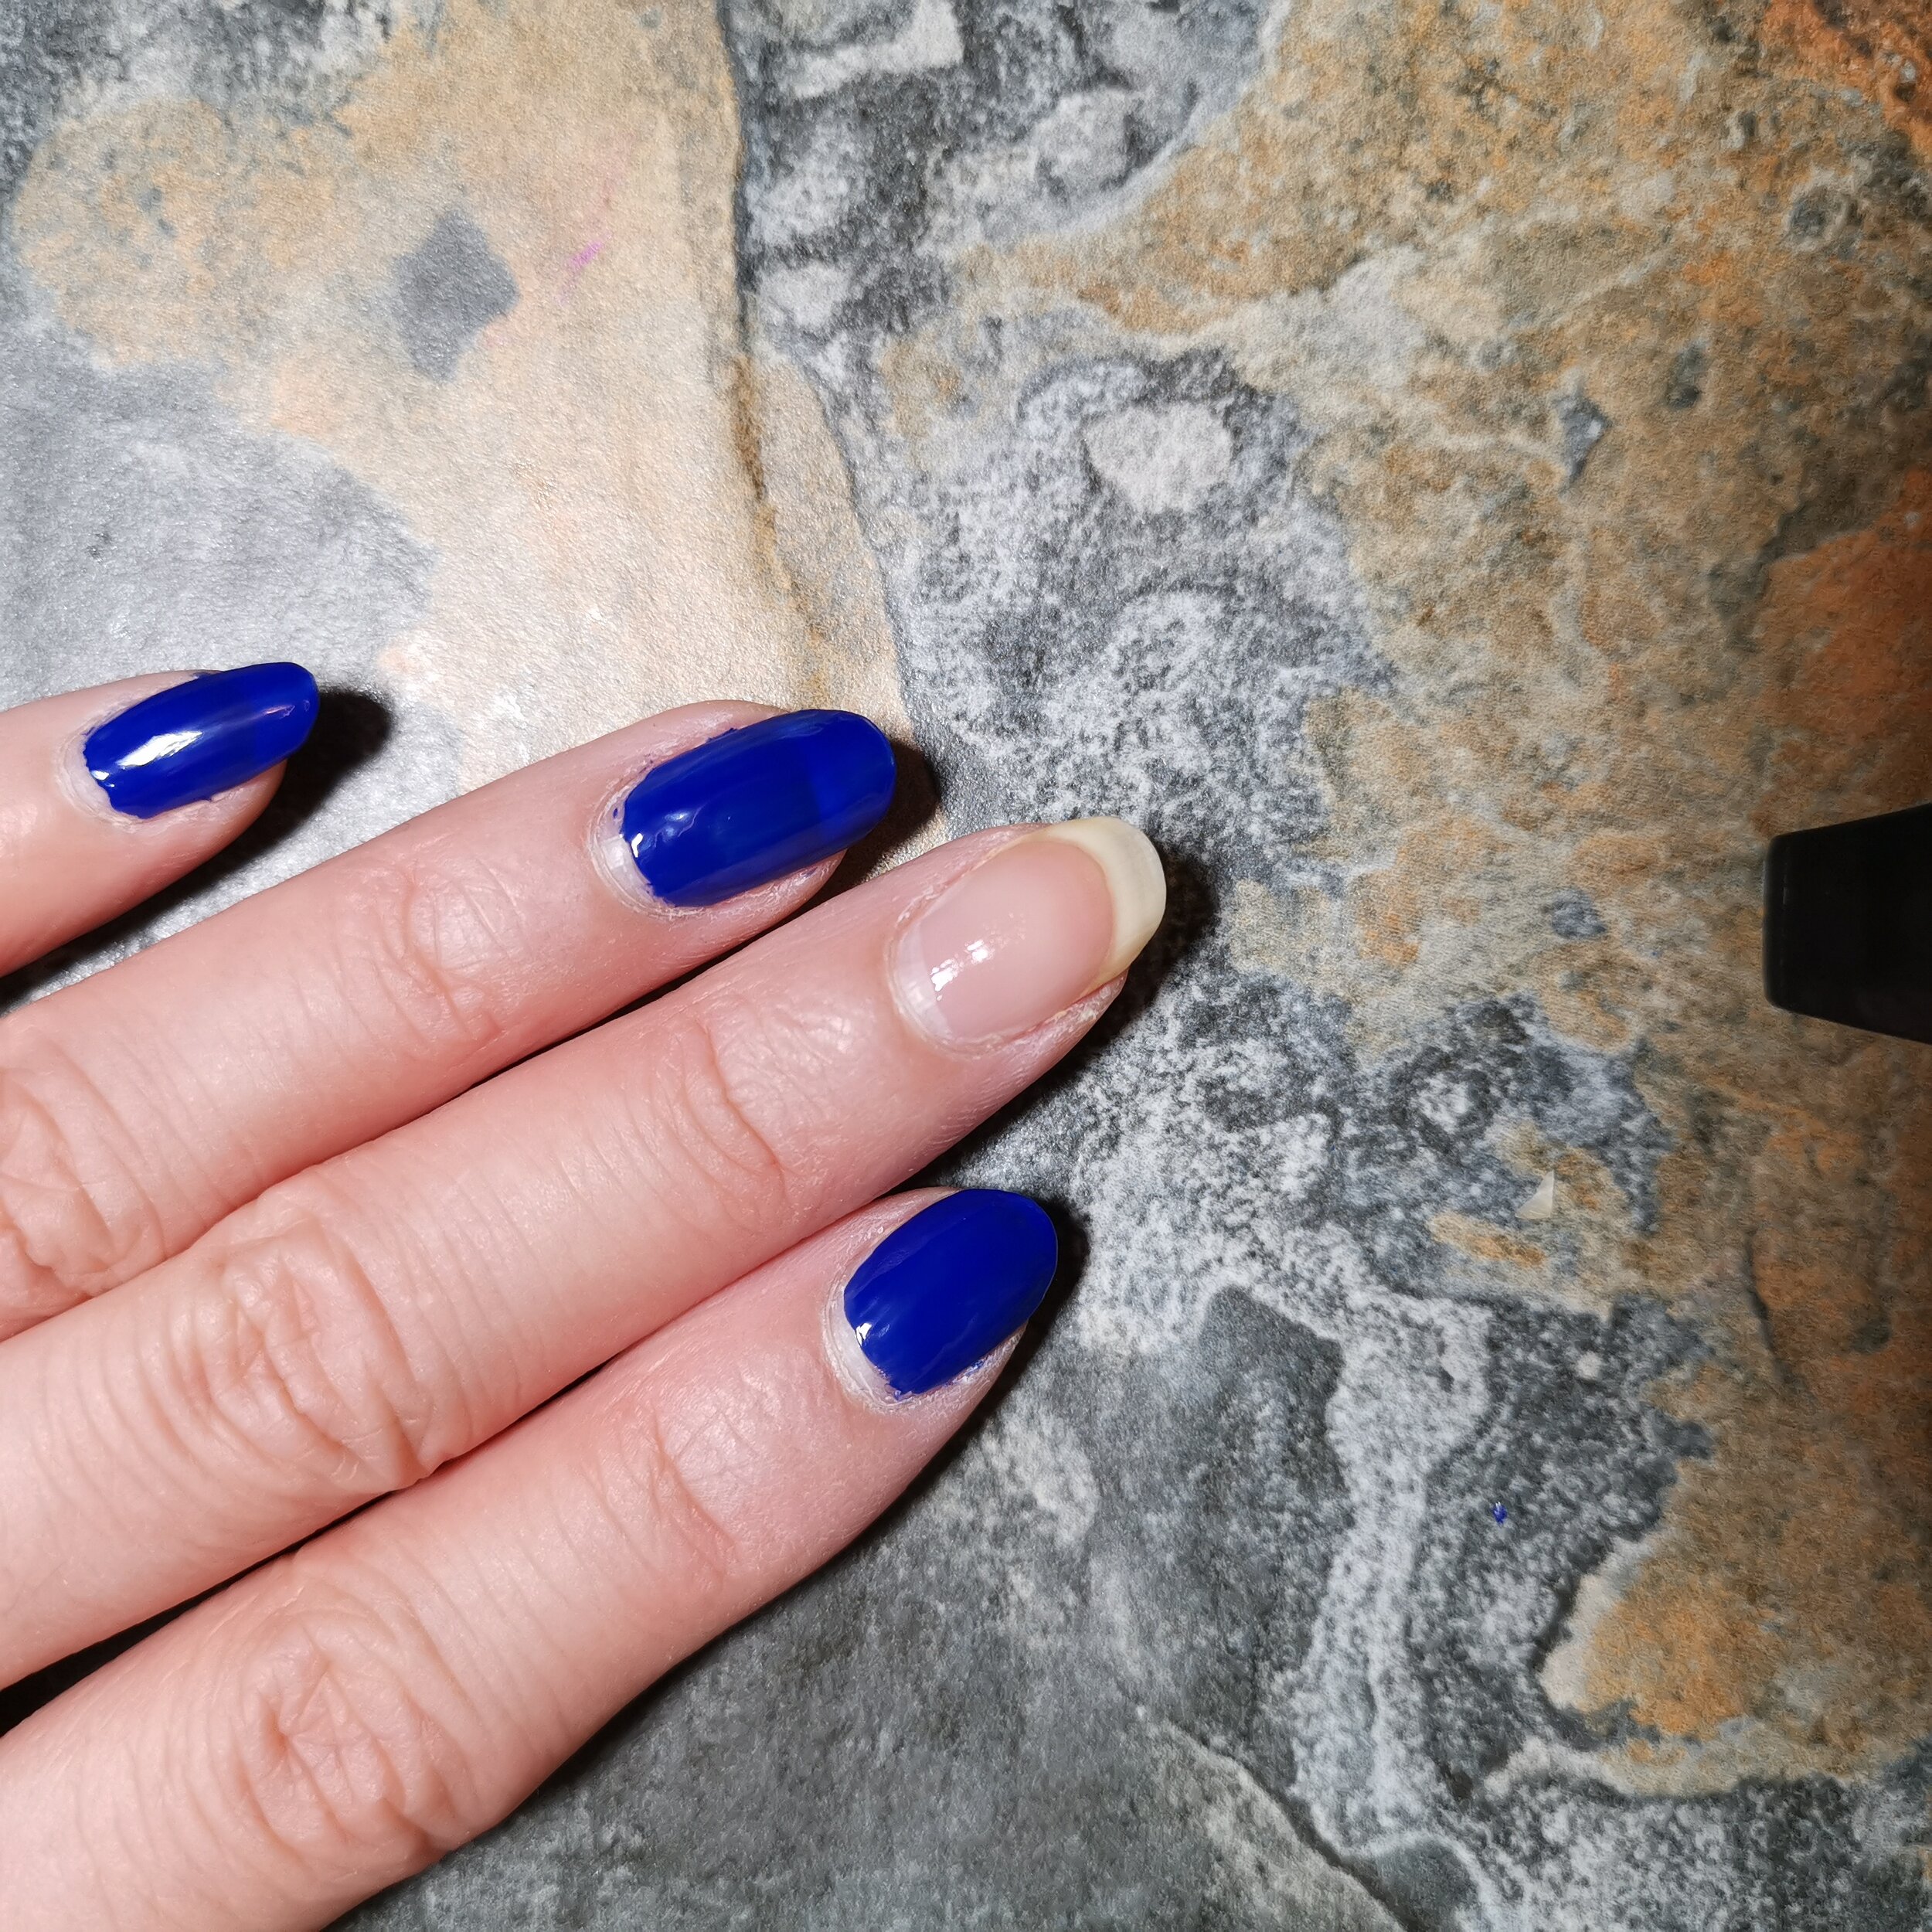
Seal with top coat
When you’re happy with everything and you’re done with the clean up and it’s dry to touch or completely, it’ s time to seal the nail with top coat.
Do not mix up your base and top or you will not have a good time! Top coats are formulated to create something like a shell on top of your polish and helps cure the polish under. I choose quick dry top coats and I like thicc and glossy top coats.
There are quite a few options out there and some may be glossier than others, depends on the formulation. It also gives a more “finished” look and helps protect the polish under from chipping.
Look at the difference between the 2 hands - the polish on one without top coat looks dull - this can happen over time as well and you can refresh your mani just by applying a top coat over to make it glossy again.
Nail Oil Nail Oil Nail Oil!
Finally, when everything is dry, it’s time to protect your nails and cuticles again by giving them the hydration that they need. If you’re following this and if you’ve made mistakes like I do when painting then you’d have used acetone and cuticle remover on your nails. These can dry your cuticles out so always give them the hydration they need.
Apply around the cuticles, sides and under the nail and then rub in.

EXTRA: clean your nail polish bottles!
If you want to maintain your nail polish and stop it from becoming gloopy quickly, then make sure you are cleaning the neck of the bottle regularly with acetone to get rid of any dry polish that contributes to the polish being exposed to air when opened.

And you’re done! Fresh set of painted nails and looked after hands.


Was this helpful? Would you try it? Let me know!


